

Let’s face it, stabilizers are one of the most annoying keyboard components to perfect. No matter how hard you try, an annoying noise known as tick or rattle continues to plague your keyboard. Though imagine if there was a modification that could solve this issue with no compromise. Or even better, a modification that uses a simple object lying around your house. You heard it, you can fix your stabilizers using a band-aid at no extra cost.
In this article, we’ll be going over what the Holee Mod is, how to do it, how it works, and much much more.
What is the Holee Mod?
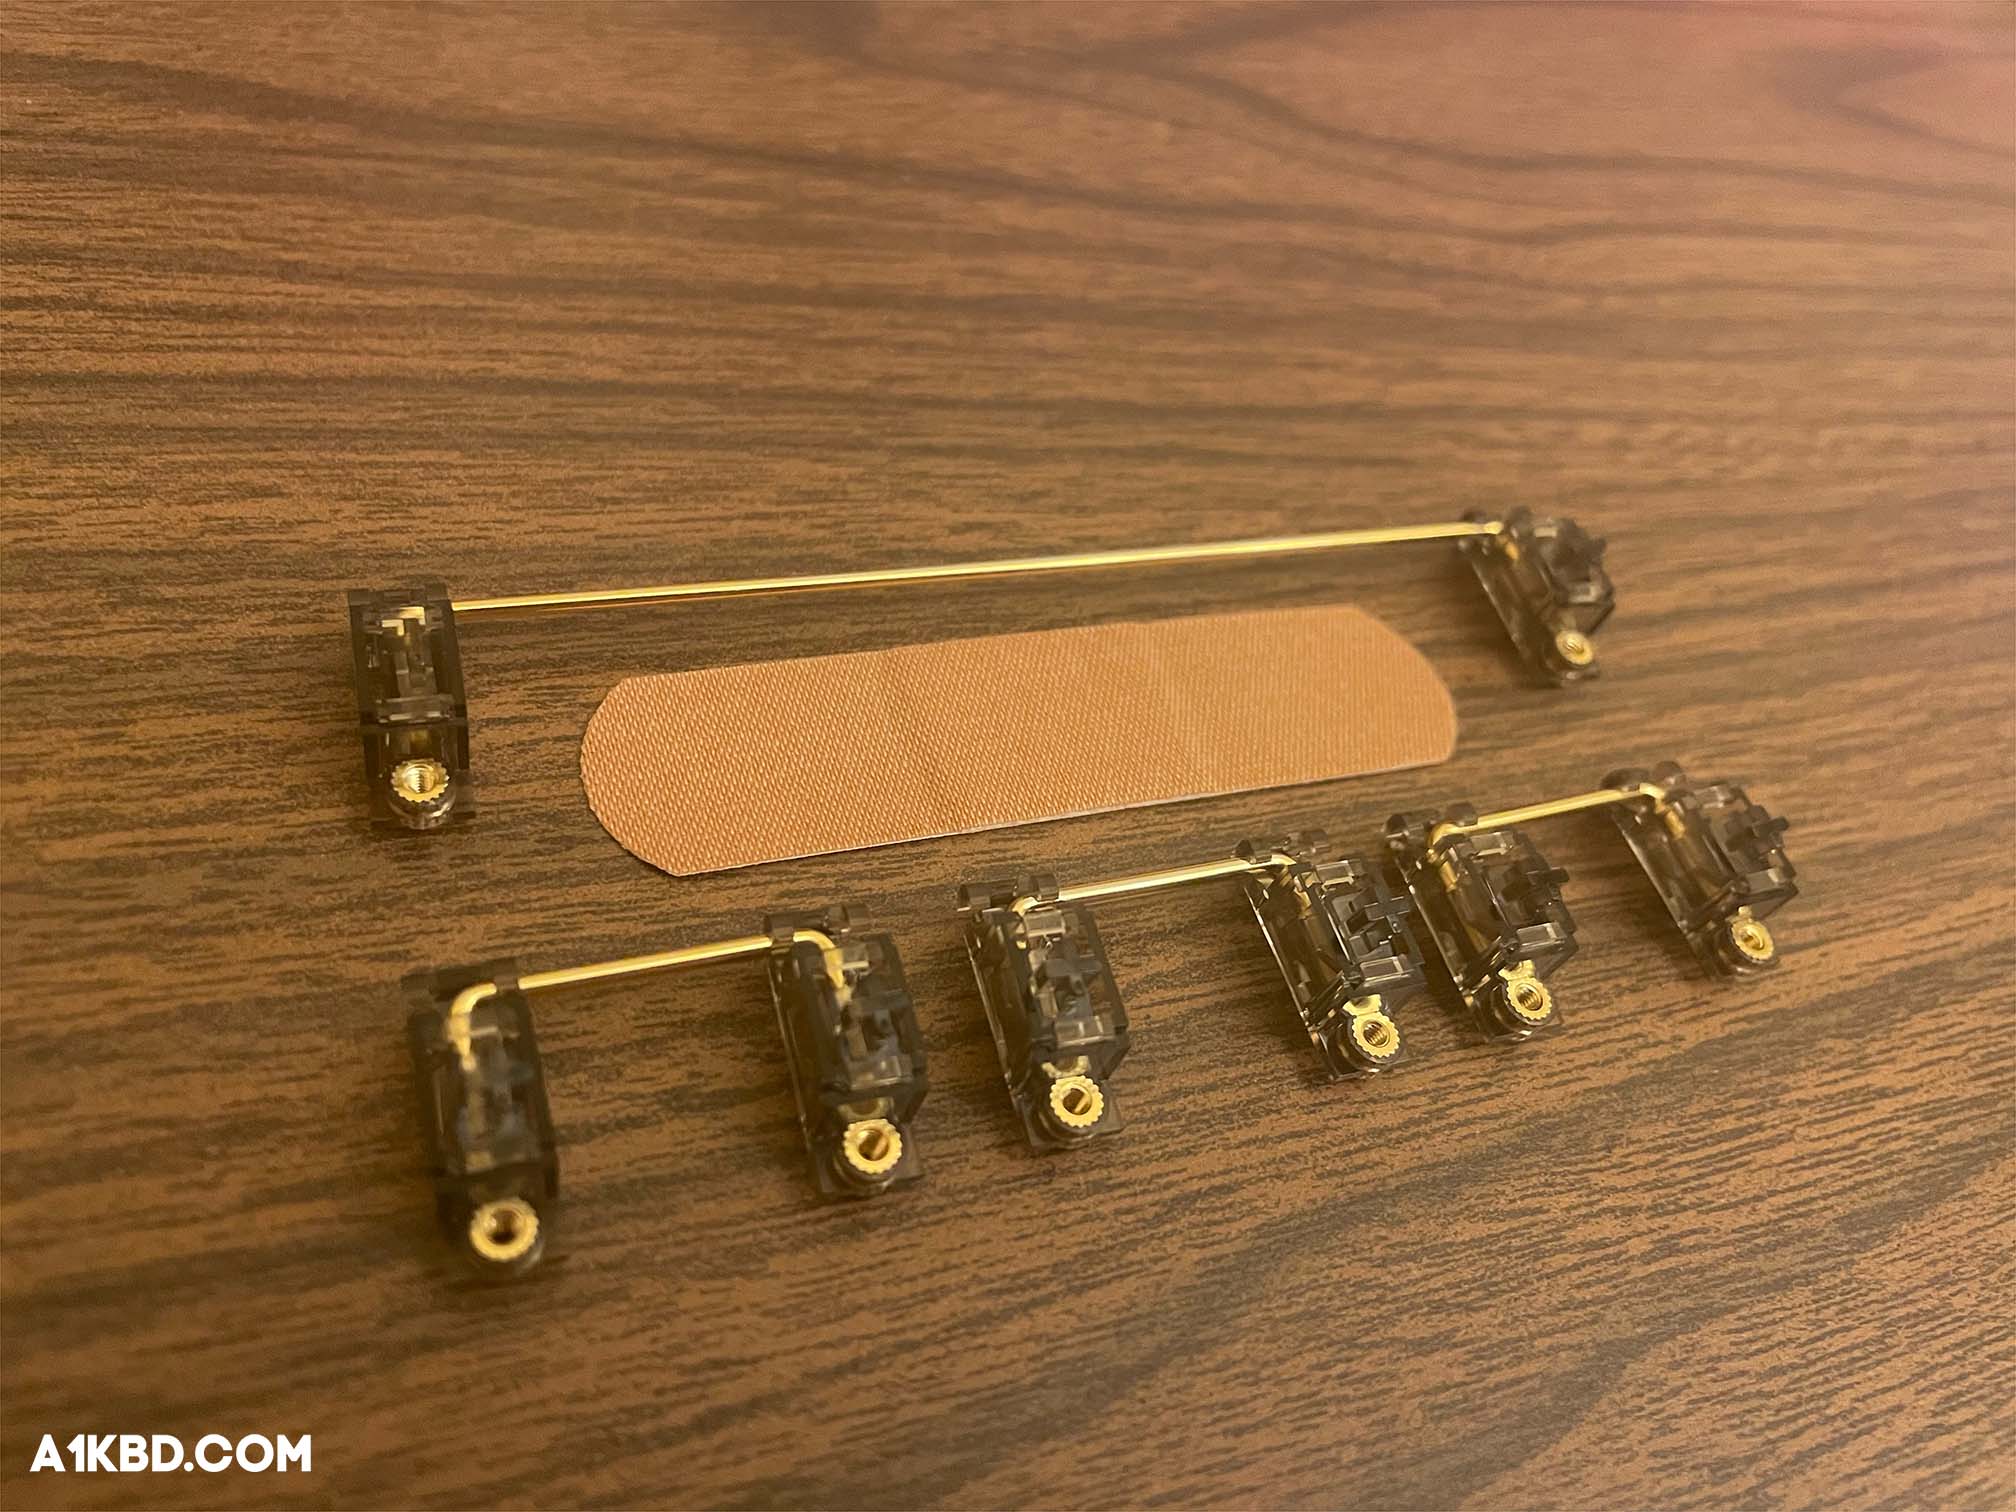
The Holee Mod is a keyboard modification that involves placing a piece of fabric band-aid into a stabilizer’s stem. This results in smoother feeling/sounding stabilizers. Alternatively, medical tape can be used as a substitute for the bandage though both will produce nearly identical results.
What does the Holee Mod Do?
The main goal of the Holee Mod is to reduce movement within the stabilizer housings. The addition of a bandage inside the stem makes for a more snug fit. This would usually be done through the application of lube. However, too much lube would result in mushy feeling/sounding stabilizers. Unmodified stabilizers produce an annoying sound known as “tick” or “rattle”. However, those offbeat sounds are simply terms to describe what excess space in a stabilizer housing sounds like.
How does the Holee Mod Work?
The Holee Mod works by cushioning the stabilizer wire when it hits the inside of the stem. A band-aid is most commonly used for this because it can be easily cut and placed into the stabilizer housing. However, the Holee Mod doesn’t work on its own. Lubing the stabilizers is also crucial to the modification. The addition of lubricant will reduce friction within the housing and result in a much cleaner sound.
How do I do the Holee Mod?
To complete the Holee Mod these tools are recommended:
- Fabric Band-aid(s)
- Keycap Remover
- Switch Puller
- Screwdriver
- Lube Brush
- Wire Cutter
- Lubricant
- Tweezers
- Scissors
Additionally, if you use a keyboard with a soldered PCB. You would need all the necessary soldering tools. If this doesn’t apply to you then you can move on to the next step.
- Heat Resistant Desk Mat
- Desoldering Iron
- Soldering Iron
- Solder Wire
- Flux
Step 1. Remove the Stabilizers from your Keyboard
Depending on your keyboard, the difficulty of removing your stabilizers will vary.
a. Plate Mount Stabilizers
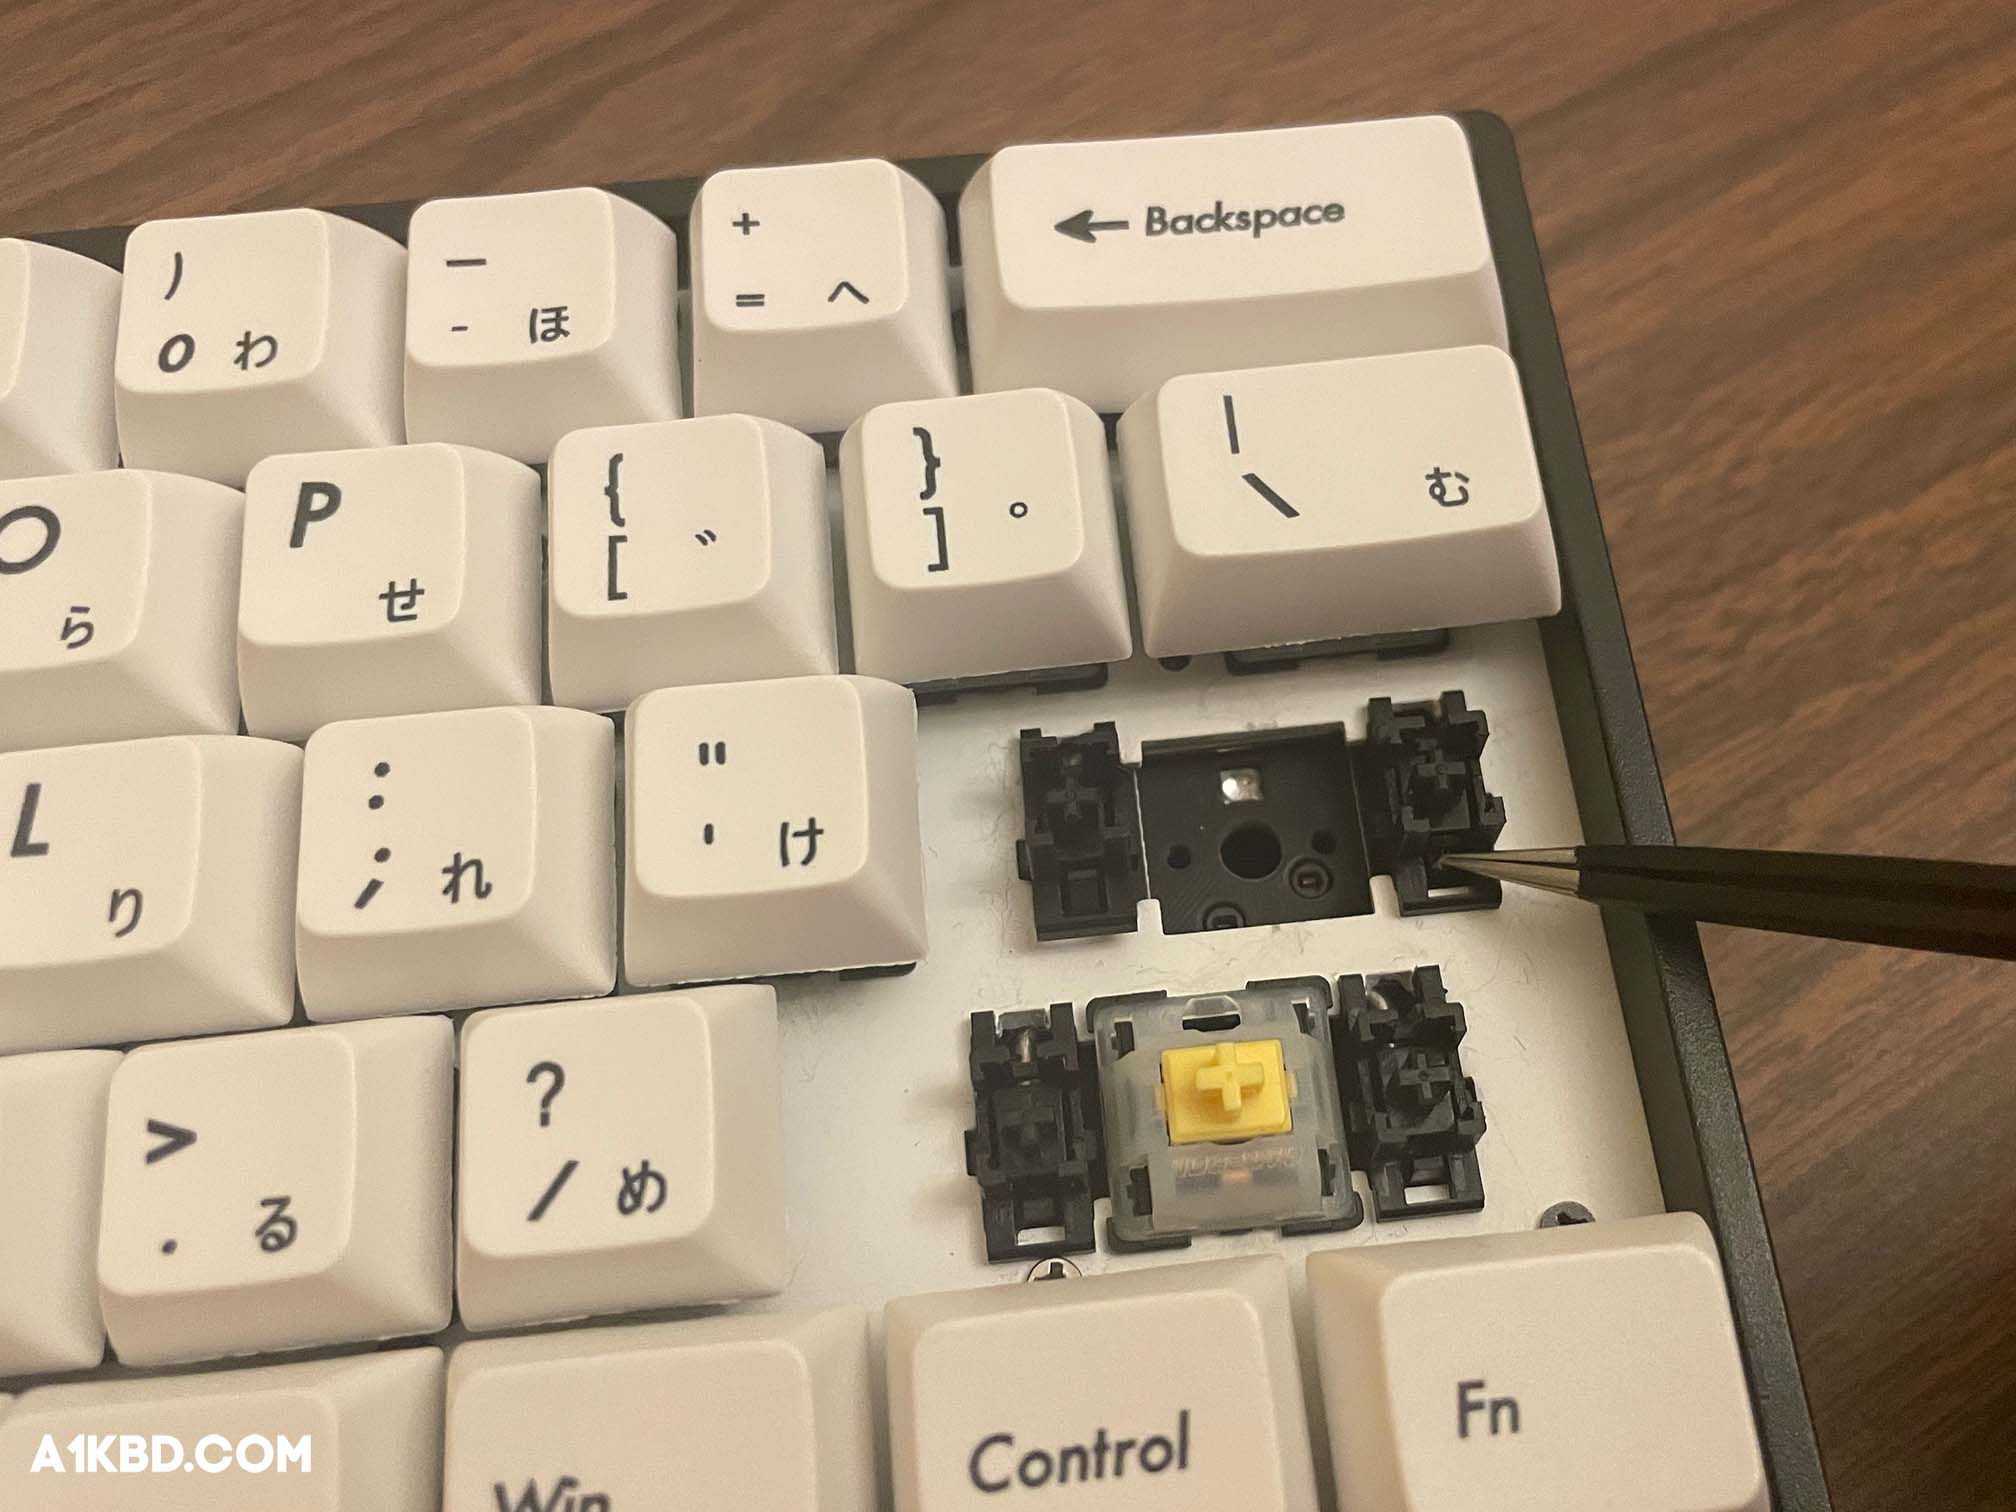
Plate mounted stabilizers are the easiest type of stabilizer to remove. Make sure there is no switch present in the modifier keys (enter, shift, backspace). Take out tweezers or a flathead screwdriver and simply lift up on the bottom prongs. This allows for the stabilizers to be taken out of the keyboard.
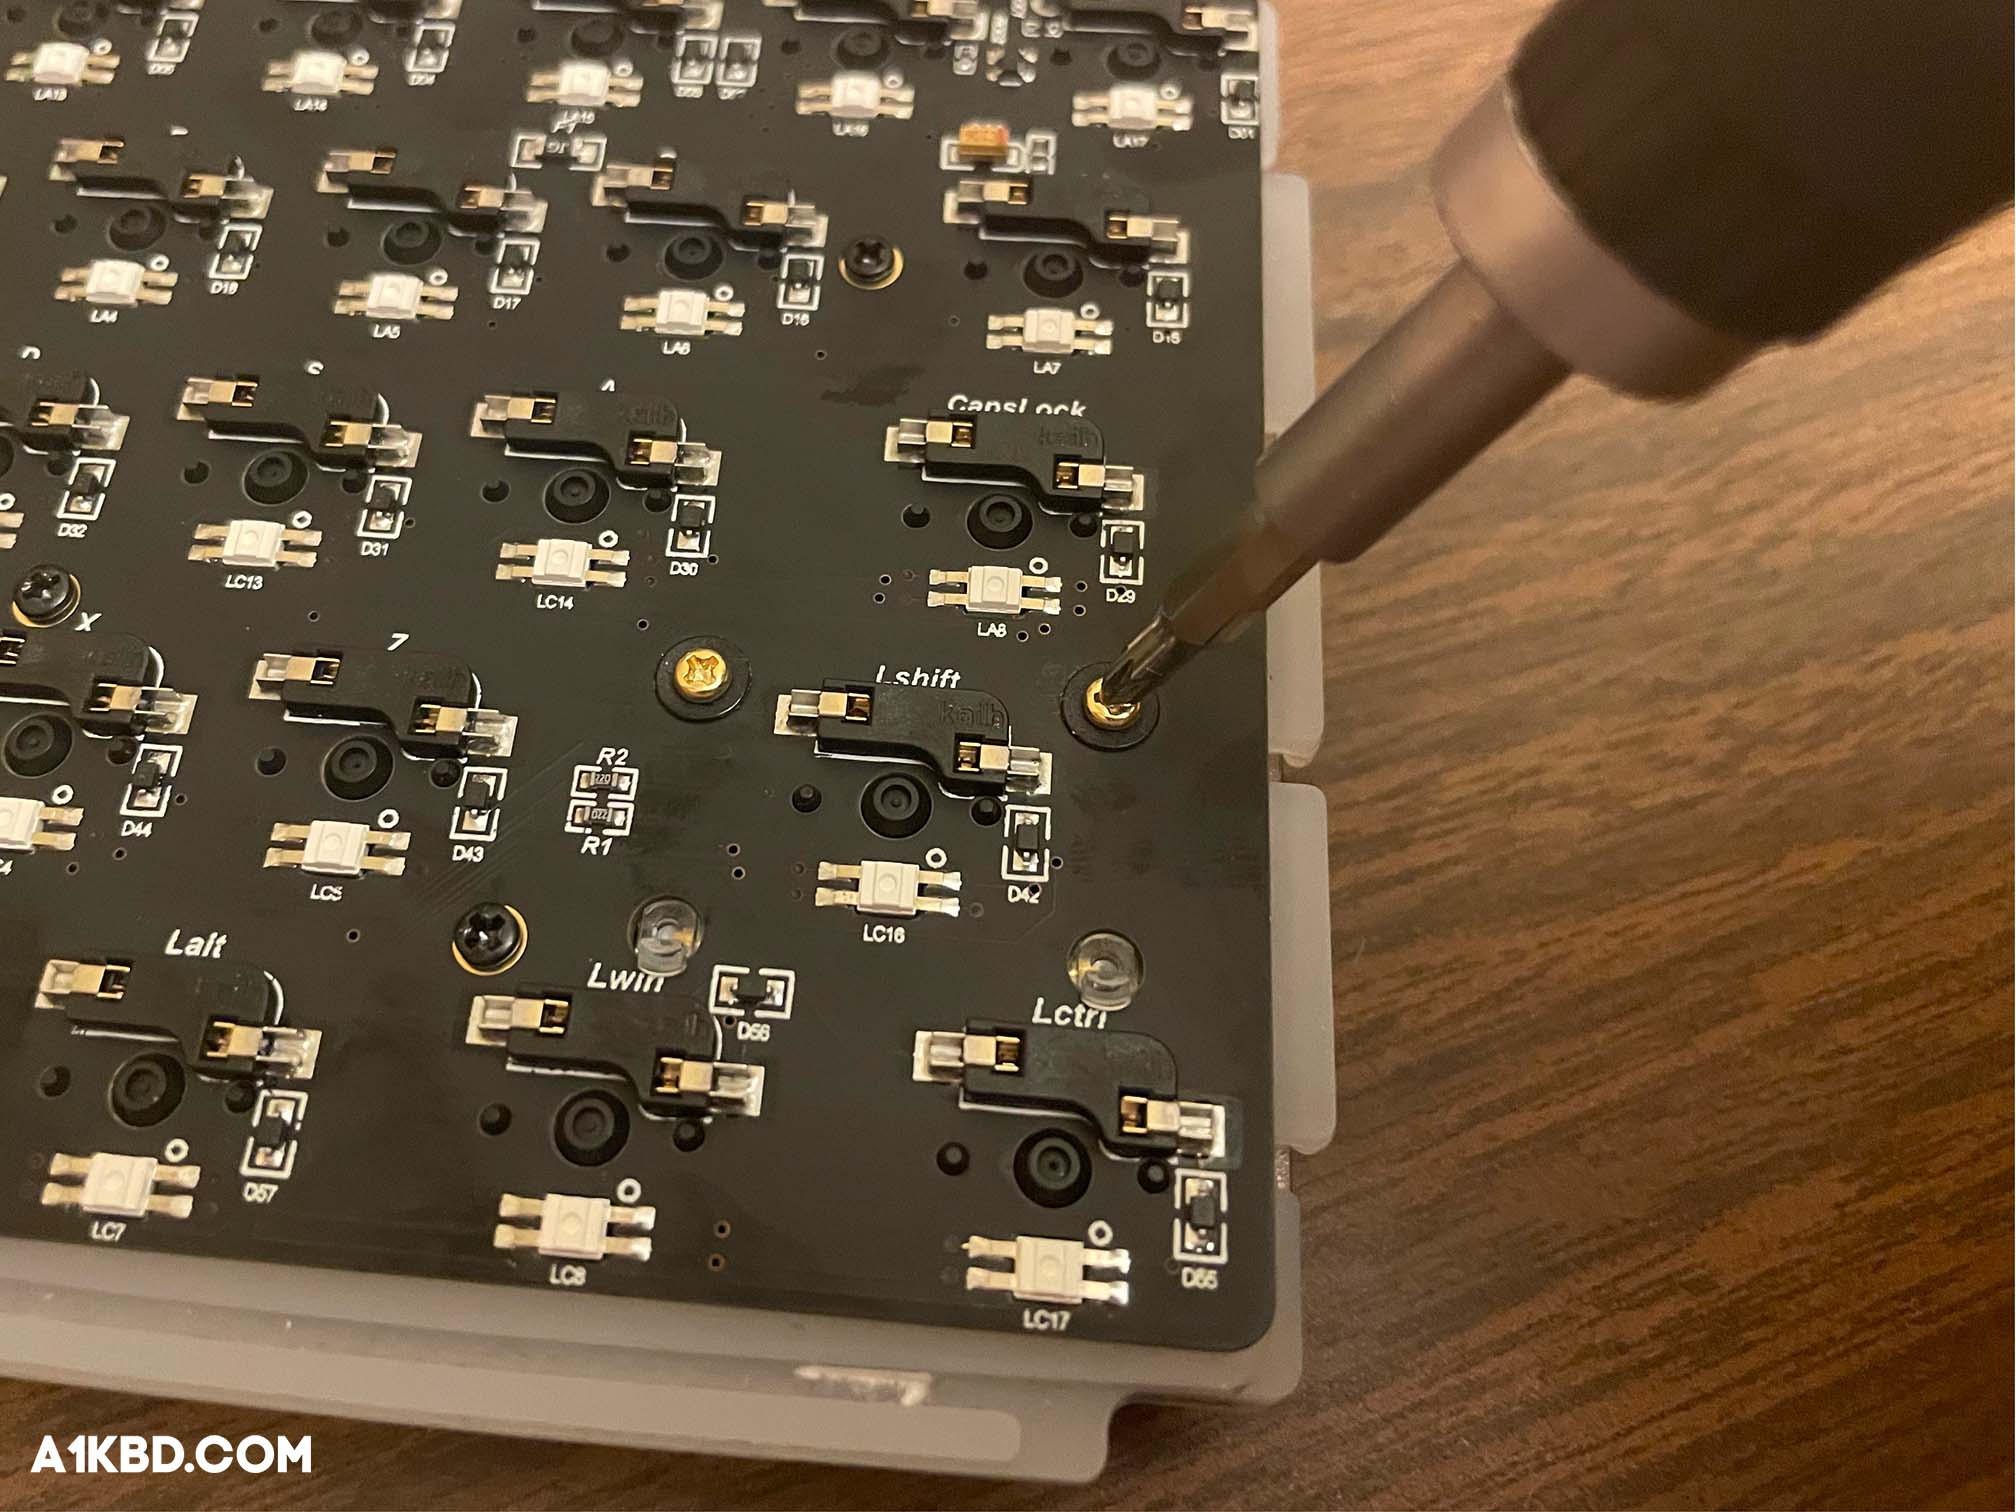
b. Screw-in Stabilizers
Screw-in stabilizers unfortunately require complete keyboard disassembly. Once you have an empty PCB with no switches, flip it to the other side. You’ll see a couple of screws adjacent to the place where the stabilizers are on the other side. Unfasten the screws and on the other side of the PCB, lift up. This will allow the stabilizers to plop out.
Step 2. Clean the Stabilizers
Before applying the Holee Mod, the stabilizers will have to be dry. If your stabilizers are unlubed, you can skip this step. First, unclip the wire and remove the stem from the stabilizer housing. Repeat this for any stabilizers you need to clean. After that, use soap and hot water to clean off the stabilizers with a toothbrush. Make sure to scrub and thoroughly clean every part of the stabilizer. On the stabilizer wire, use alcohol and tissue paper to wipe the lube off. Once completed, rinse everything off with cold water and allow it to dry.
Step 3. Clip the Stabilizers
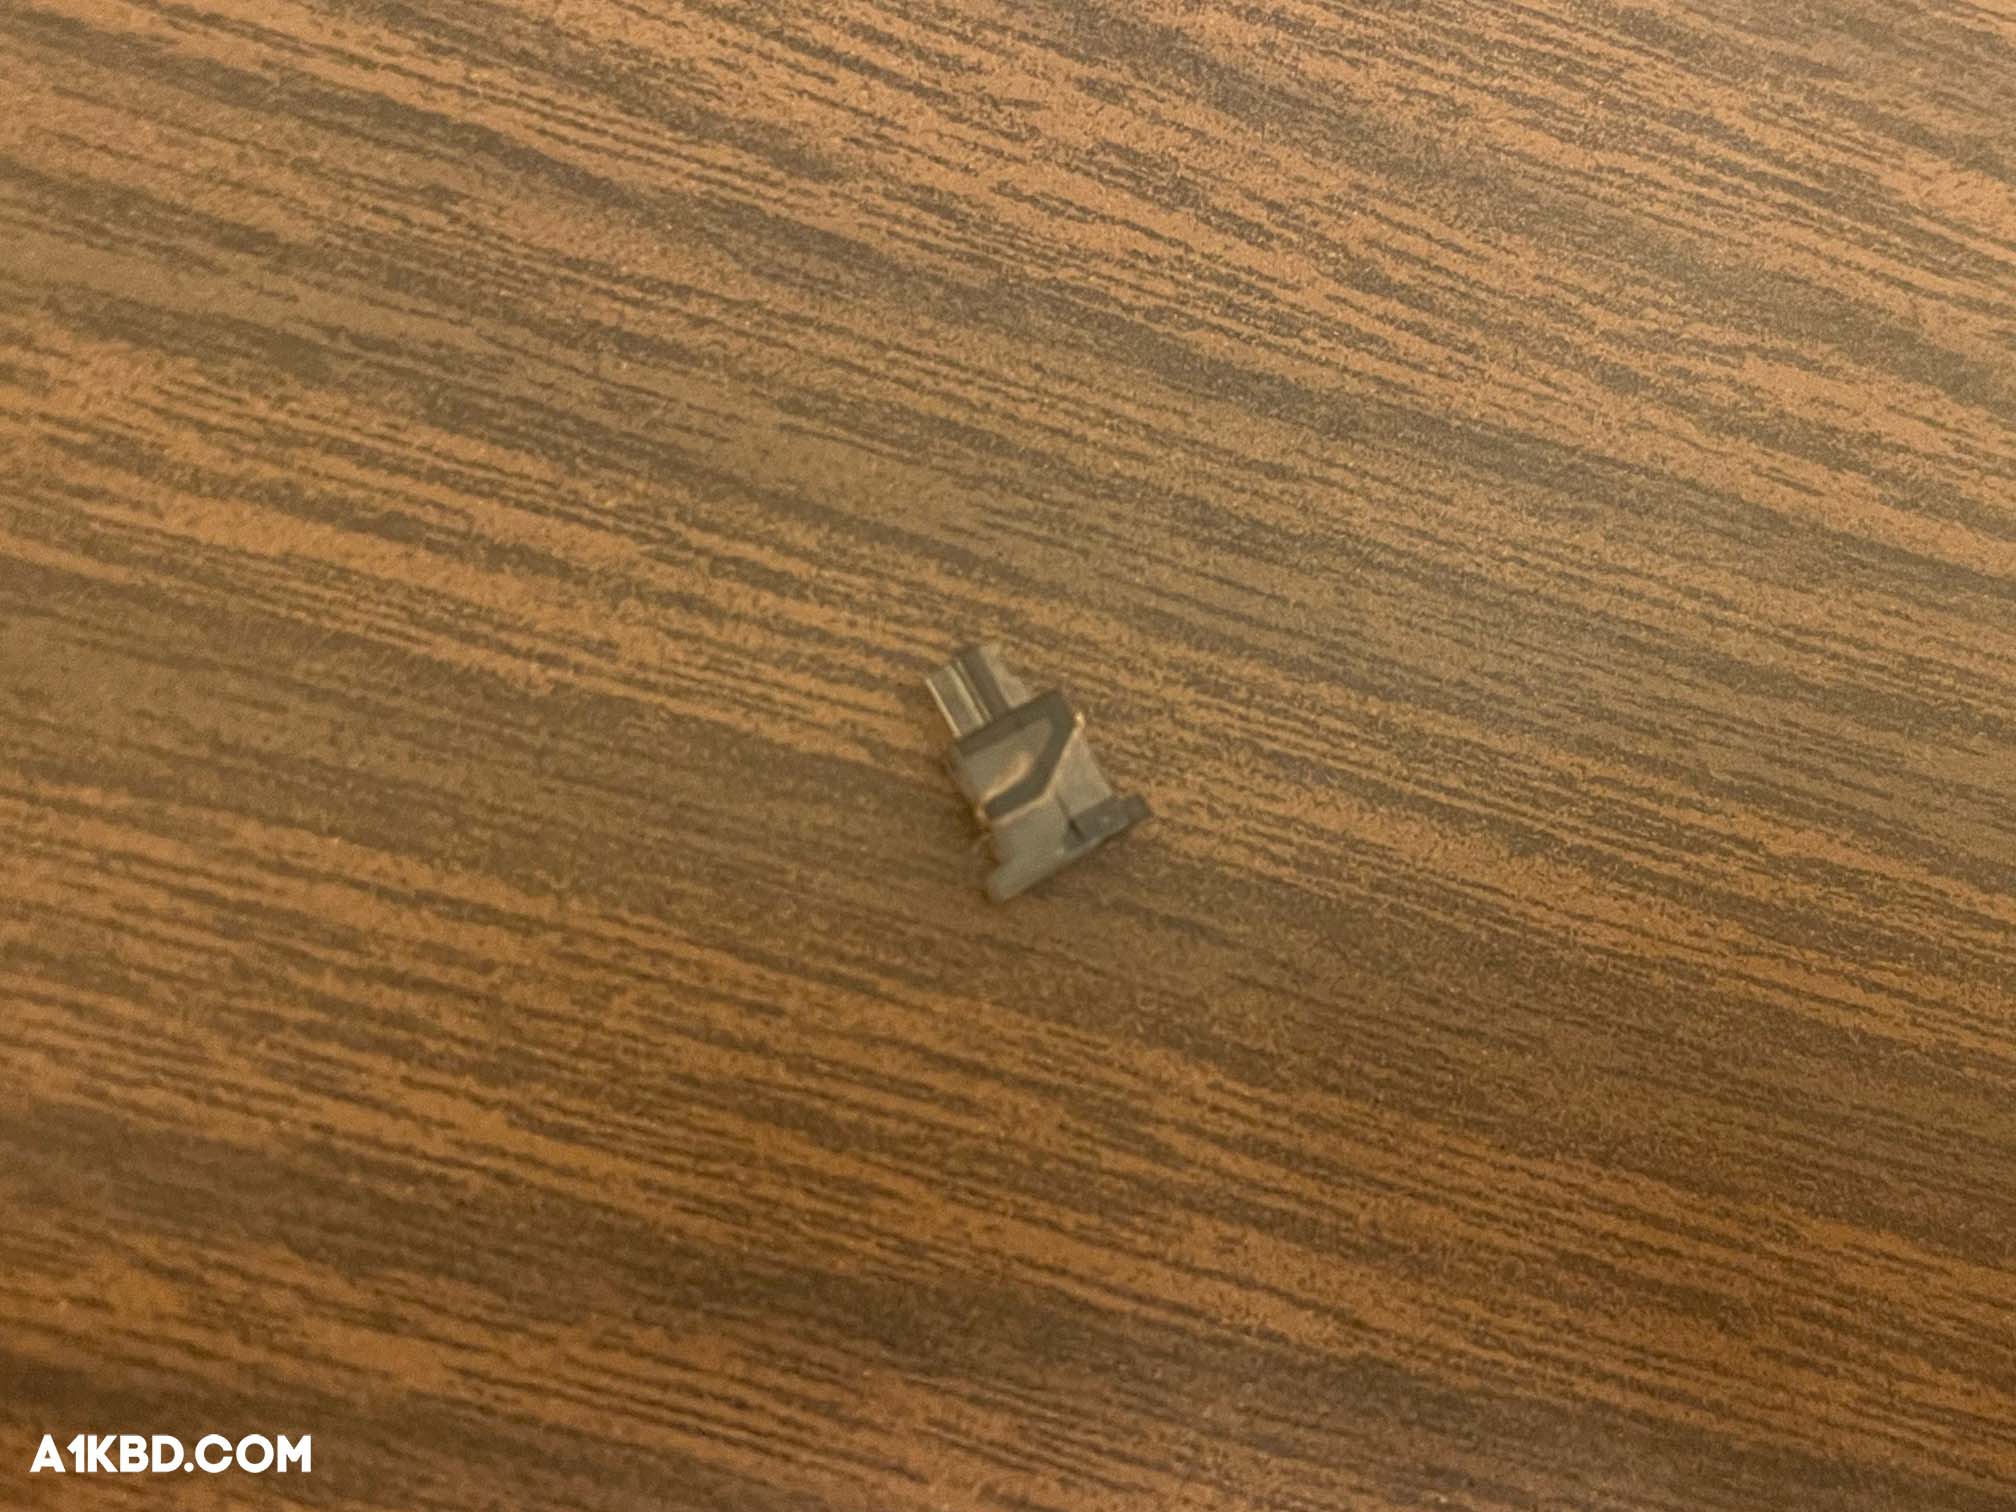
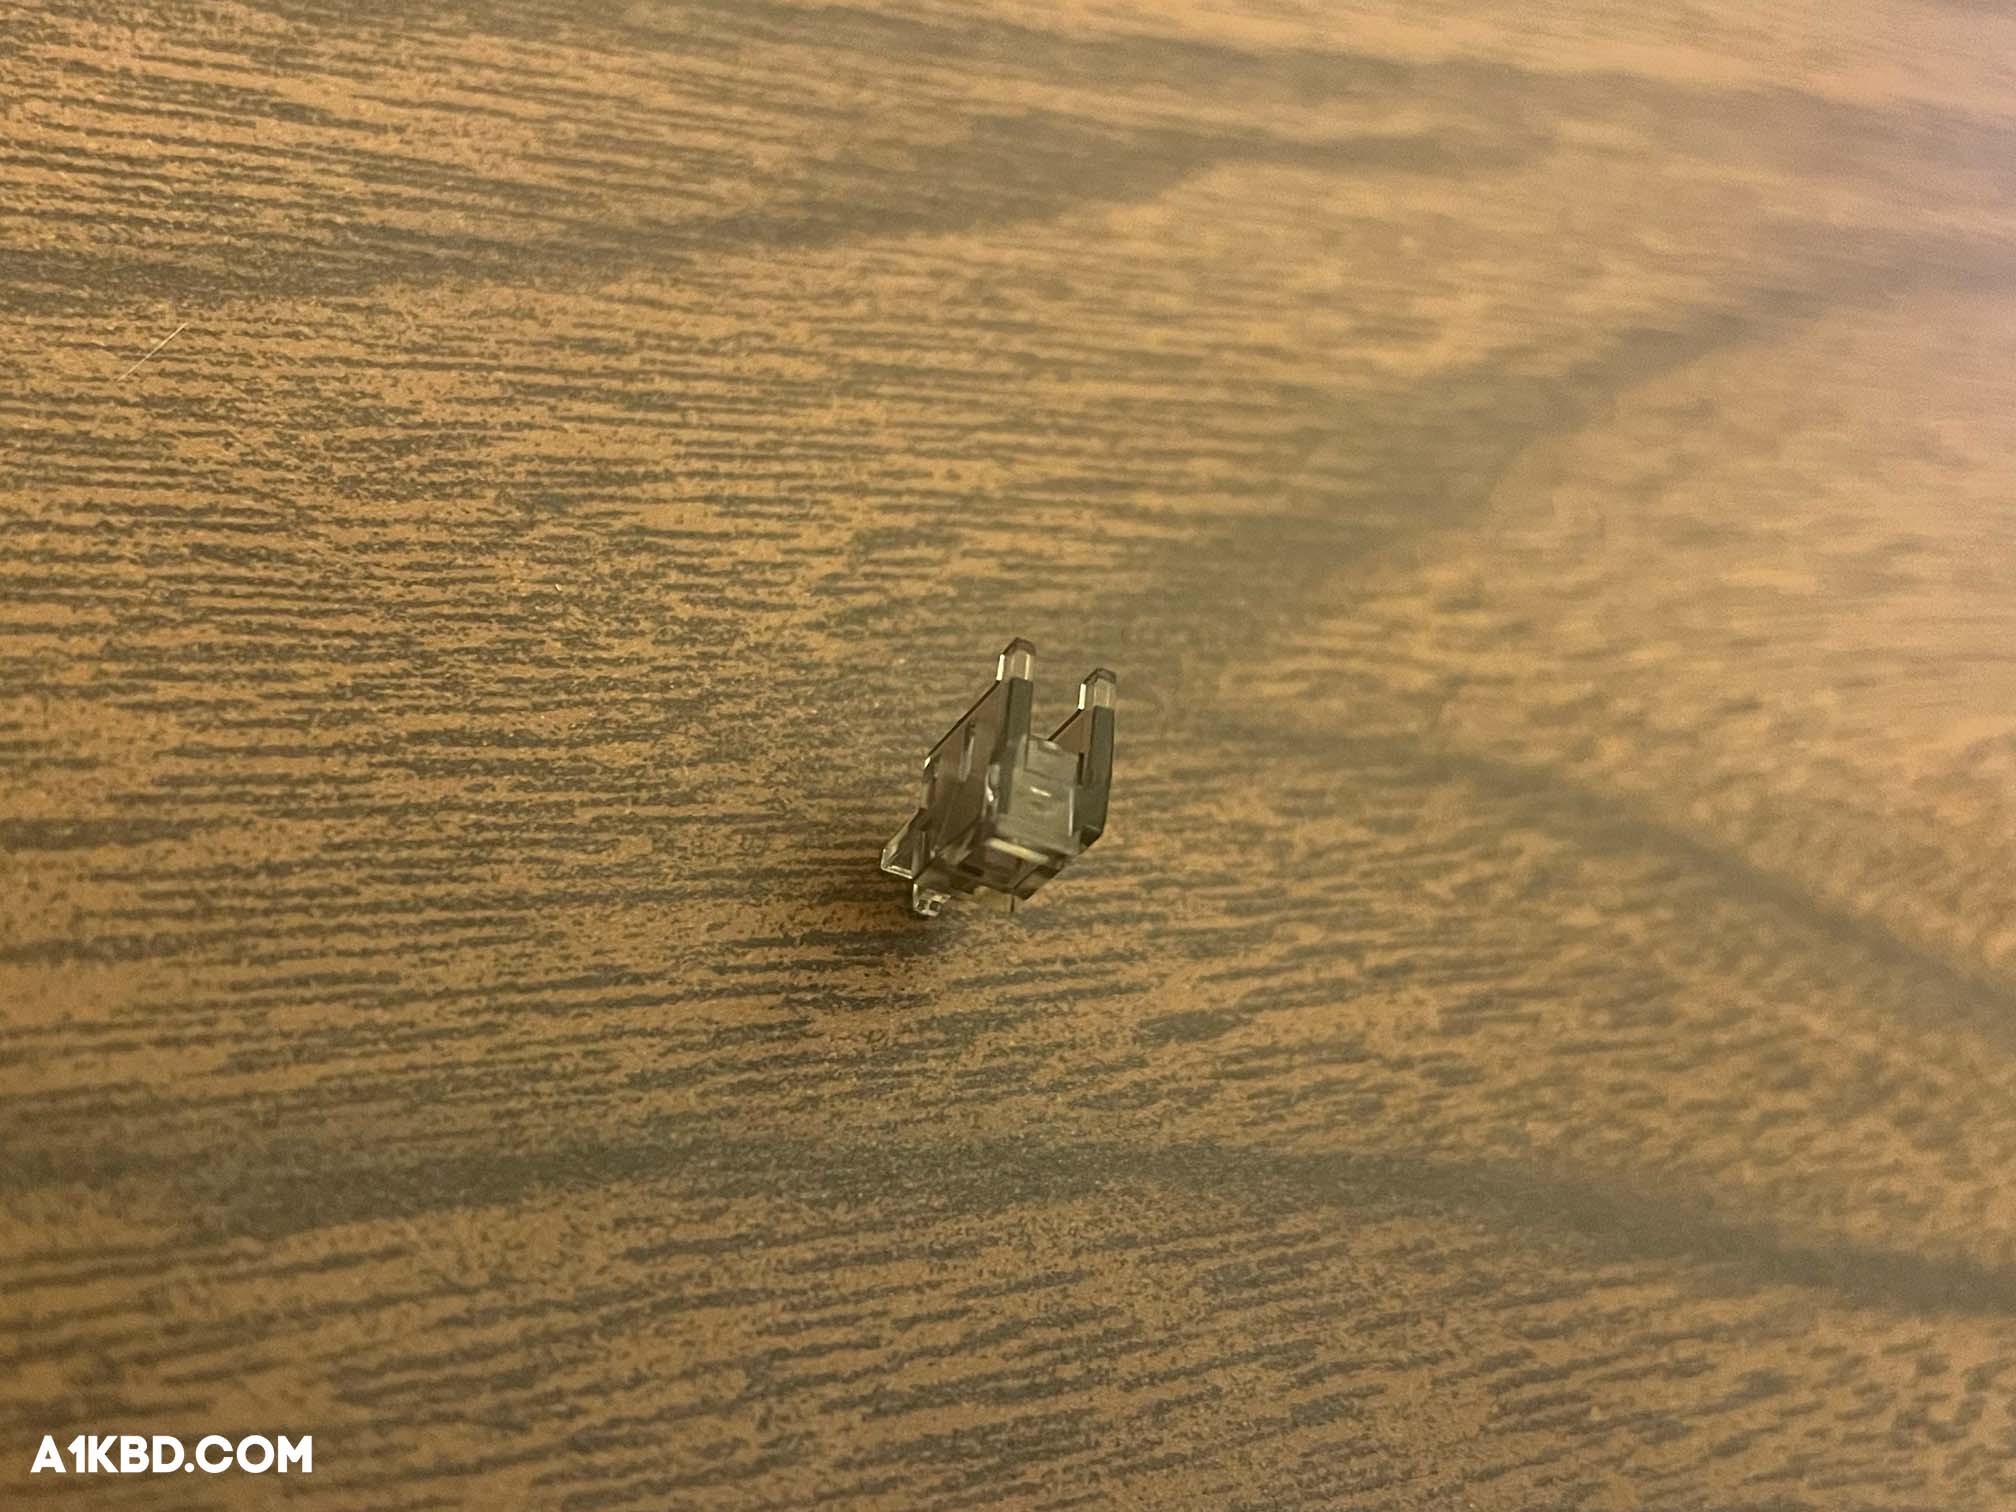
Most stabilizers come with two extra “fangs” on the bottom of each of their stems. This was initially thought to cushion a keypress’ bottom out. However, enthusiasts discovered removing the extra legs makes for a better typing experience. Removing the extra plastic is better known as “clipping”. Keep in mind, that most enthusiast-grade keyboards will come with pre-clipped stabilizers. By flipping over your stabilizer(s), it’s evident whether the stems are clipped or not. If your stabilizers are not already clipped, make sure you have a pair of wire cutters lying around. Using the wire cutters, carefully clip the two elevated legs off. As a result, the bottom of the stabilizer stem should be completely flat.
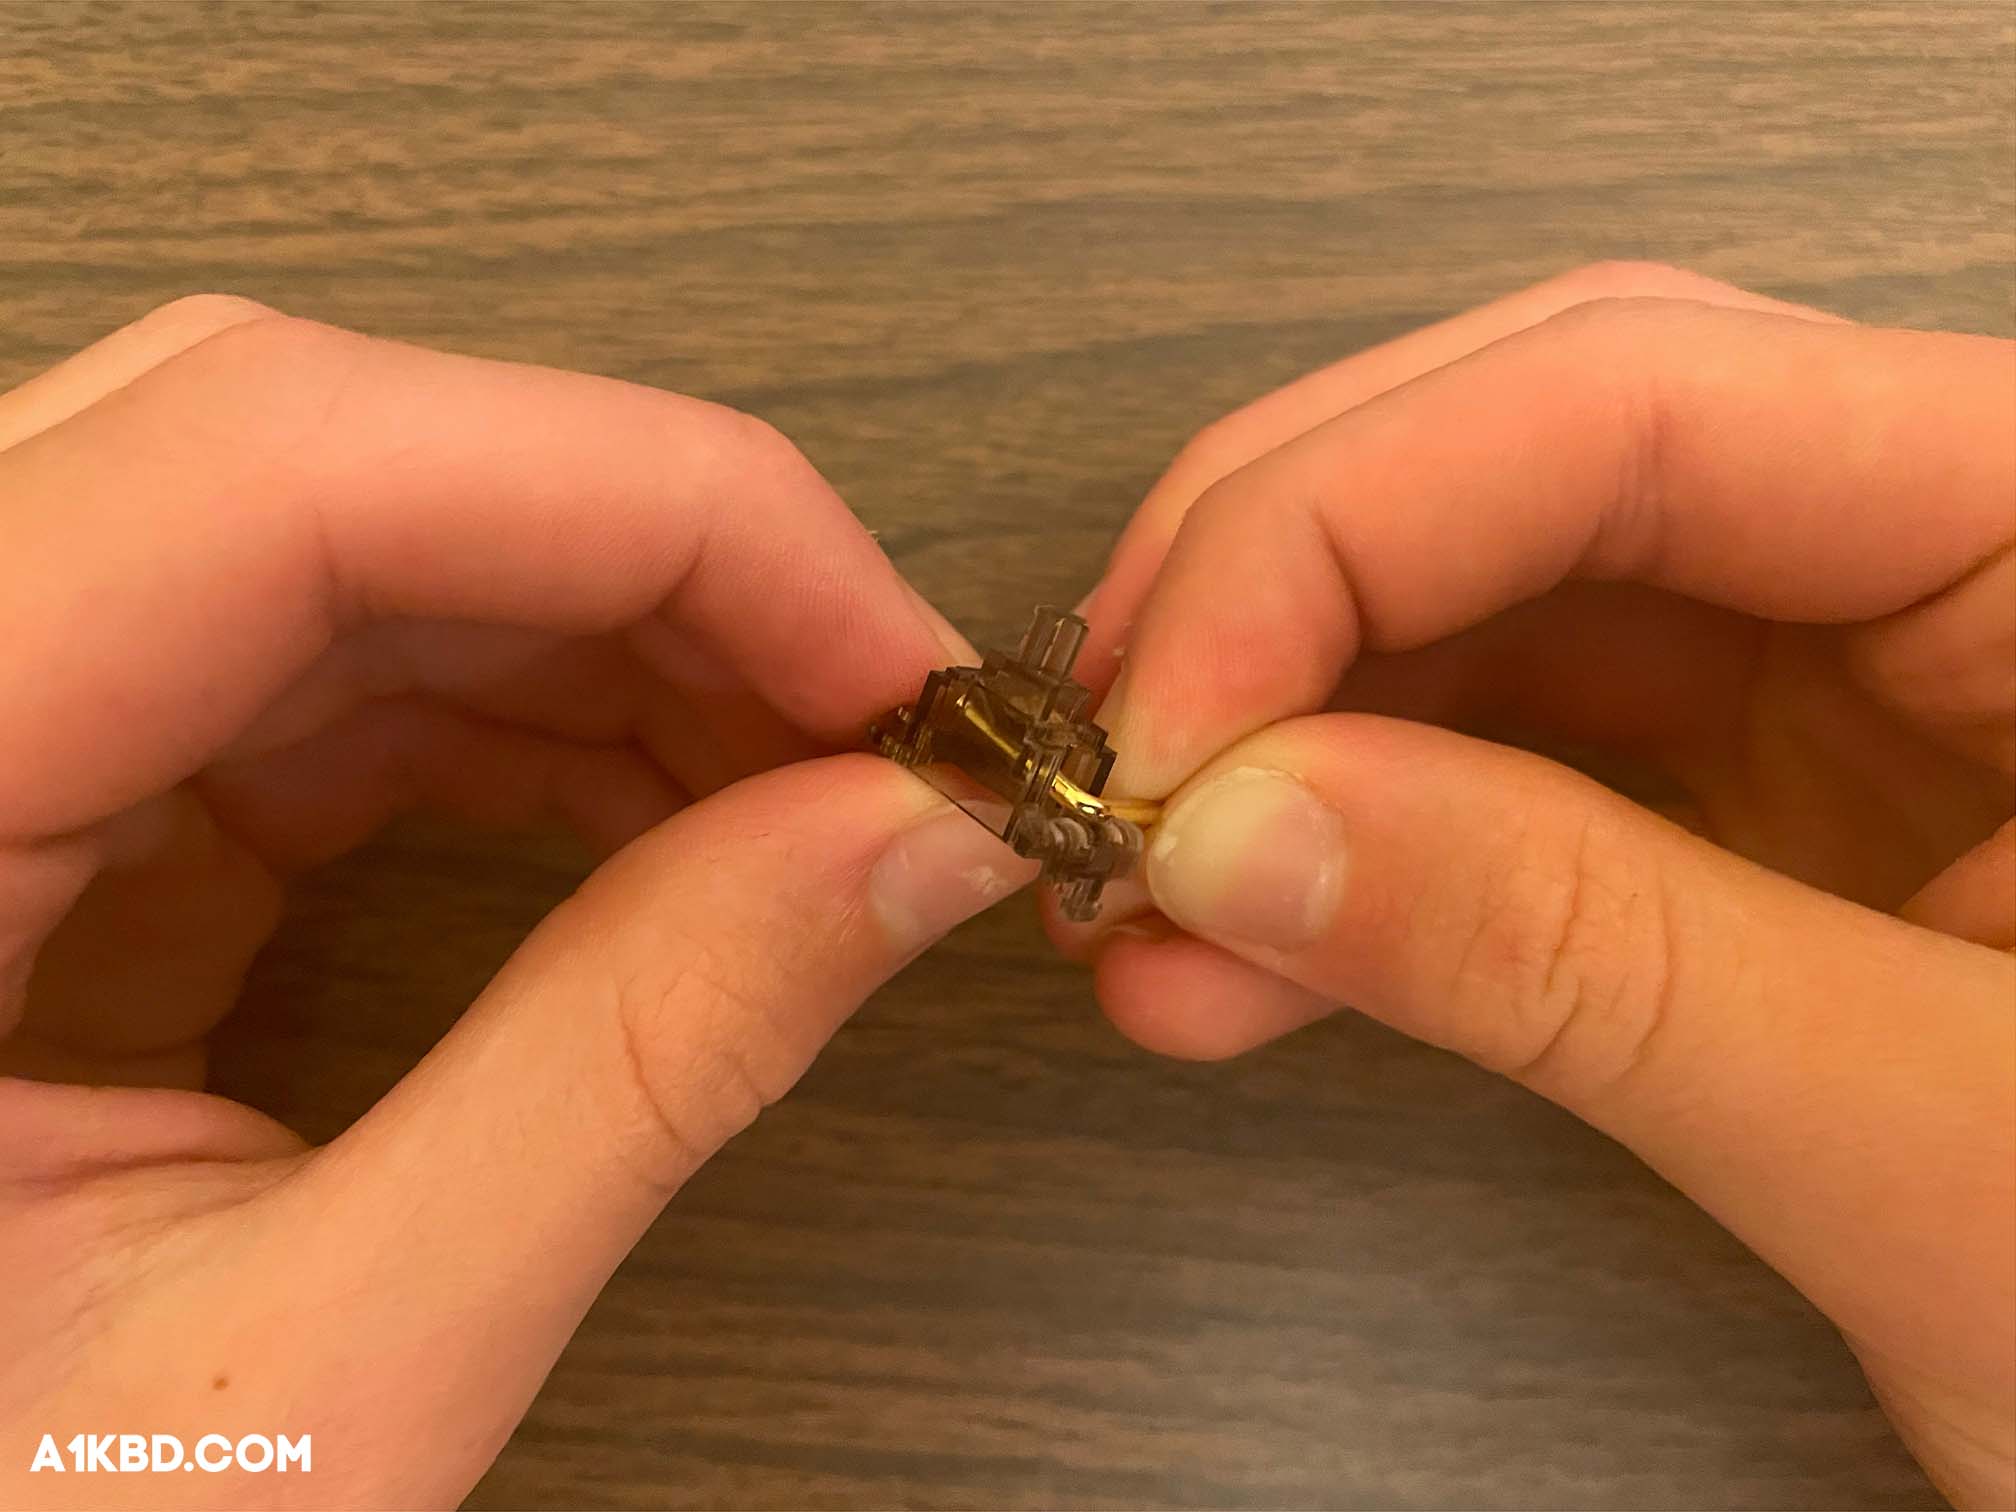
Step 4. Disassemble the Stabilizers
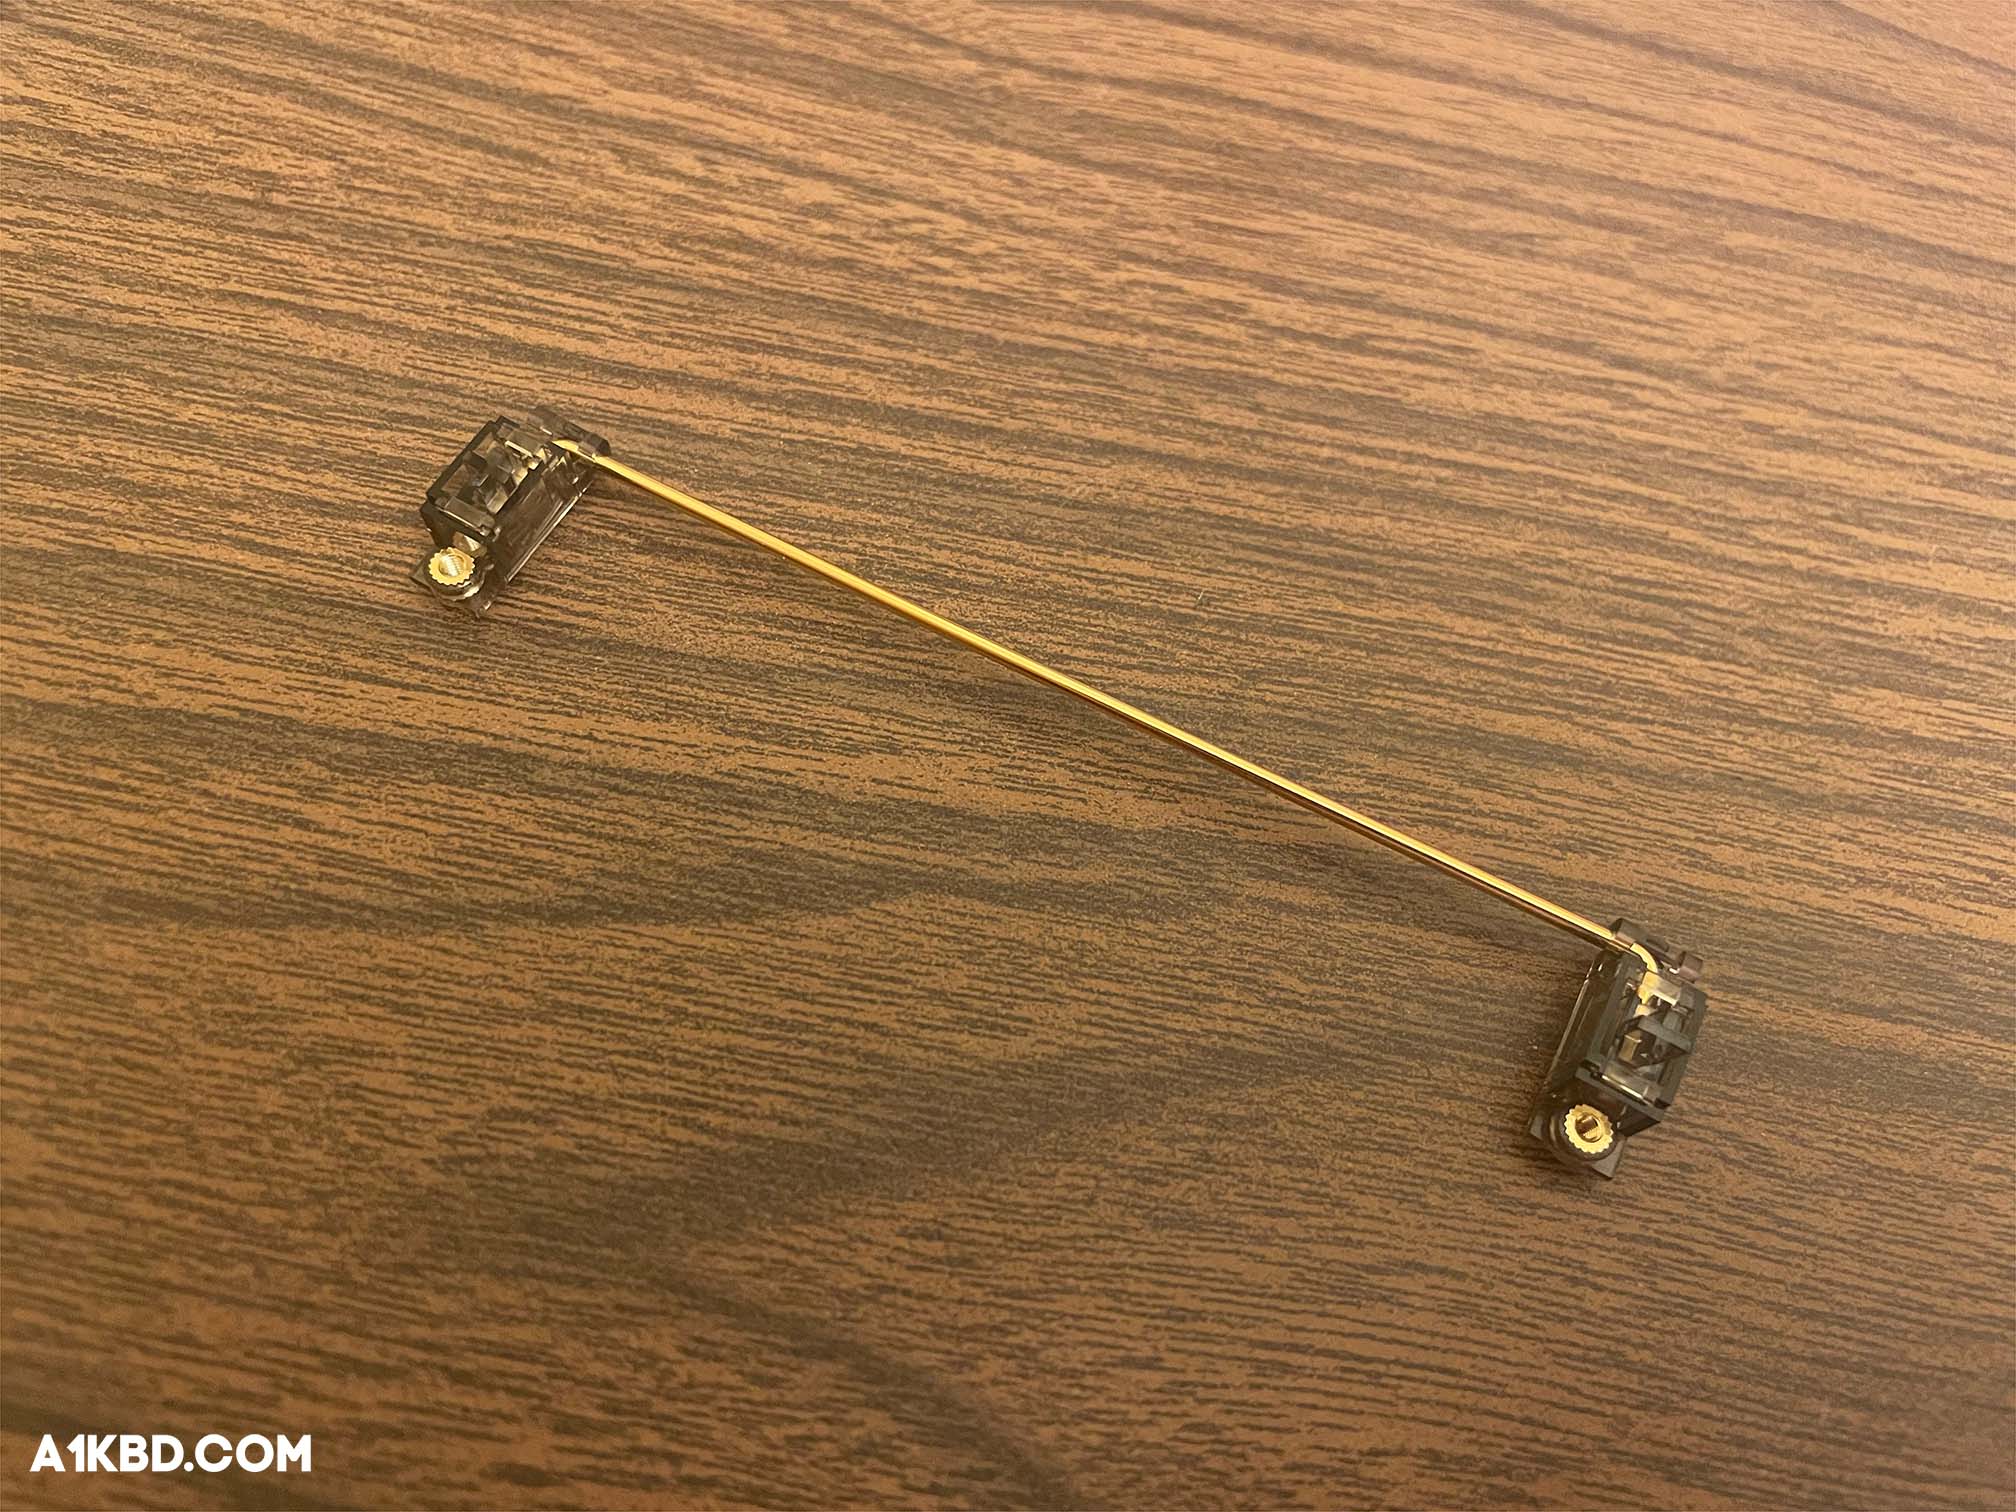
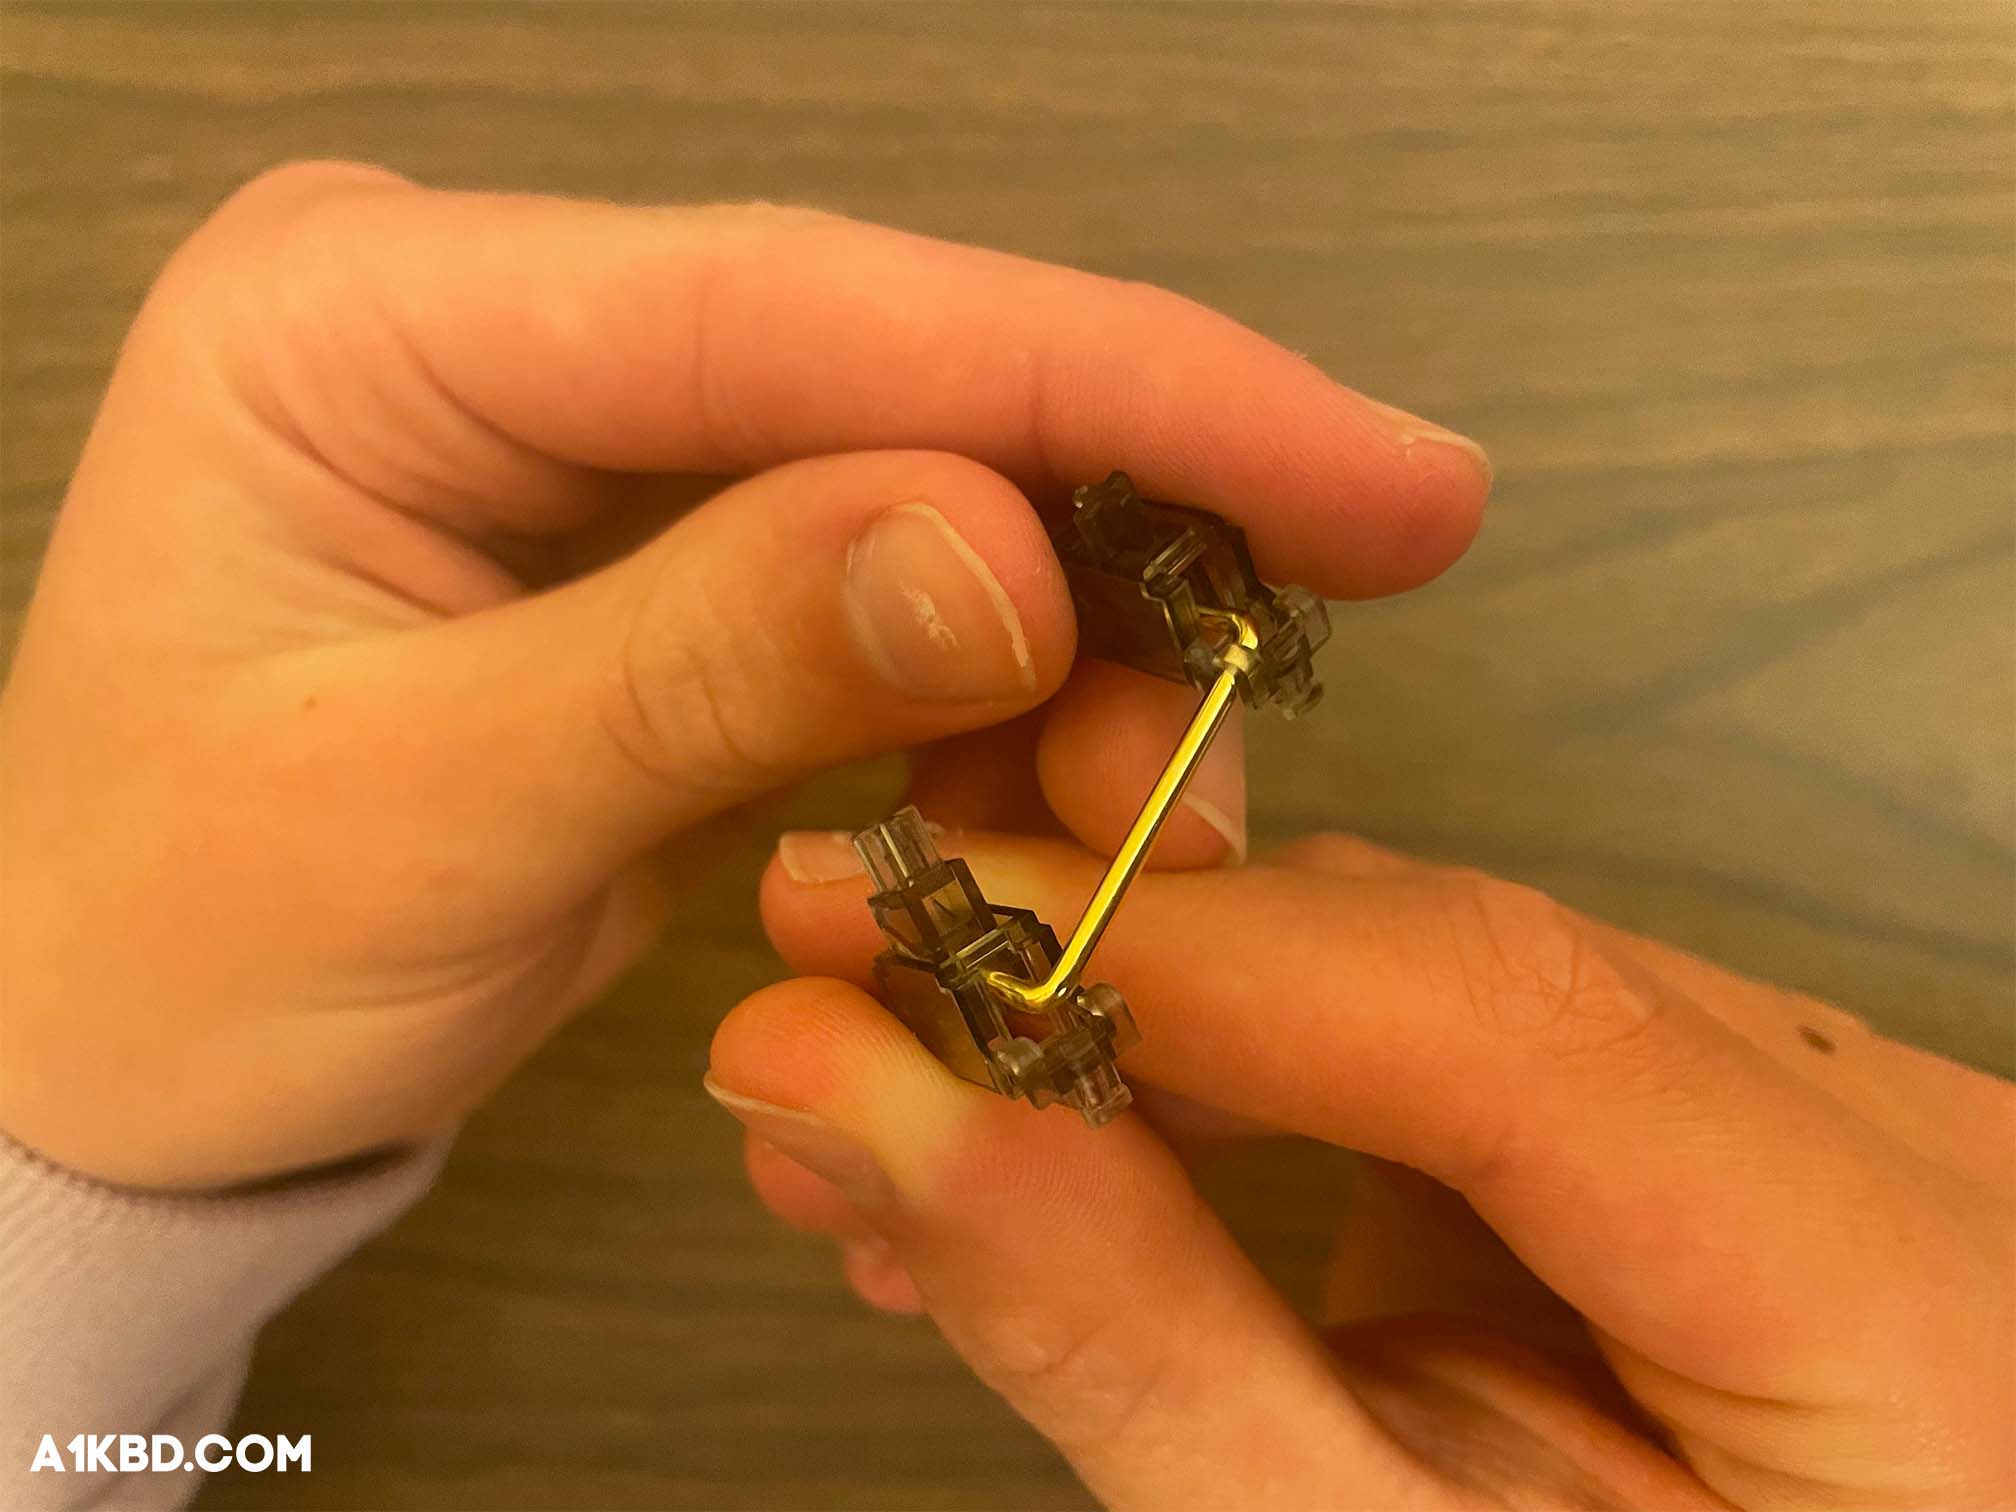
To complete the Holee Mod, you’ll need access to all parts of a stabilizer. This includes the stem, the housing itself, and the wire. Begin by twisting the stabilizer wire upwards while holding on to the housing. Stabilizer wires are held in with clips, so you should hear a subtle sound once the wire unclips from the housing. After that, simply slide the wire out of the housing. Make sure this step is repeated for both ends of the stabilizer. When completed, separate the stabilizer stem from the housing.
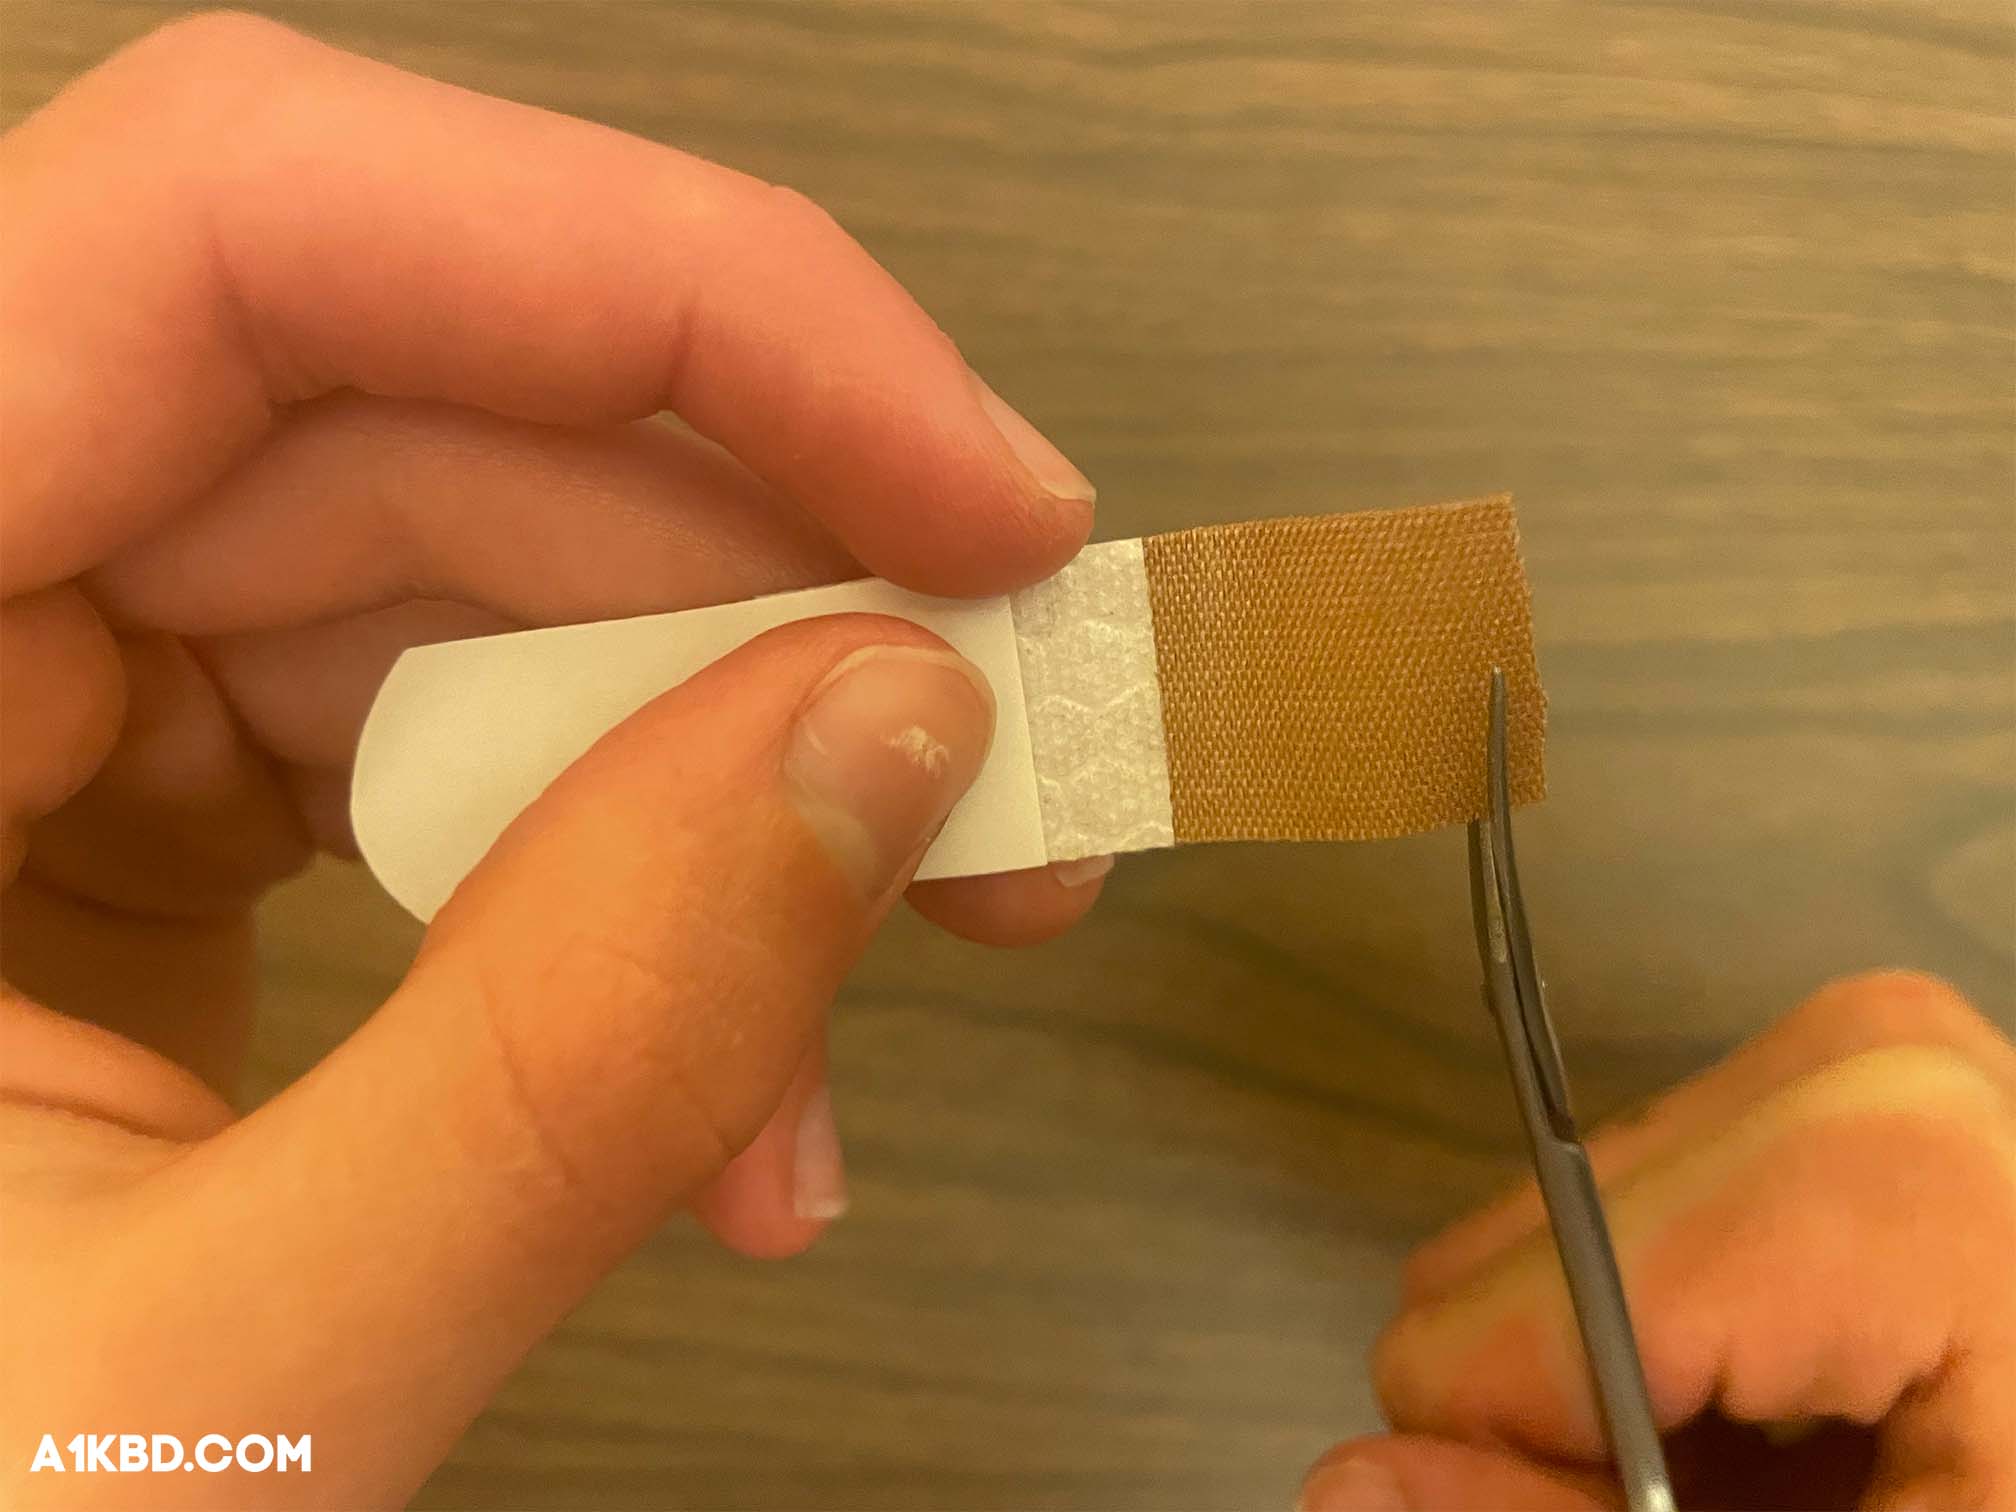
Step 5. Cut the Band-aid to Size
Woohoo! Now your stabilizers are disassembled and you can start modding them. Take out one fabric band-aid and peel one side of the protective film. This way, you can still work with the bandage without adhesive getting on your hands. Then, cut off a little piece of the band-aid that’s approximately the size of the hole located in a stabilizer’s stem. It may take a couple of tries to get the size right, but the extra effort will give you optimal results. Avoid cutting a piece too large or too small because it could end up making your stabilizers feel janky.
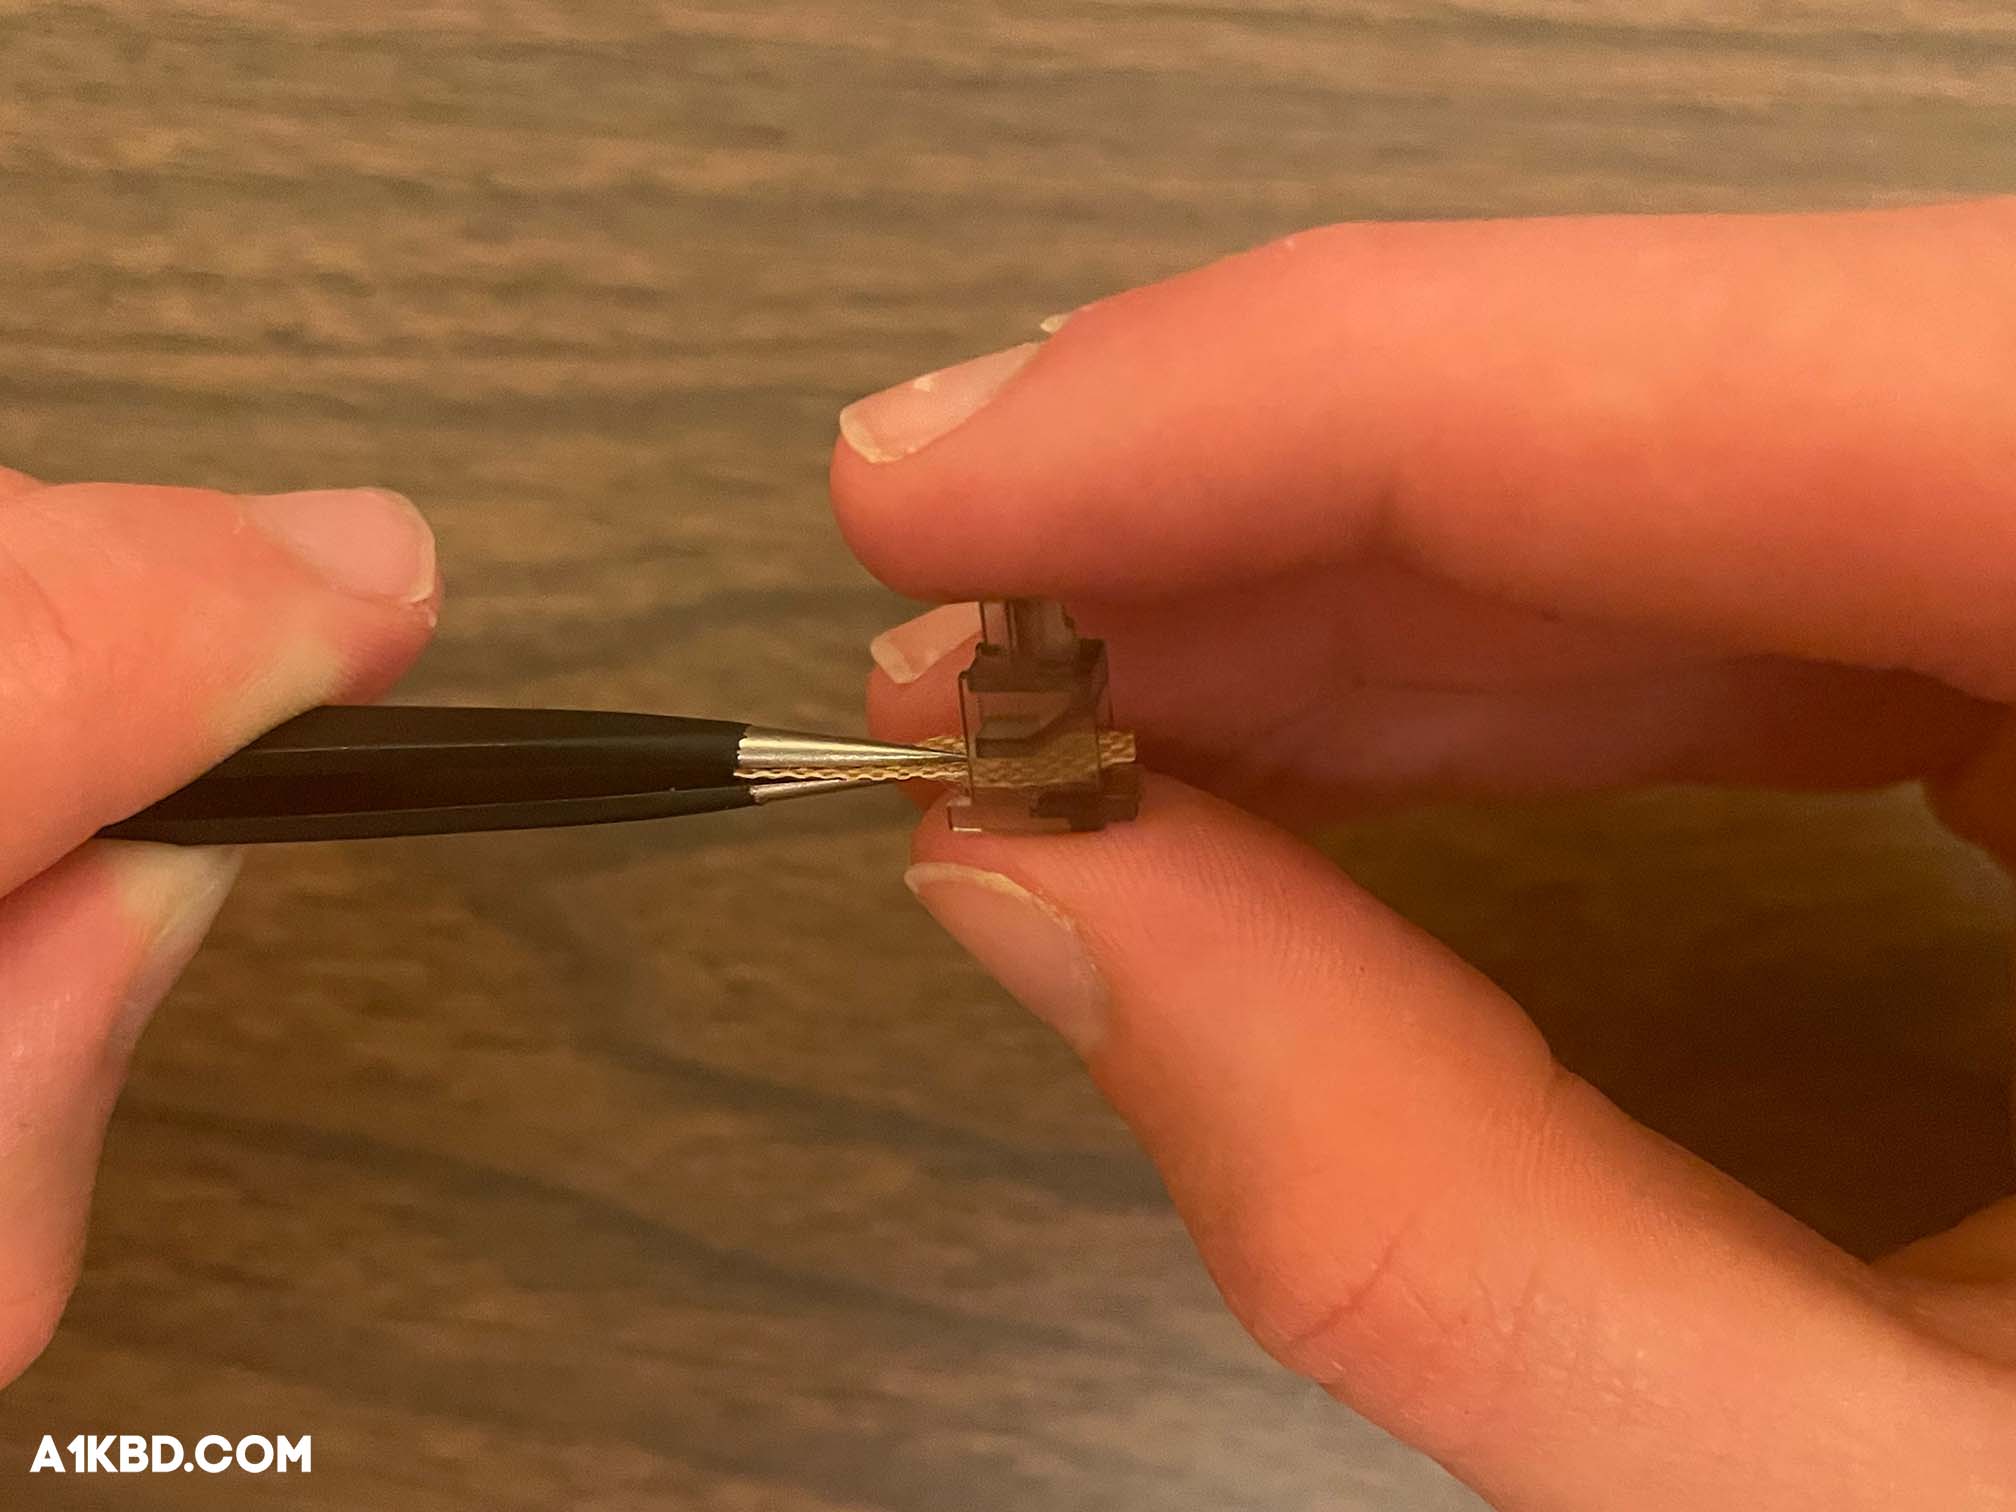
Step 6. Insert the Band-aid Into the Stem
Once you’ve got an appropriately sized piece of bandage, stick the band-aid onto a pair of tweezers. The cut band-aid should be “sandwiched” between the forceps of the tweezers. This way, you can easily insert the band-aid into the stabilizer stem. Next, flip the stabilizer upside-down so the flat part is facing up. This part may be harder to visualize, so it’s best practice to reference the pictures below. From the side with one angled hole, slide your tweezers containing the band-aid into the stabilizer stem. Once the bandage is slid through the side of the stabilizer with two flat holes, firmly grip the band-aid. This way, you can detach the tweezers from the band-aid. Apply pressure to the band-aid with a pair of tweezers to make certain it is securely adhered.
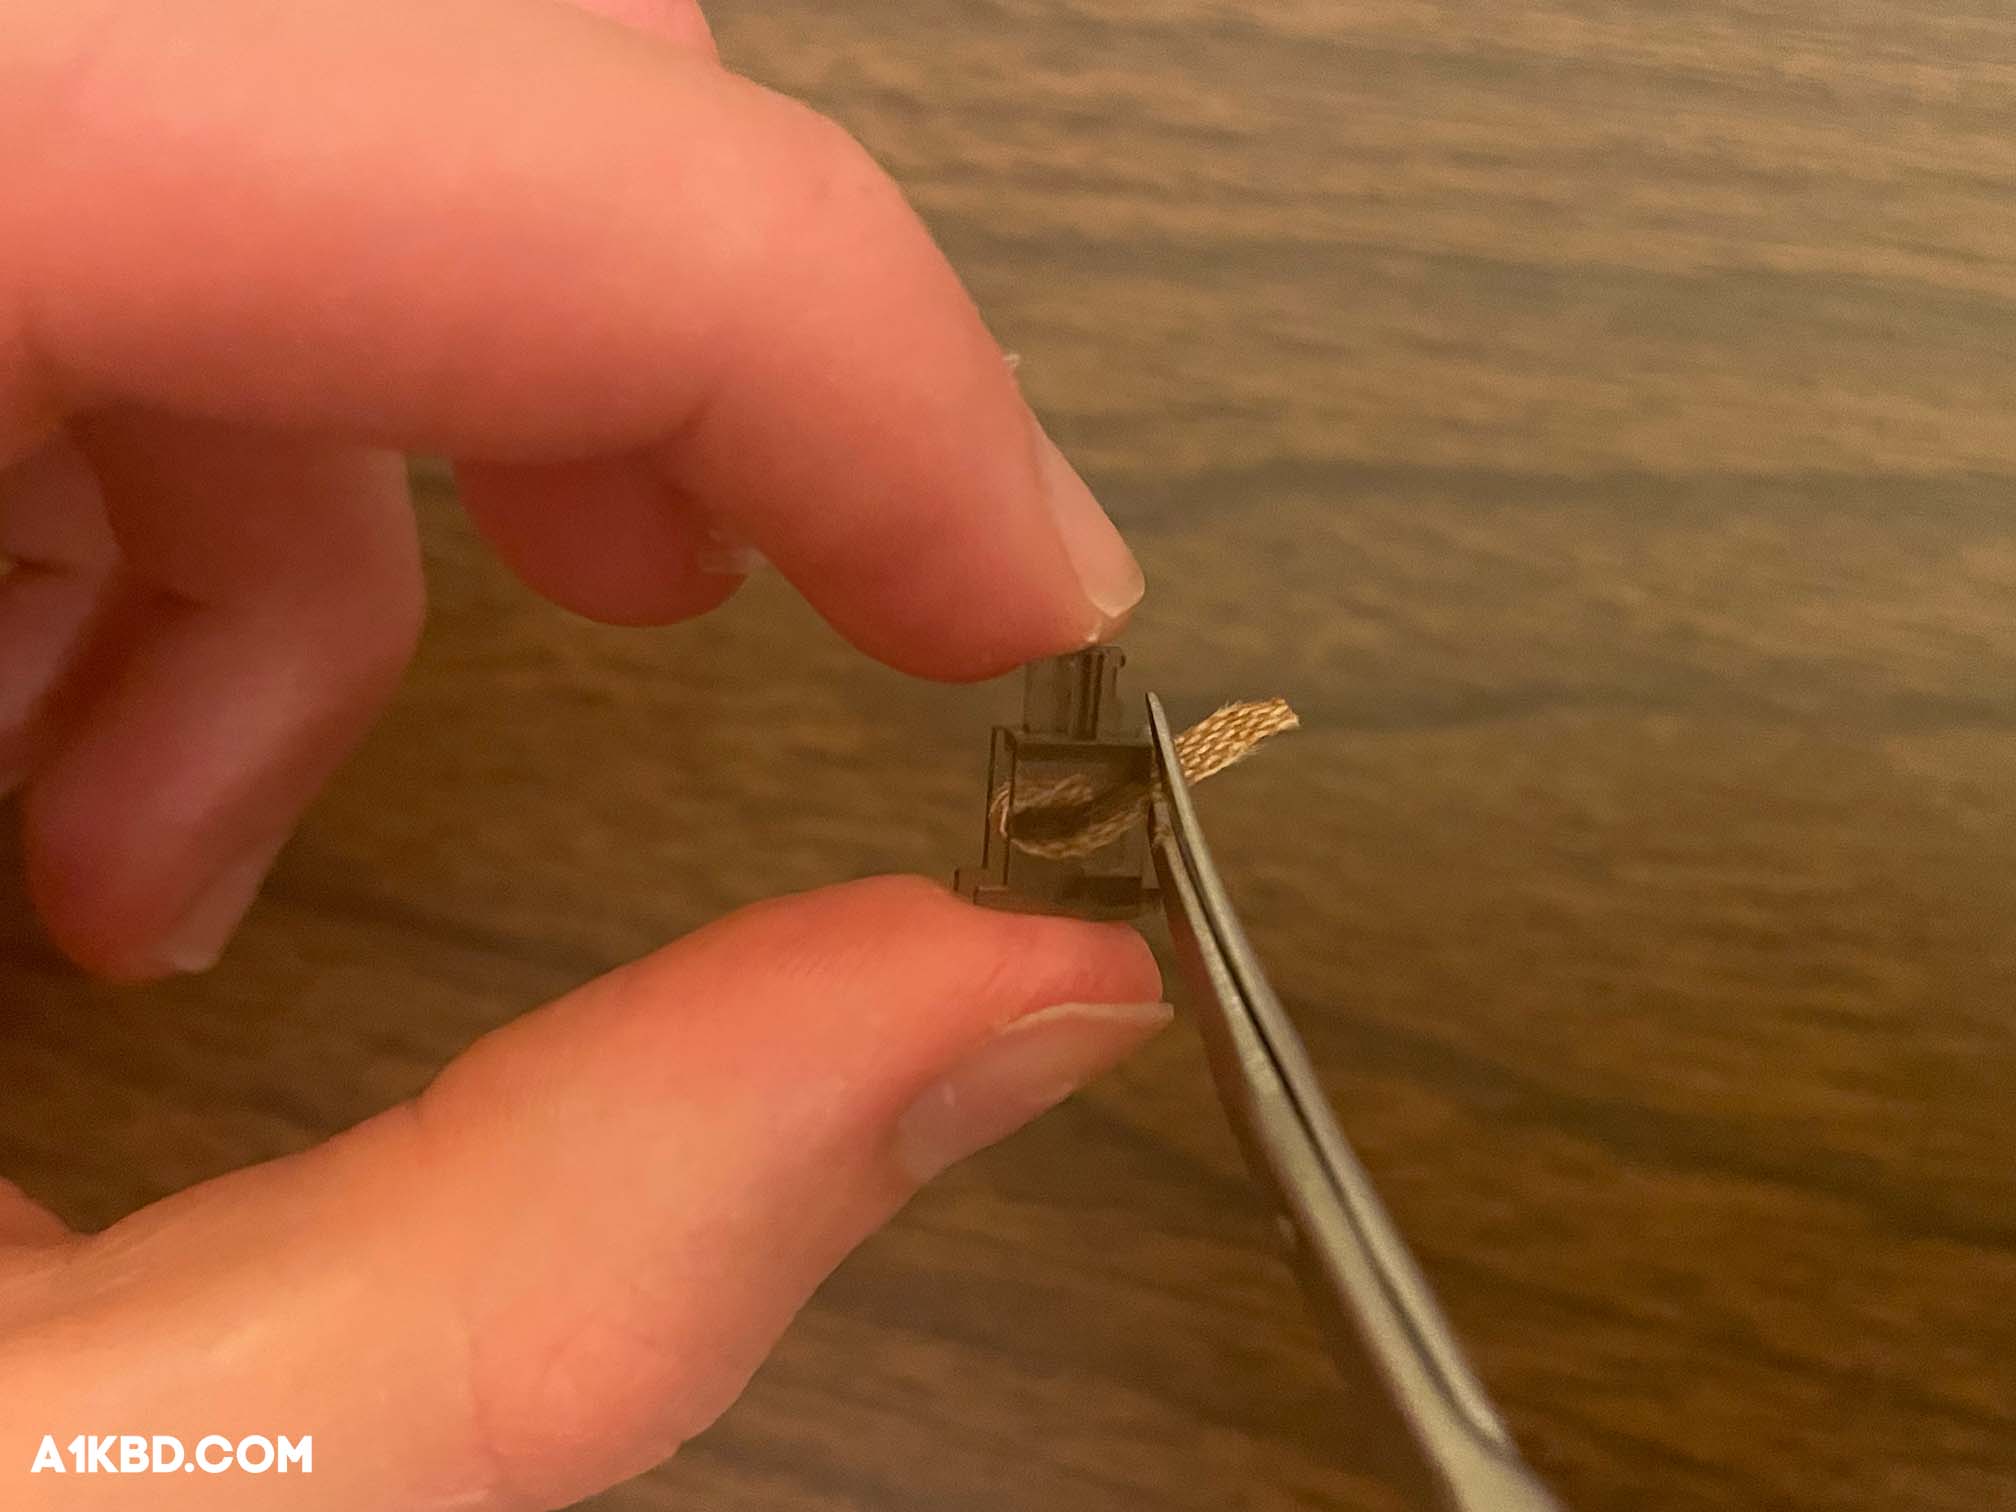
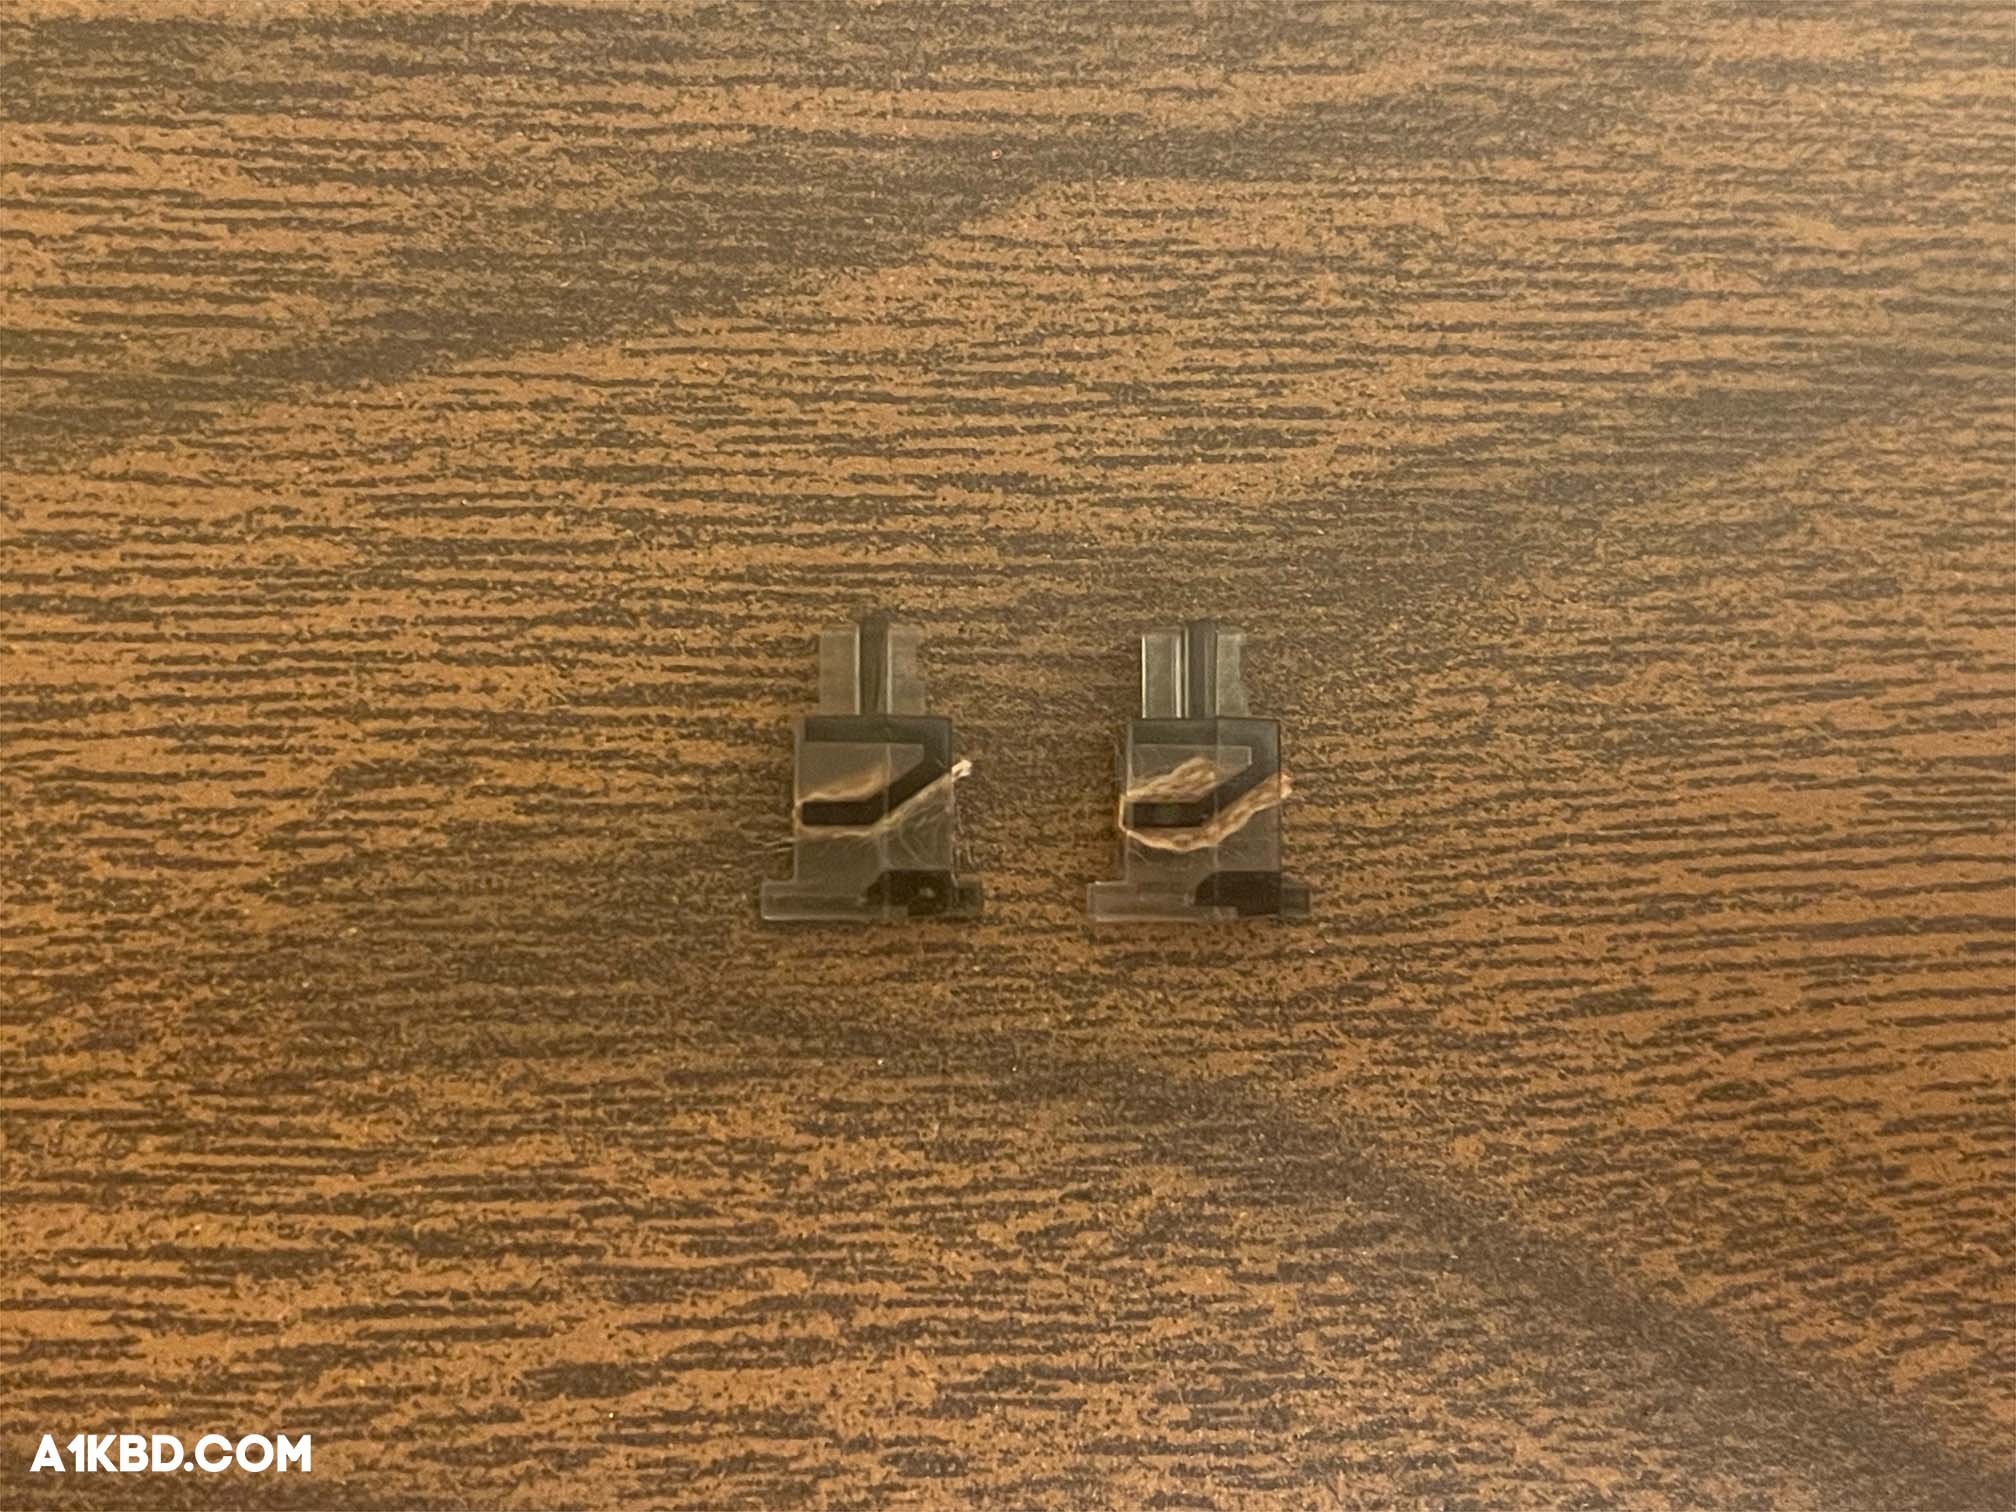
Step 7. Cut Off Any Excess Bandage
Afterward, cut off any remaining band-aid sticking out of the topmost hole of the stem. Leave a bit hanging out so you can push it into the hole below. This ensures a secure fit so the band-aid doesn’t detach itself from the stabilizer. This may sound a bit confusing, so once again, reference the image below on how the completed application should look.
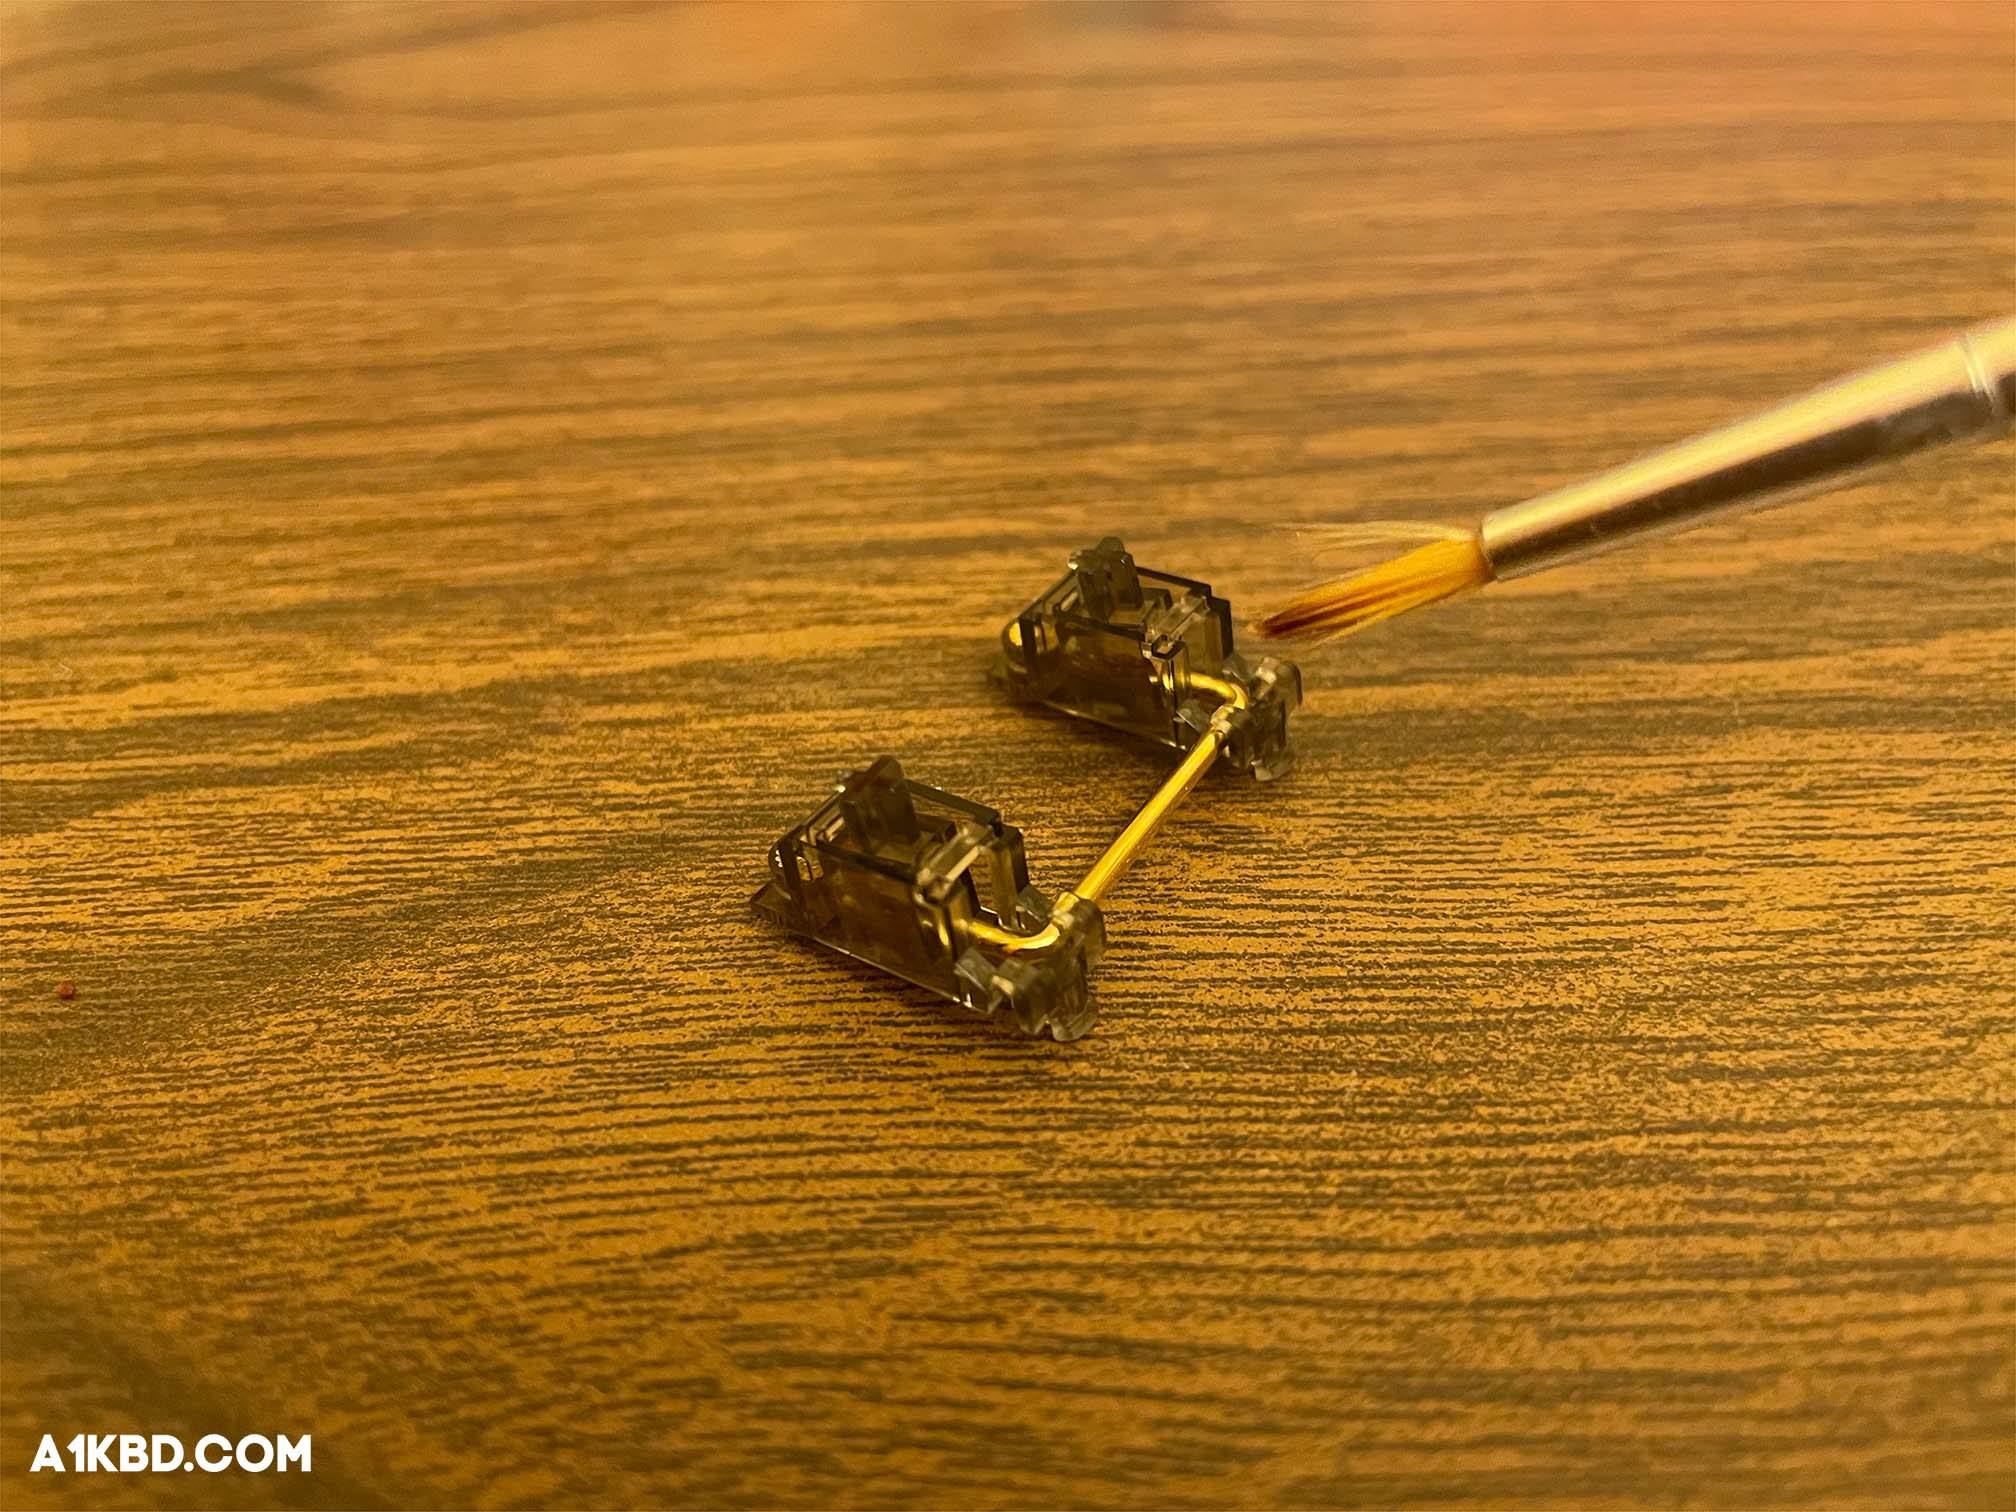
Step 8. Lube the Stabilizer(s)
We’re not done just yet. Lubing your stabilizers is still crucial for a smooth typing experience. The lube will remove any remaining tick or rattle the Holee Mod couldn’t take care of. Dab your brush in a jar of Krytox 205g0 and coat the stabilizer stem with it. You can be a bit more generous while applying lube here unlike when lubing switches. Do the same with the inside of the stabilizer housing as well. After that, put the housings back together and prepare to lube the wire. When lubing the wire, you’ll want to apply a visible yet even coat of lube onto the end where the wire clips onto the stabilizer housing. For a more in-depth guide on lubing stabilizers, check out this video.
Step 9. Reassemble the Stabilizer(s)
Right after you’ve applied lube to the wire, push it back into the stabilizer housing. After the wire enters the hole in the stabilizer stem, you can twist and clip it back into place. Make sure to lube the other side of the wire as well. The result of this should be a fully assembled stabilizer ready to make your keyboard sound great.
Step 10. Rinse and Repeat
Now you know all there is to know about Holee modding a stabilizer. All you have to do now is rinse and repeat these exact steps for the rest of your stabilizers. The more stabilizers you complete, the easier it gets. Remember to be precise and if you ever feel confused, don’t hesitate to check back on any of the steps.
Is the Holee Mod Worth It?
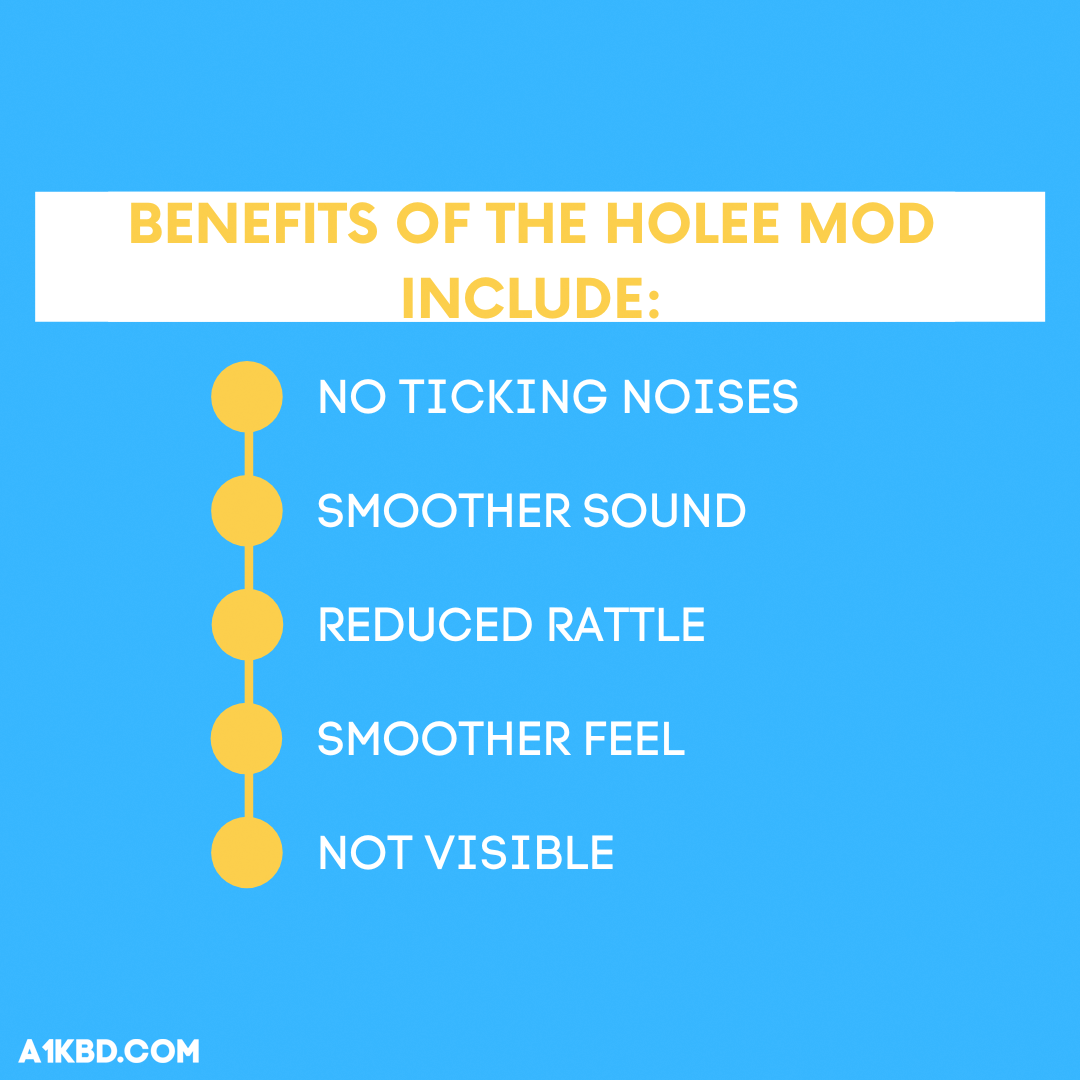
If your stabilizers feel janky or rattle/tick, the addition of the Holee Mod will immediately improve their feel/sound. Almost every premium-sounding keyboard makes use of the Holee Mod. Whether or not you’re a keyboard enthusiast, you should definitely give the Holee Mod a try.
Holee Mod vs Epsi Mod
The Epsi Mod is another version of the Holee Mod, however, instead of band-aids, the Epsi Mod uses leftover bits from Deskeys switch films. Unfortunately, the Epsi Mod requires the use of separate adhesive material to stick inside the stabilizer. In our opinion, the Epsi Mod is less desirable because it’s more expensive, labor-intensive, and time-consuming.
Holee Mod vs Band-aid Mod
The Band-Aid Mod is completely different from the Holee Mod in the fact that nothing is physically added to the stabilizers. All the band-aid mod does is cushion a stabilizer hitting the PCB using a band-aid. The band-aid is adhered to the PCB and in theory, dampens noise and reduces rattle.
Conclusion
And there you go, that’s everything you need to know about the Holee Mod to perform a Holee Mod. Although the mod requires a few careful precise cuts and some patience, it’s super easy to complete once you get the hang of it. And the best part, it only requires a band-aid or two, making it budget friendly. The Holee Mod is the key to removing tick and/or rattle from your stabilizers.
Thanks for reading and have fun!