

You’re probably reading this article because you heard that apart from lubing switches, filming switches is another way to customize the sound of your keyboard. The combination of lubed and filmed switches will bring astounding results to your keyboard for many years to come.
In this guide, you’ll discover why we film switches, the variety of different switch films, the tools required for the job, and the necessary steps in order to correctly film your switches. After reading this article, you’ll soon become an expert and can film your switches with ease.
What is Switch Film?
Switch films are extremely thin sheets of plastic or another compound that are placed between the top and bottom housing of a switch. Switch films are made from varying materials such as polycarbonate, rubber, PLA plastic, foam, etc. Different switch films deliver a variety of sound profiles. You may need to test various film materials to ensure that your ideal sound is projected.
Why do we Film Switches?
Filming switches is essential to the switch’s quality. Most switch’s housings are naturally loose. Filming switches tighten the switch housings together and remedy the loose switches. This action results in reduced housing/stem wobble and an overall improvement in acoustics. Placing switch film tightens the switch housings and remedies the loose switches. Additionally, switch films also make the sound of switches more consistent.

Switch Films and Preference
The following switch films were carefully selected for quality and to ensure your filming is done correctly.
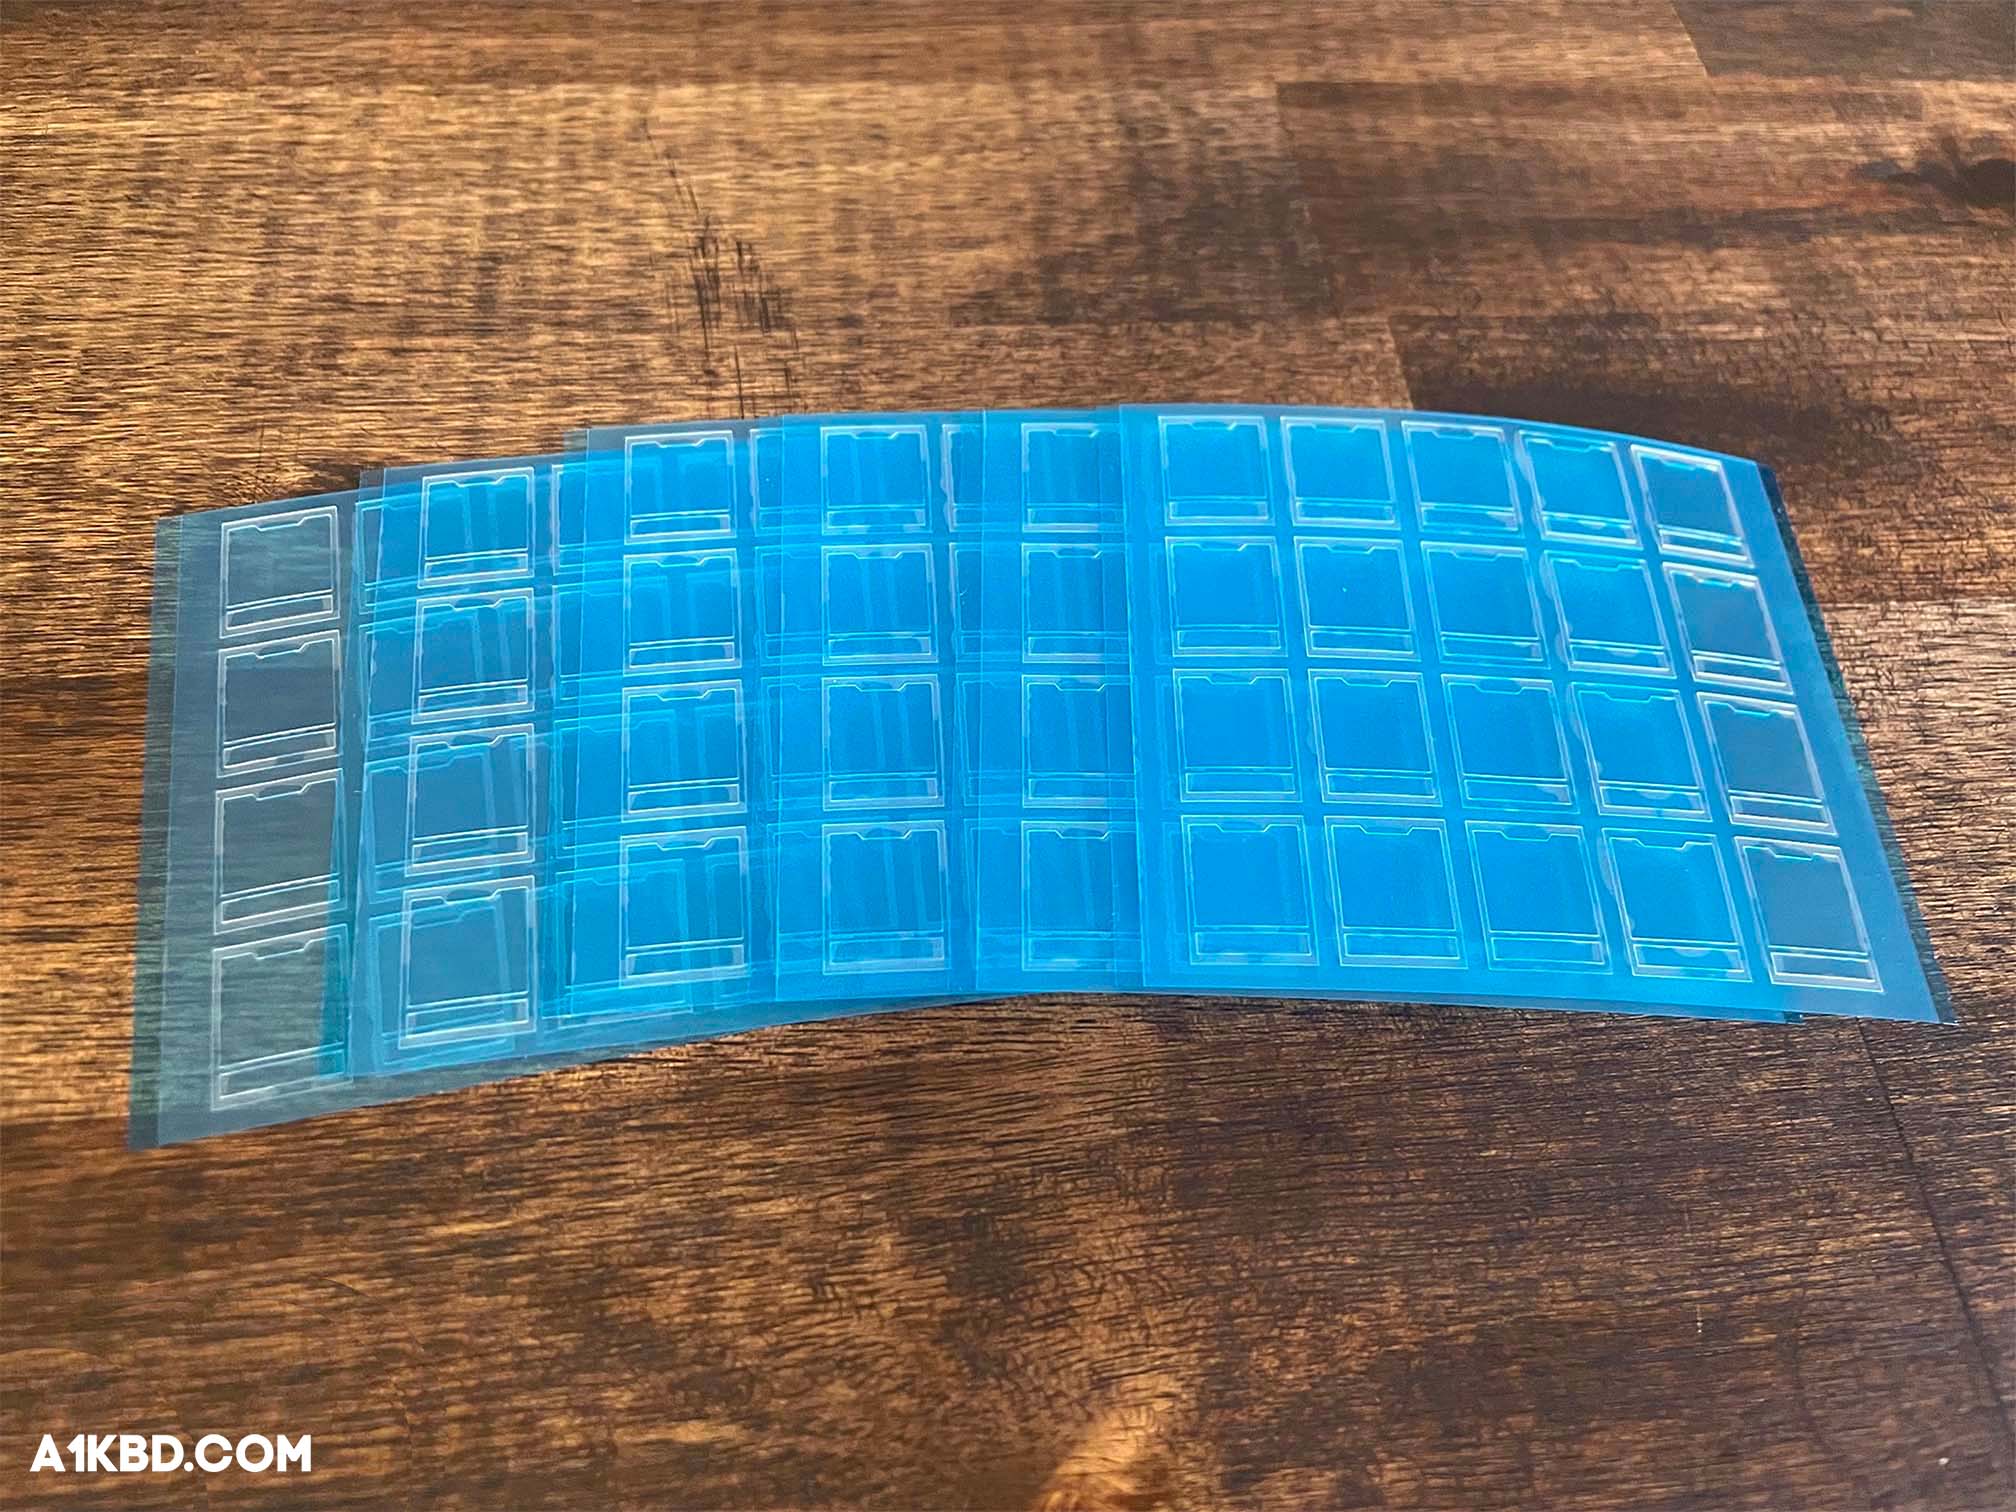
Durock Switch Film
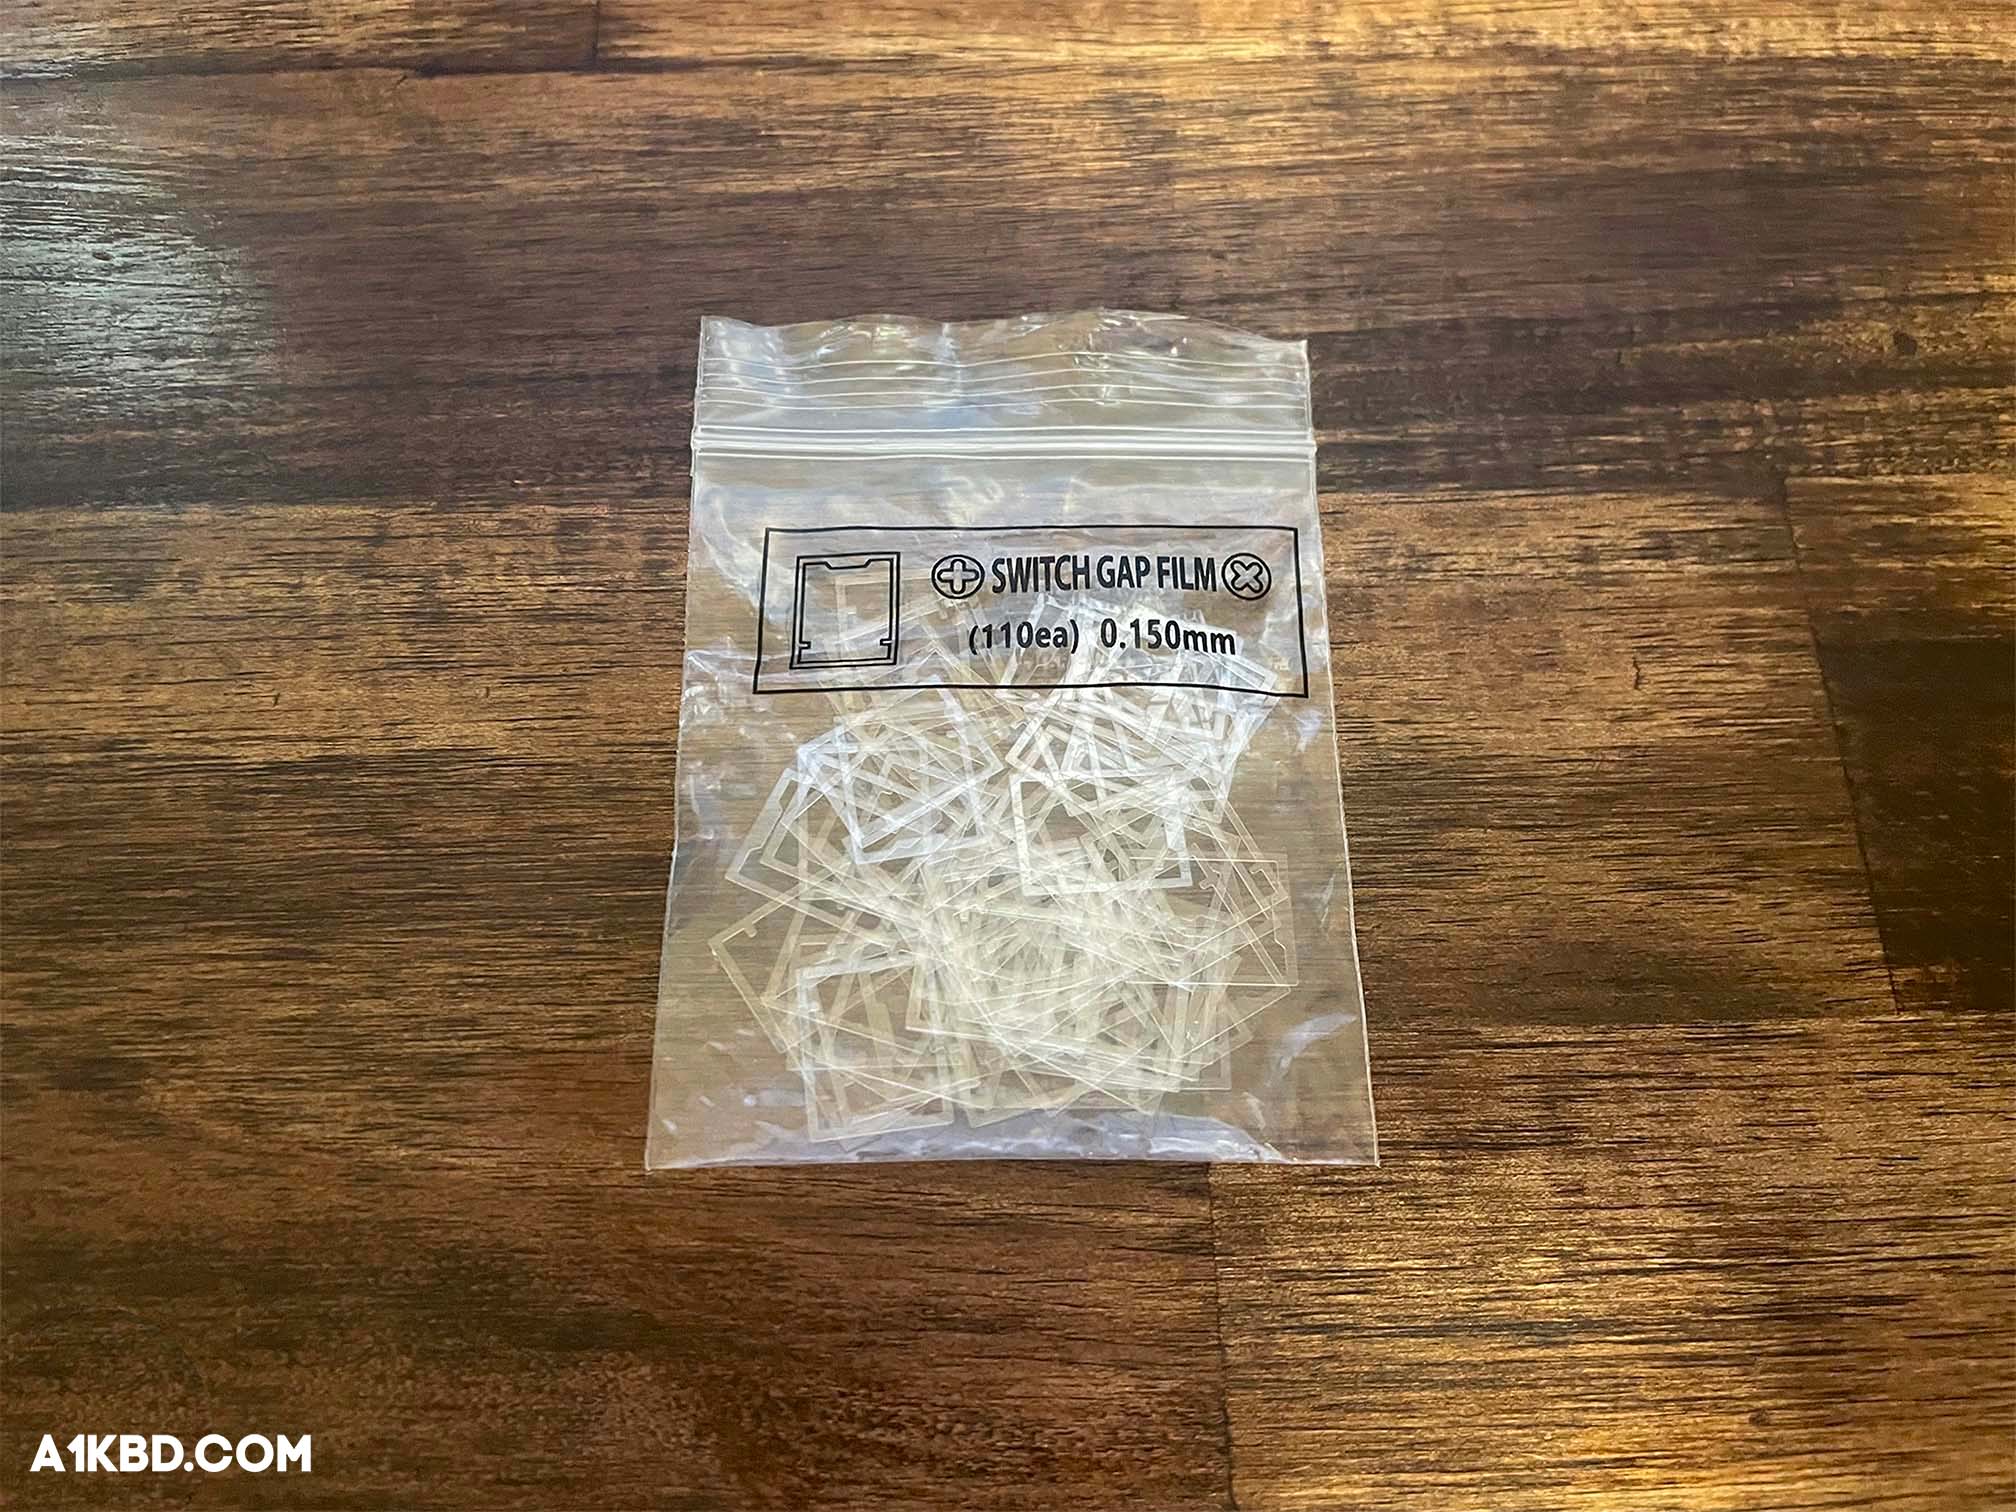
Durock Switch Films are two-sided switch film made from HTV and PC material. The PC faces a switch’s top housing while the HTV faces the bottom housing. The films are 0.15mm thick and come in packs of 110. The only color offered is clear which is a very minor detail considering the films are not visible. Durock Switch Films are recommended for customers looking for both simple yet inexpensive film. Their design is simple, and the films are super easy to install.
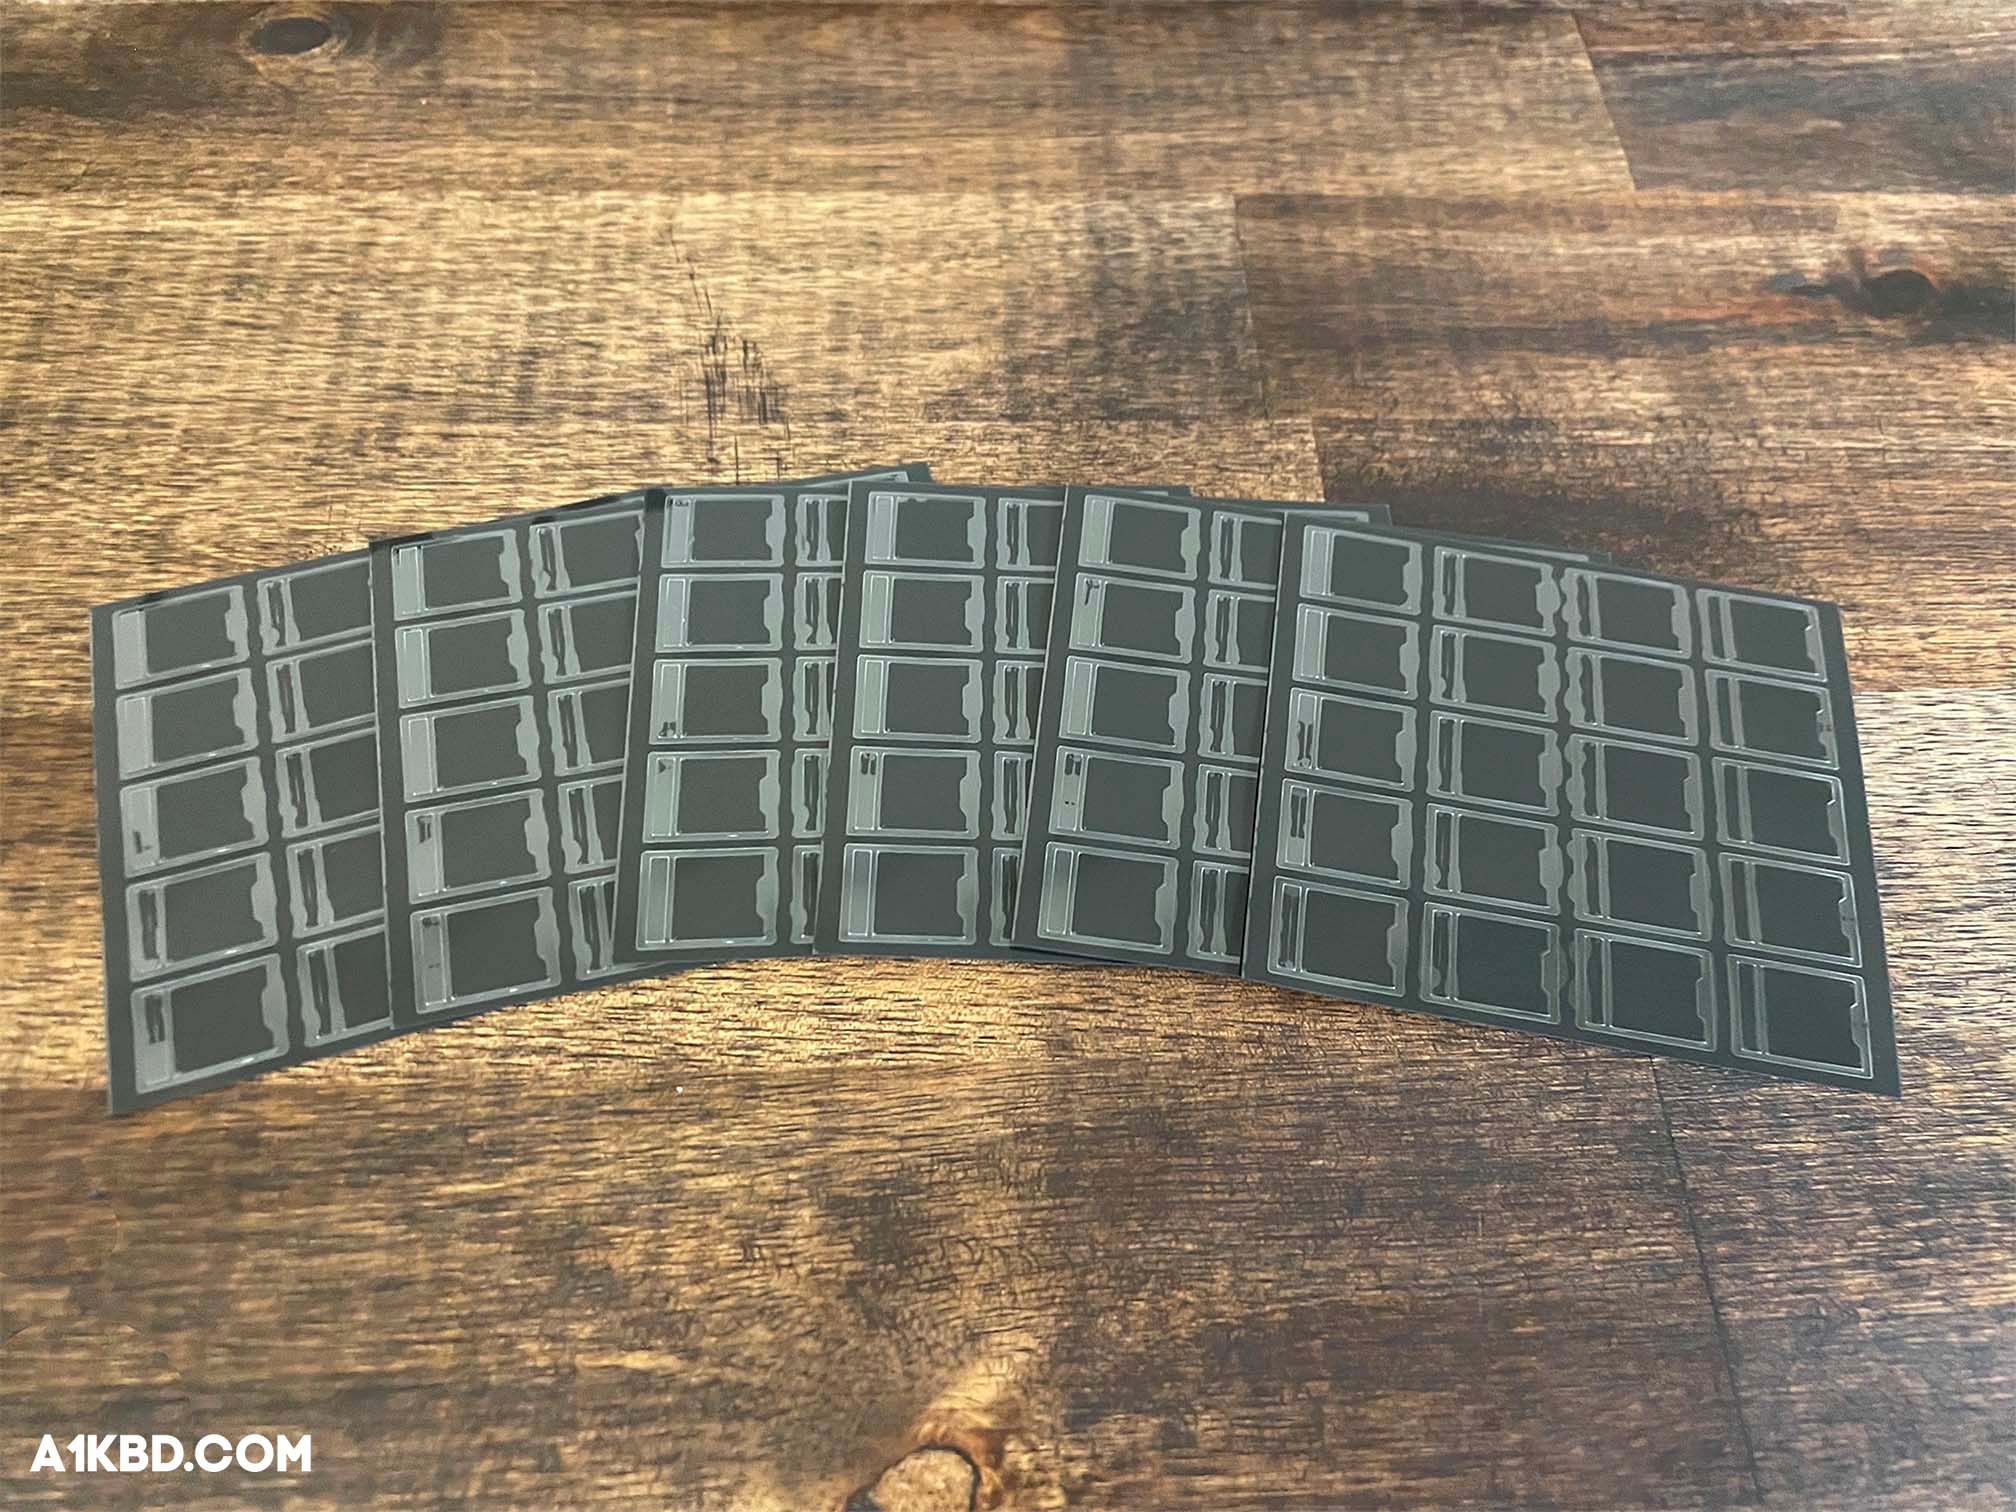
KBDfans Switch Film
KBDfans Switch Films are made from black foam and are 0.2mm thick. The films come in packs of 130. They are compatible with most switches though they’re not recommended for ones with housings that are already tight. An example of a switch with an already tight housing include the Durock POM Linear. However, switches with extra loose housings such as Gateron Yellows greatly benefit from the KBDfans Switch Film. After the application of this type of film, switches sound much crisper and have sharpened acoustics.
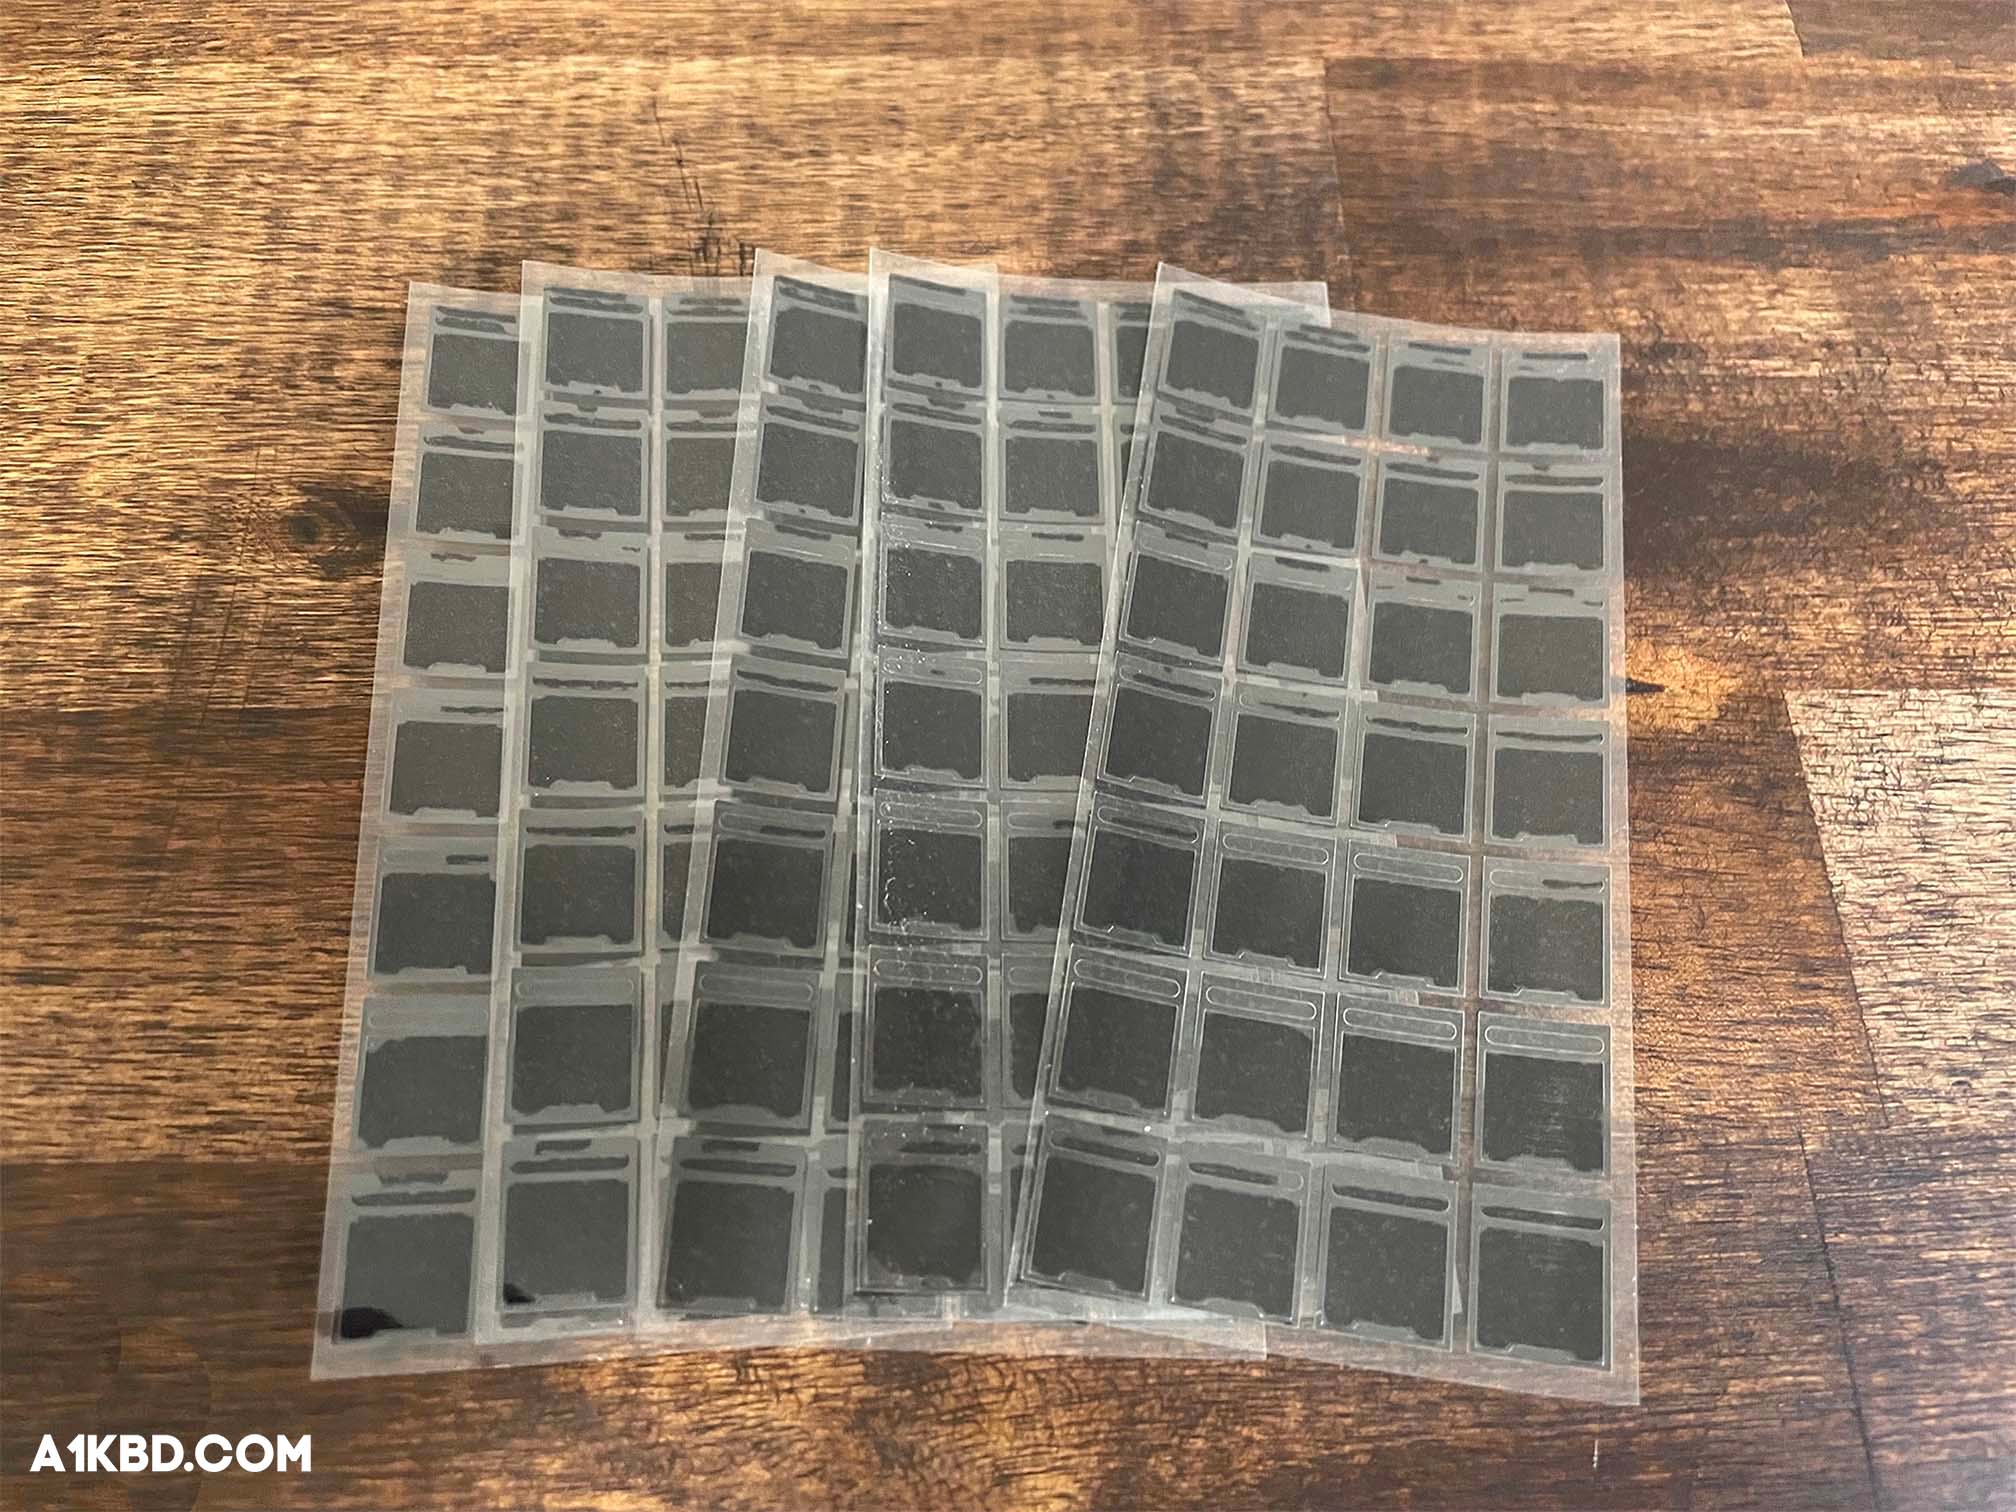
Deskeys Switch Film
Deskeys Switch Films are made from black foam and are 0.2mm thick. The films come in packs of 130. They are compatible with most switches though are not recommended for ones with housing that are already tight. However, for switches with really loose housings, these films are perfect. After the application of this type of film switches sound much crisper and have sharpened acoustics.
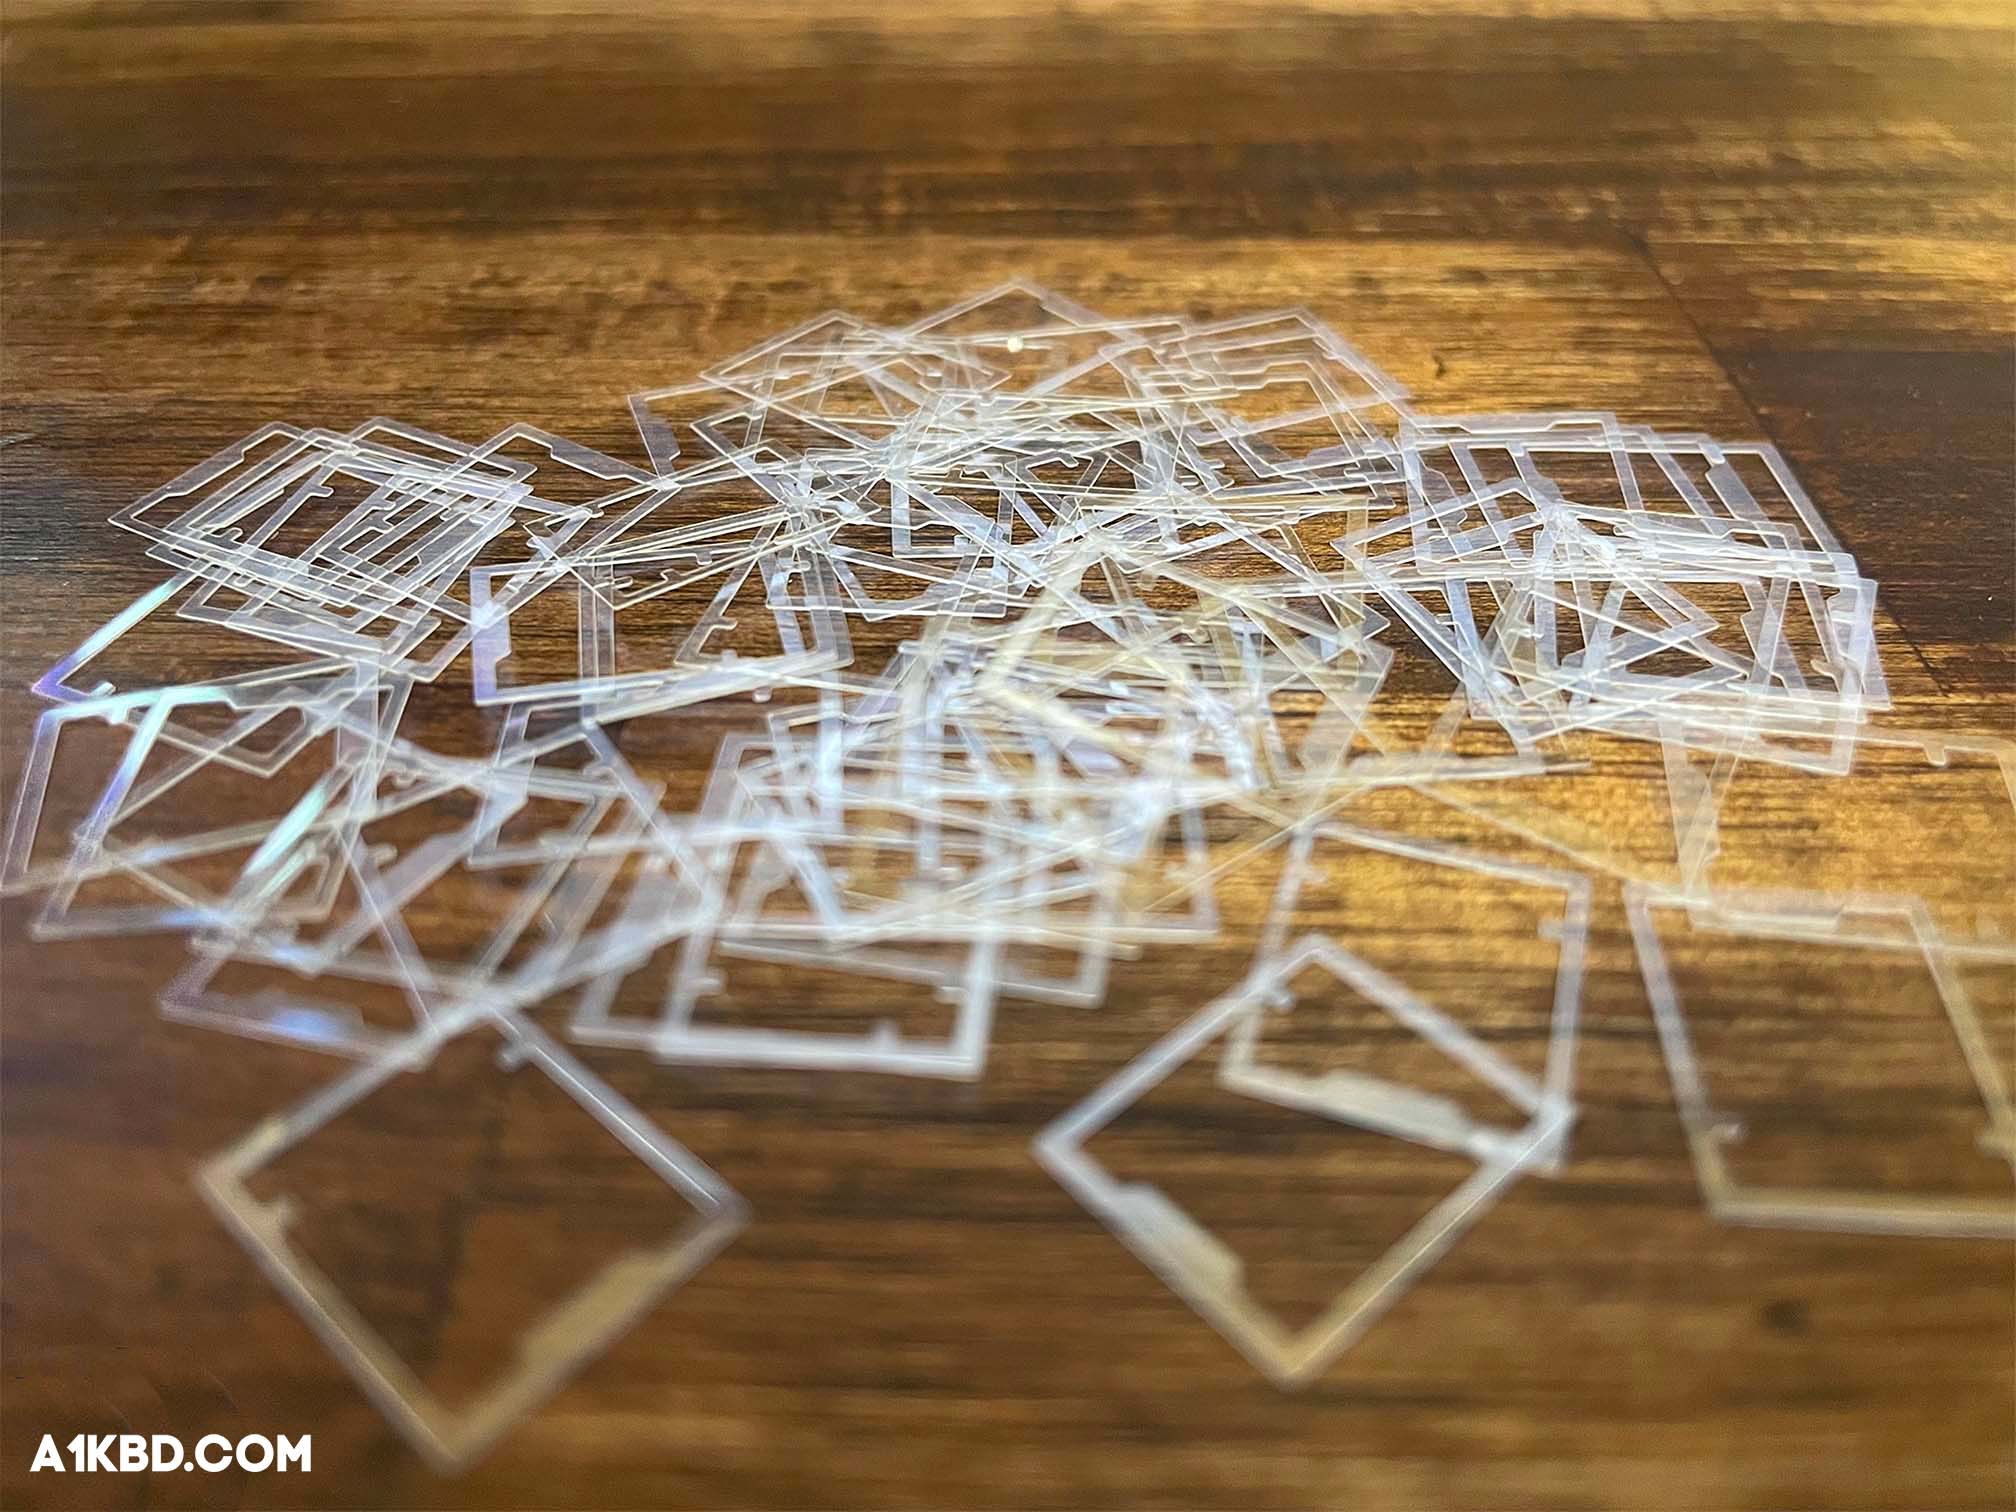
TX Switch Film
TX Switch Films are made from a polycarbonate material and can either be 0.125 or 0.15mm thick. They are available in many different colors such as black, clear, white, aqua, blue, green, orange, pink, purple, red, and yellow. The films also come in packs of 110. We heavily favor these films compared to others due to their astonishing results and large selection of colors/sizes. Because of their ease of handling and overall usability, TX Switch Films have become one of the most popular polycarbonate switch films.

4 Tools for Filming Switches
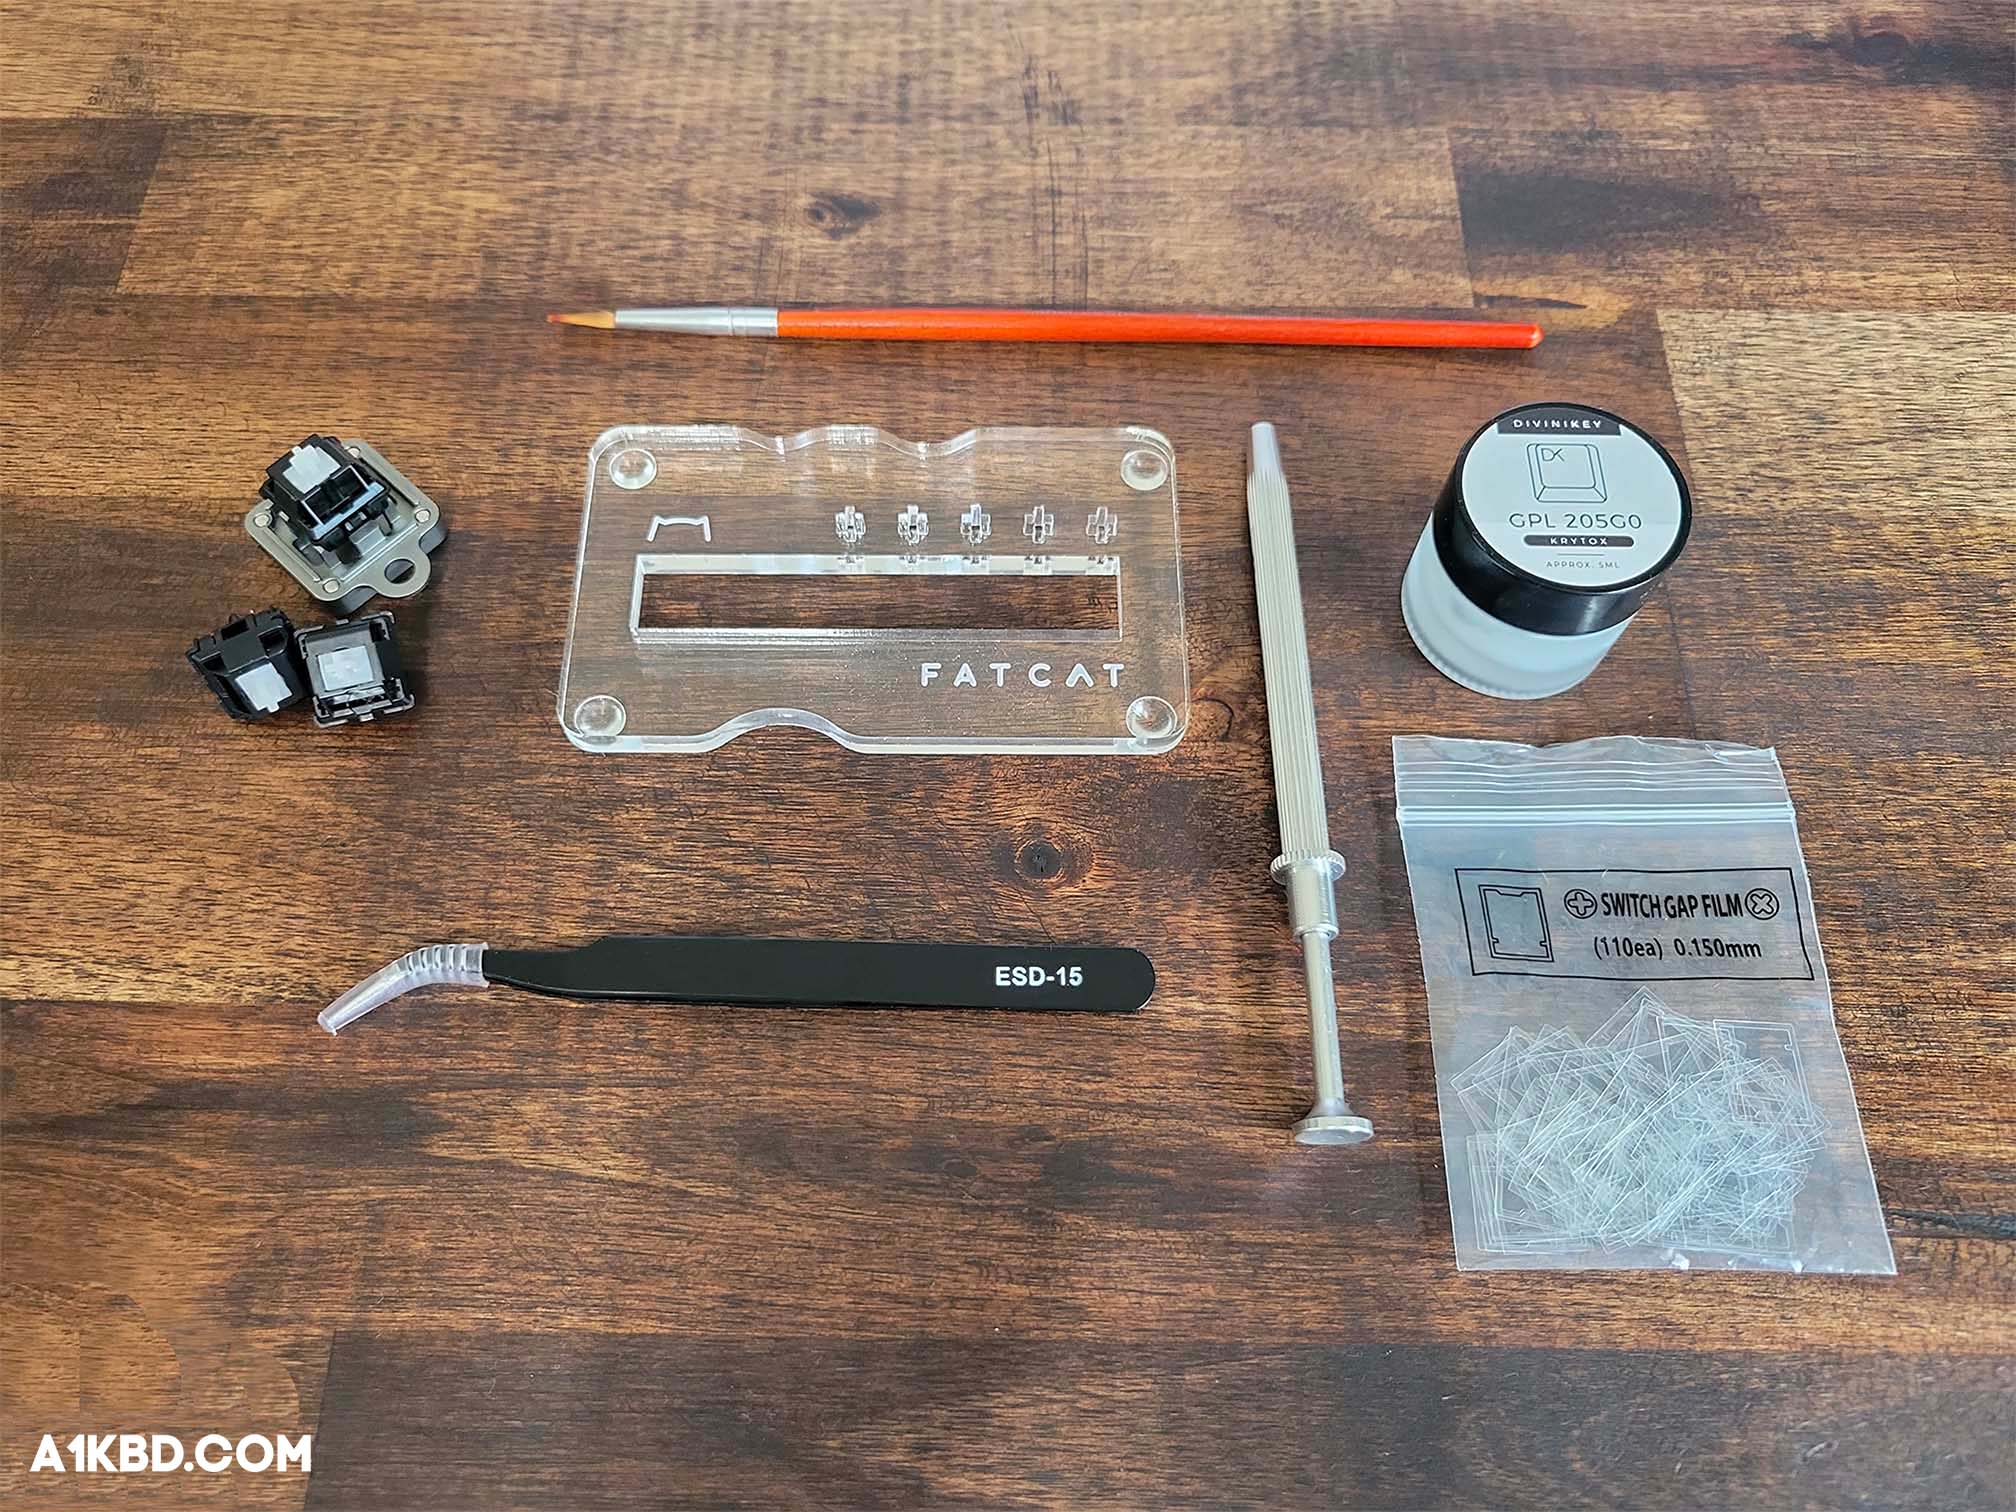
Like any other mod, you’ll need several tools to properly film your switches. These tools include a switch opener, tweezers, switch films, and optional lubing equipment. We chose the best tools to ensure the job is done properly.
1. Switch Films
Switch films are necessary for filming switches. Considering there’s a variety of switch film options, choosing the best film will vary depending on your preference. Fortunately, any film mentioned above is a solid choice during the filming process. The general rule to follow when filming switches is to have at least 10 more films than your total number of switches. For instance, if you have 61 switches, you need 71 films. Since mistakes can normally occur during the filming process, it’s always beneficial to have extra films on hand.
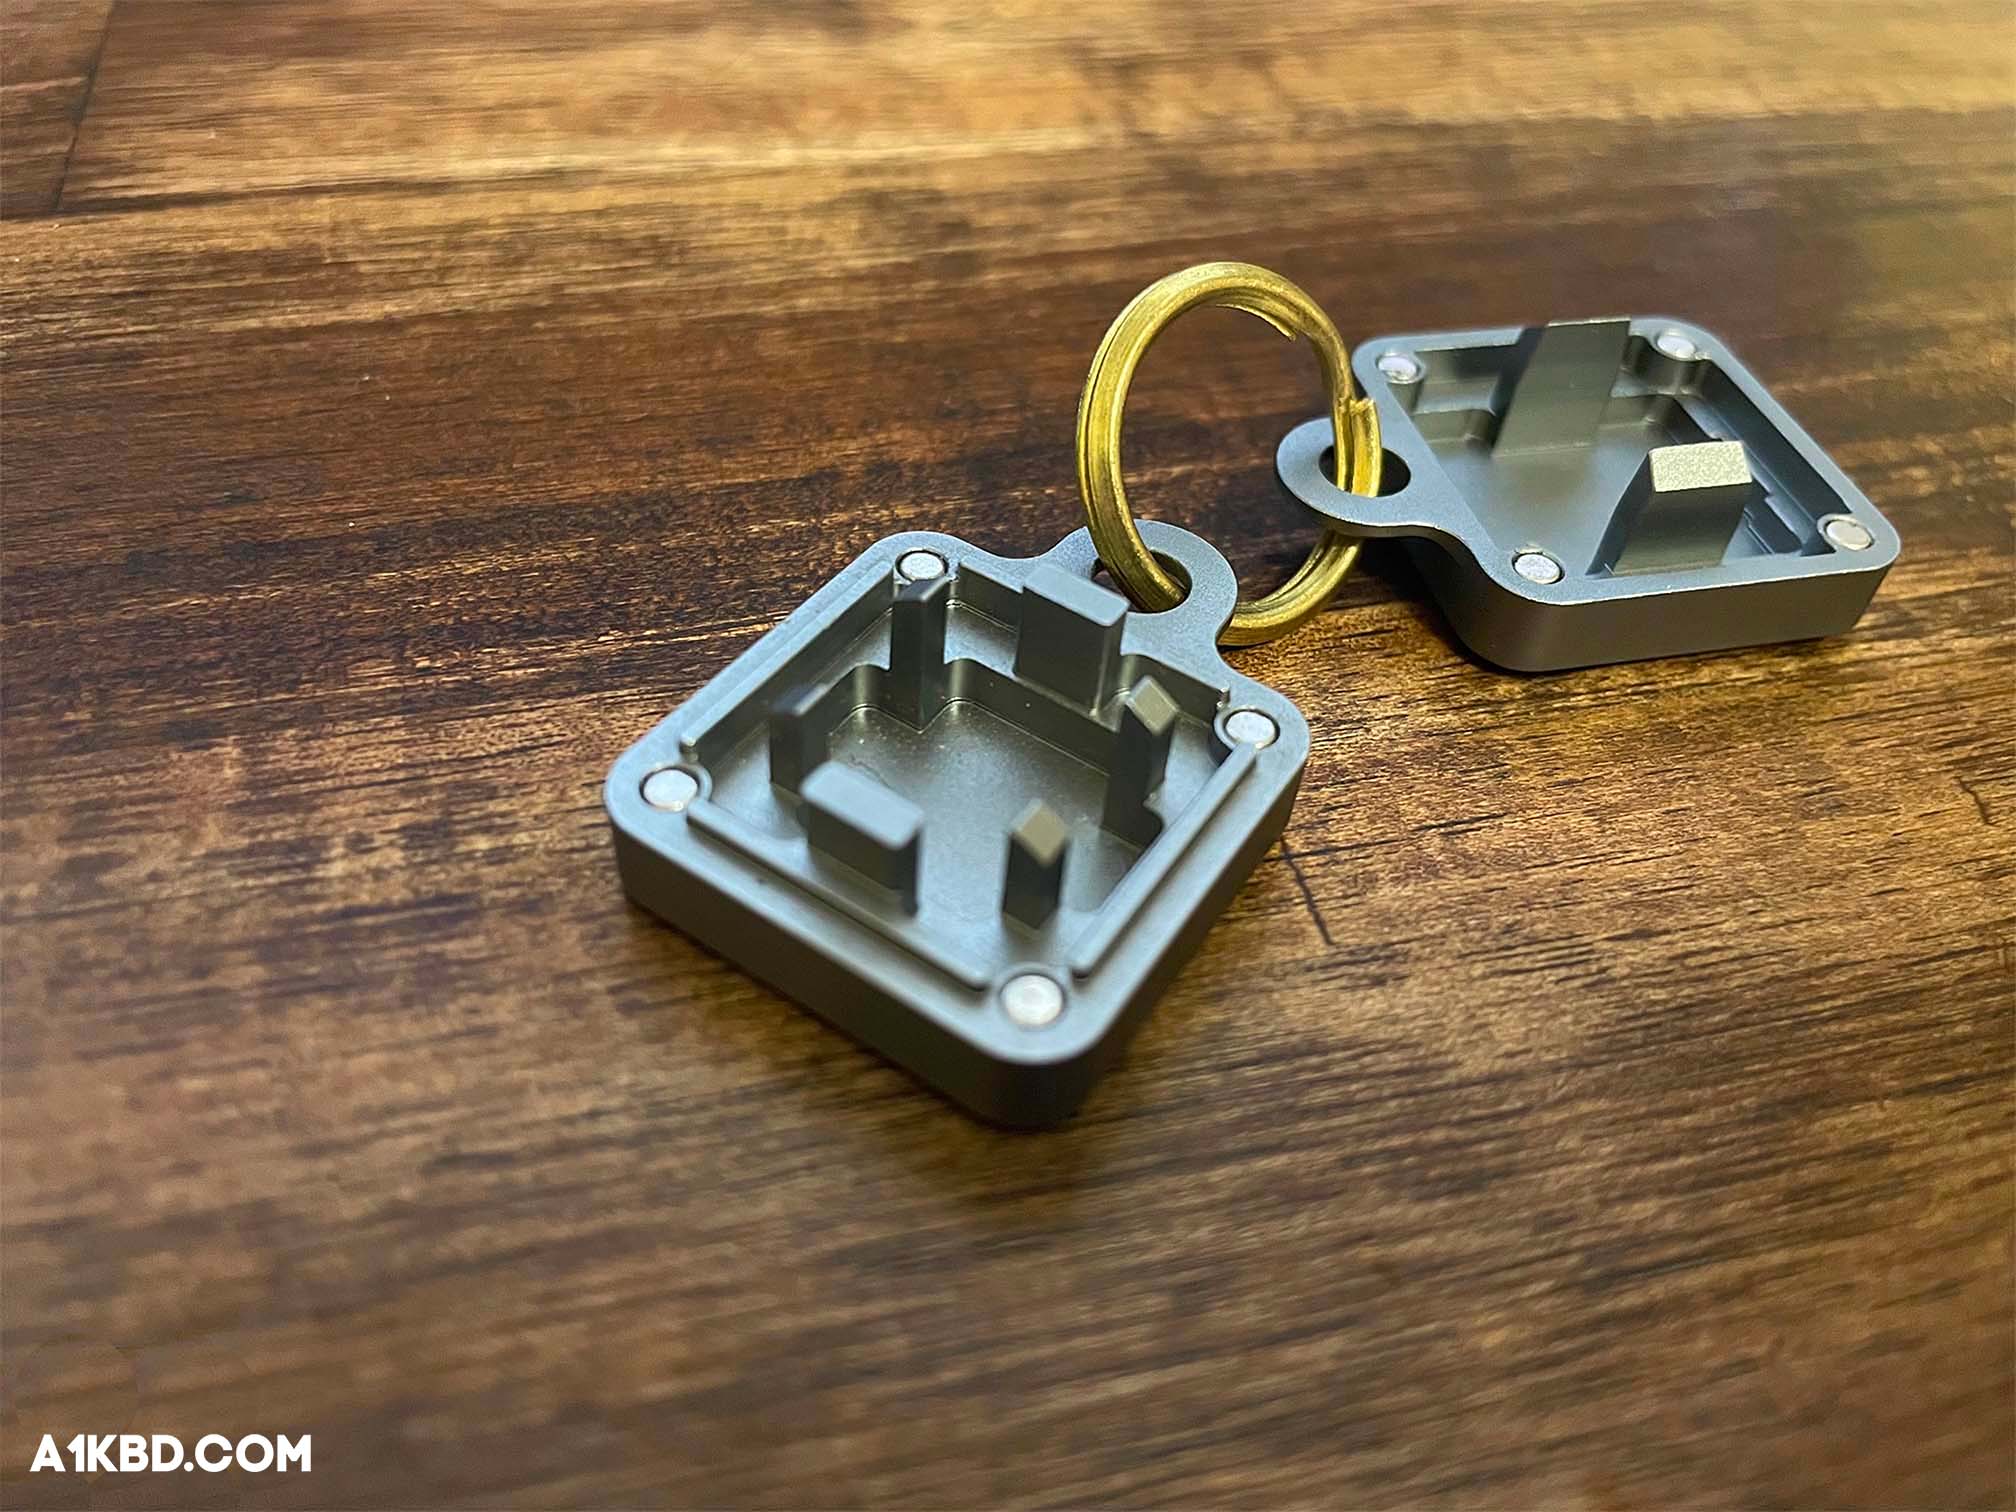
2. Switch Opener
A switch opener is highly recommended since it decreases the risk of breaking switches and prevents finger strain. Because a metal switch opener has higher tensile strength compared to plastic or 3D printed ones, it is far superior. We only recommend metallic switch openers due to other options having less stability, lower quality, and not lasting as long.
3. Tweezers
Precision tweezers are highly recommended when adding film to switches. In general, dropping films is a normal part of the process. Grasping films with your fingers can be done, however, it creates a higher risk of dropping films. Finding dropped colored films is challenging, but locating lost clear films can be daunting. Fine point tweezers help eliminate drops and are especially useful because their firm, precise hold makes maneuvering around the switch much easier. (We highly recommend the precision tweezers linked above!)

4. Lubing Equipment (Optional)
Lubing combined with filming switches enhances your switch quality to the highest level. Switch lubing compliments switch filming, and it’s most practical to lube switches while they’re opened for filming. Filming and lubing is not difficult especially when following our easy step-by-step lubing guide shown here.
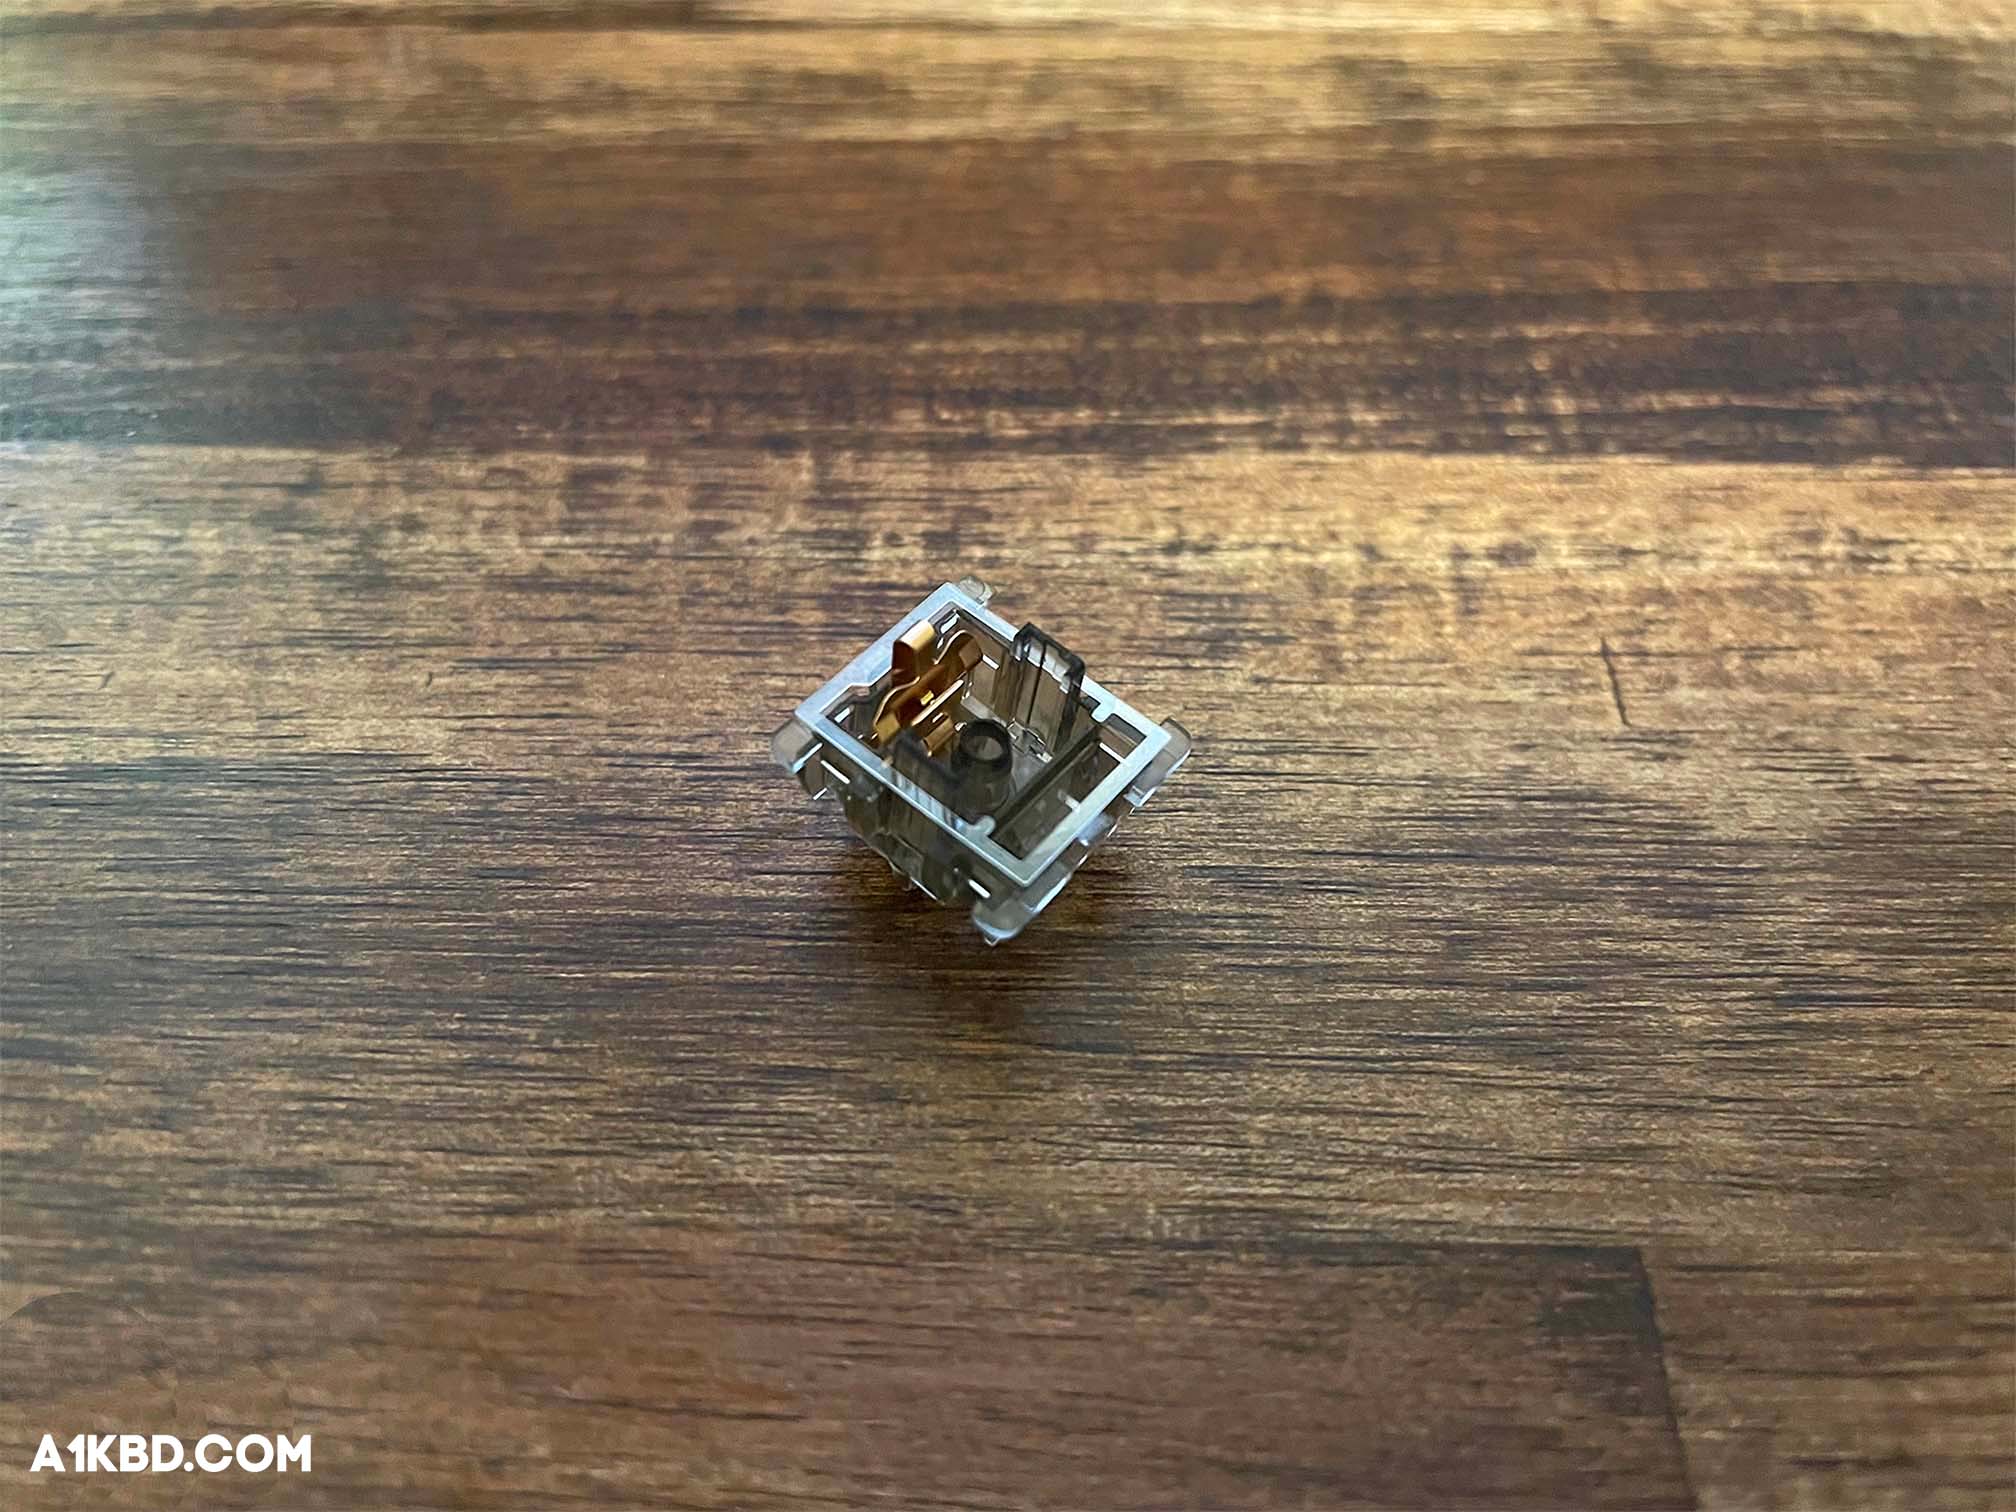
Anatomy of an MX-Style Switch
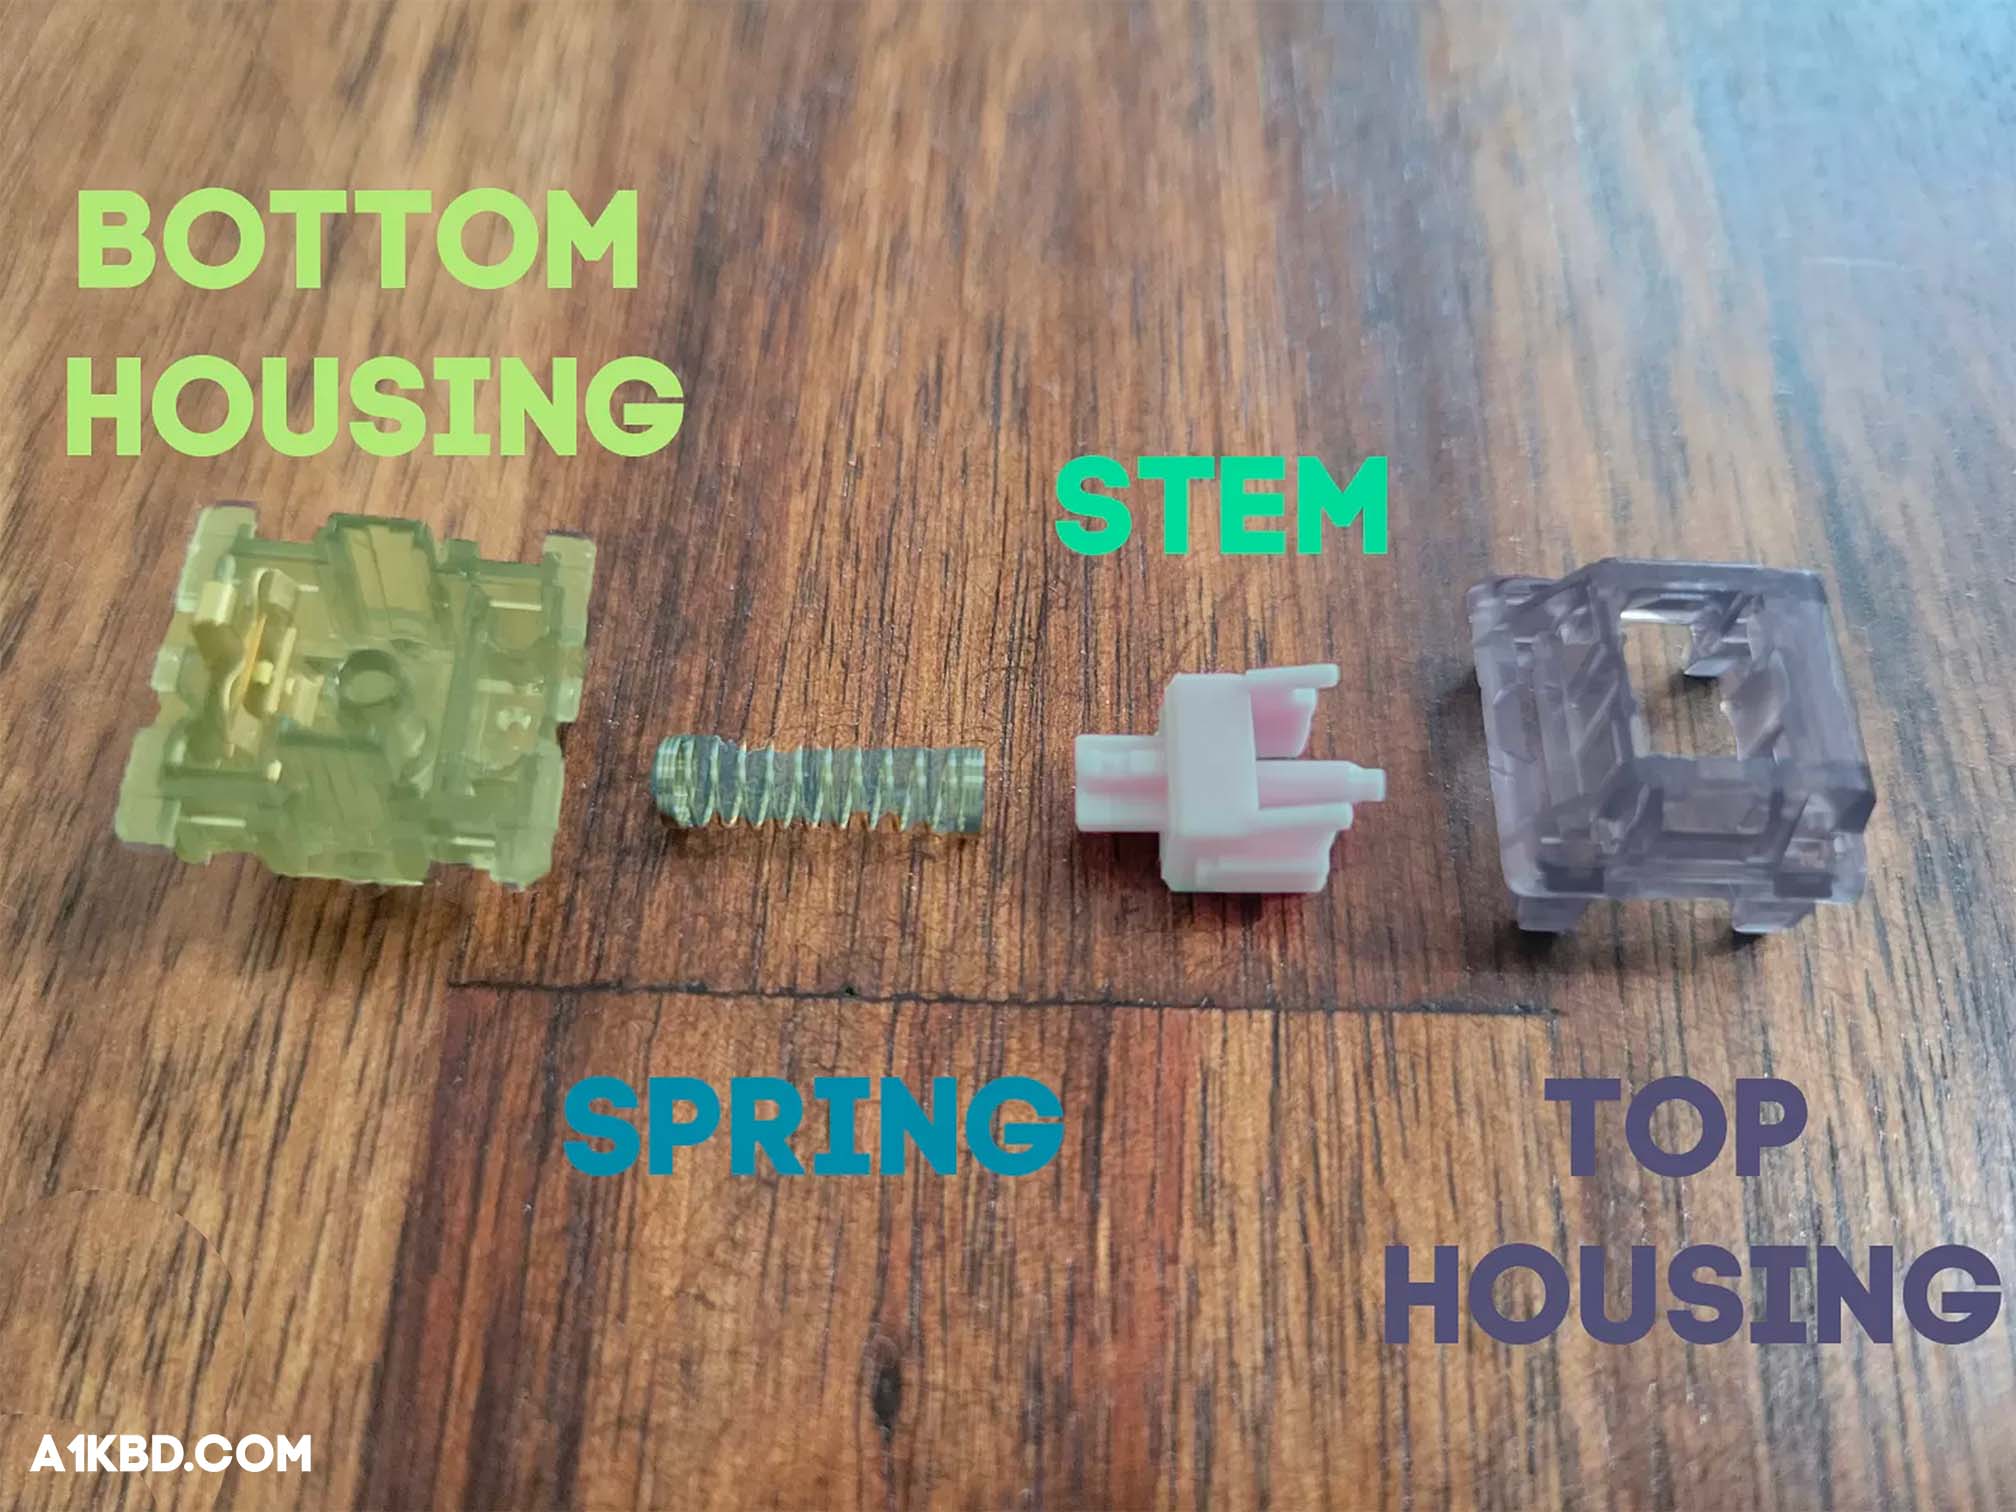
This section only mentions MX-Style switches because Kalih-Style switches are not meant to be filmed. Their housings are already tight enough and films for Kalih-Style switches aren’t manufactured. There are four primary components in every MX-Style switch. A stem, a bottom housing, a top housing, and a spring. Once you begin the filming process with our comprehensive switch filming guide, please reference the labeled image shown below to have a better understanding of each component.
6 Steps to Filming Switches
With careful guidance, filming switches is an easy task. That’s why we created 6 optimal switch filming steps. These steps include removing the switches from your keyboard, opening up the switches, lubing them (optional), inserting film, closing up the switches, and testing them to ensure they work properly.
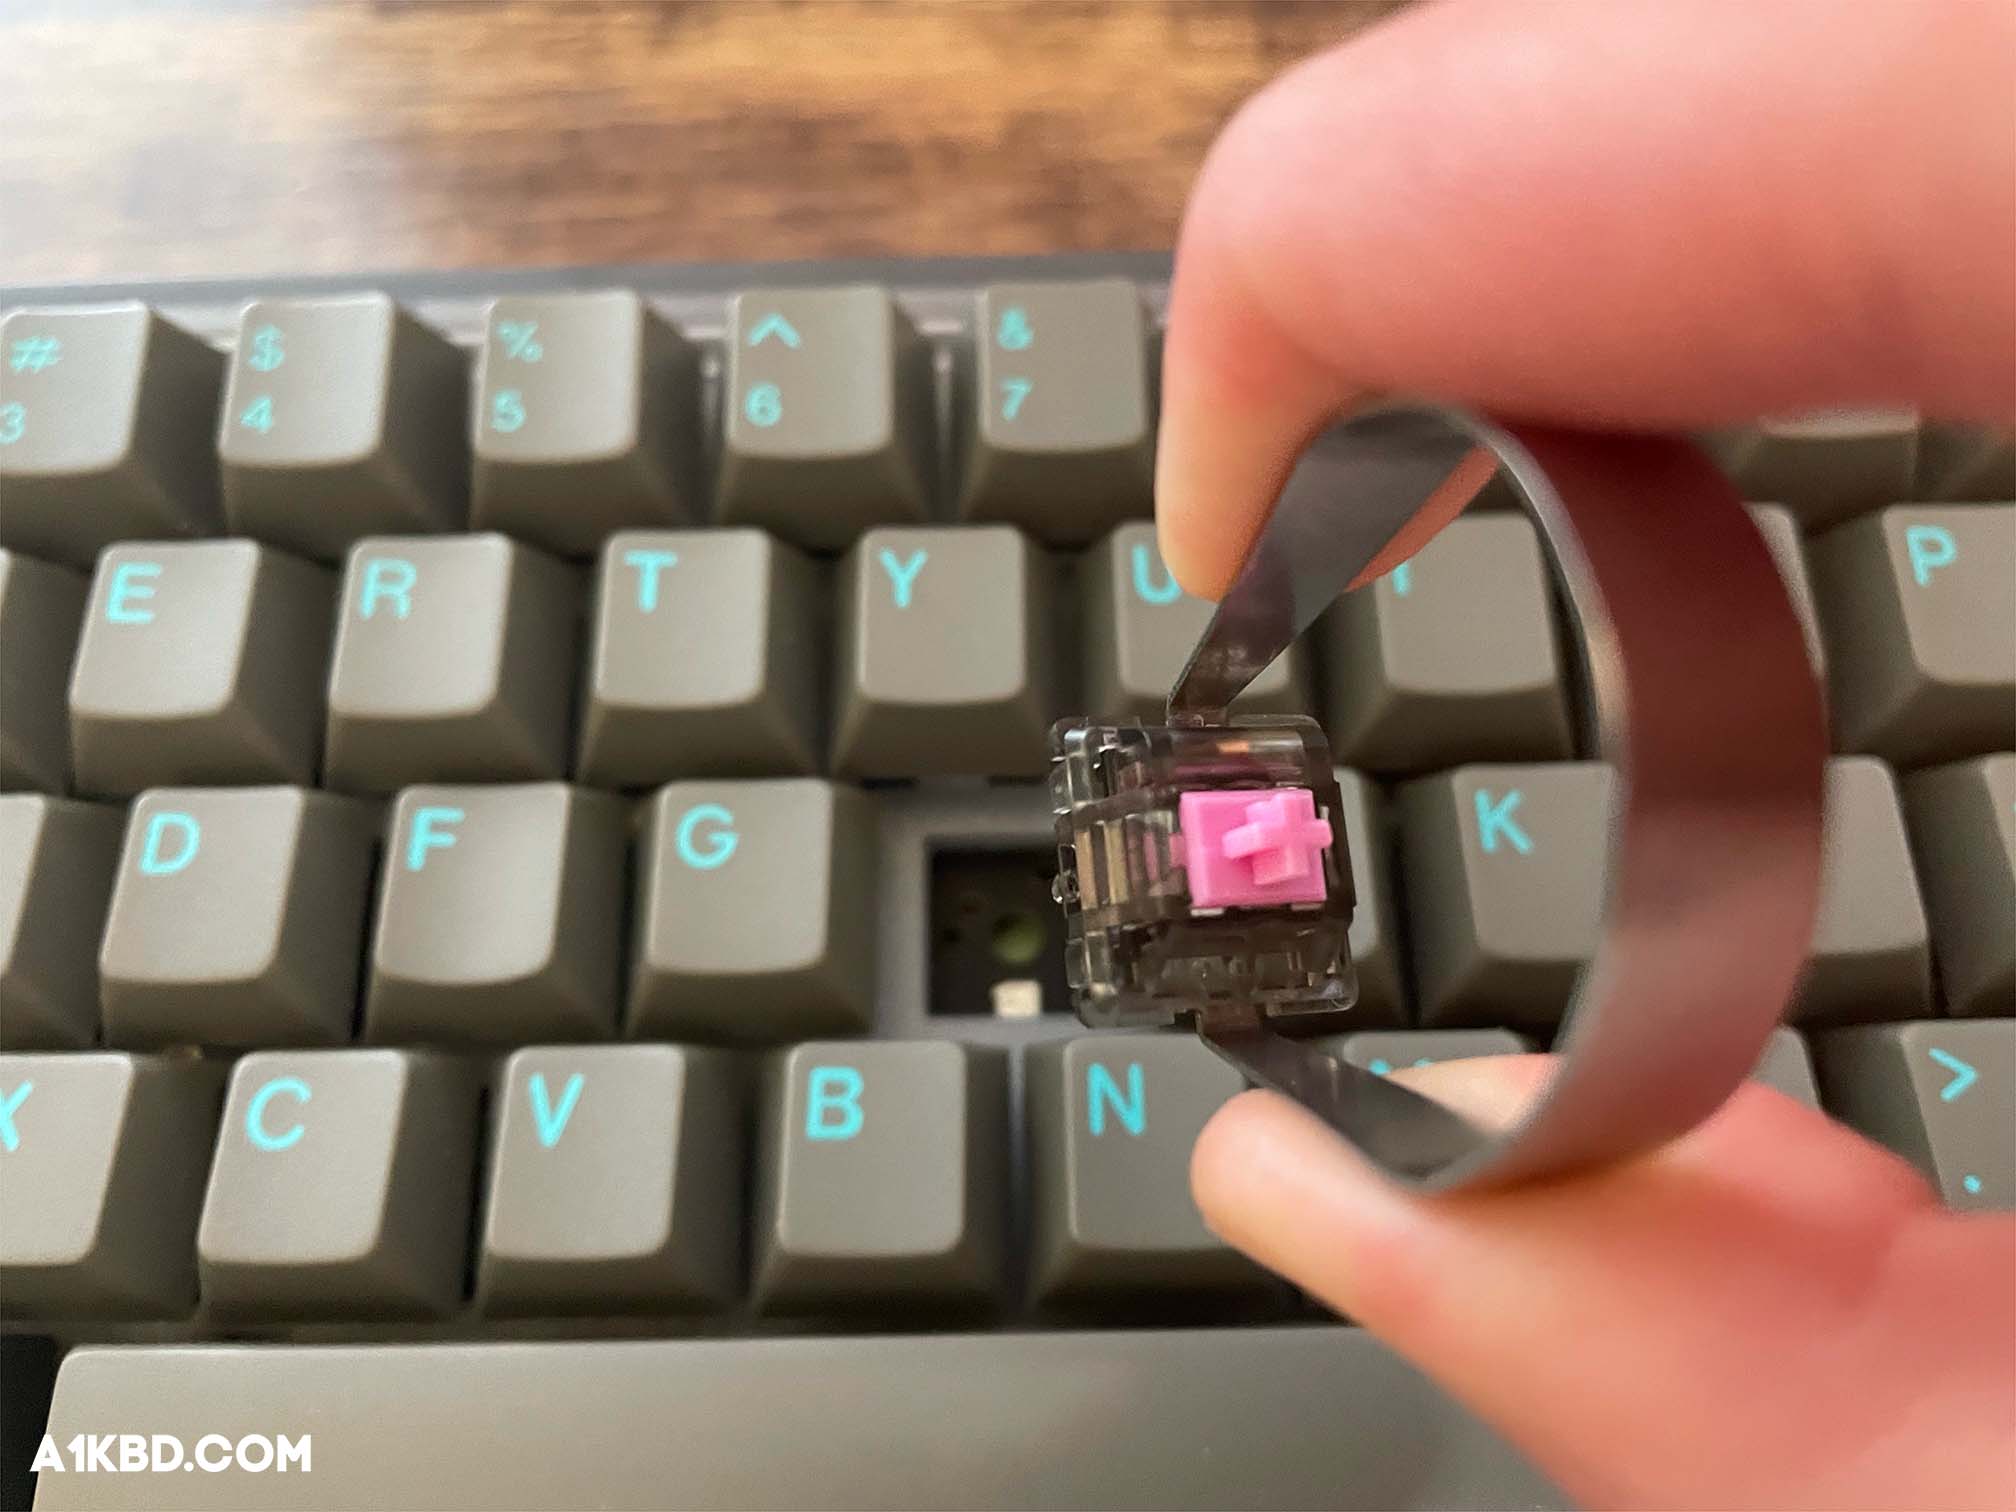
1. Remove the Switches from your Keyboard
Required tools: Switch puller and keycap puller (if necessary)
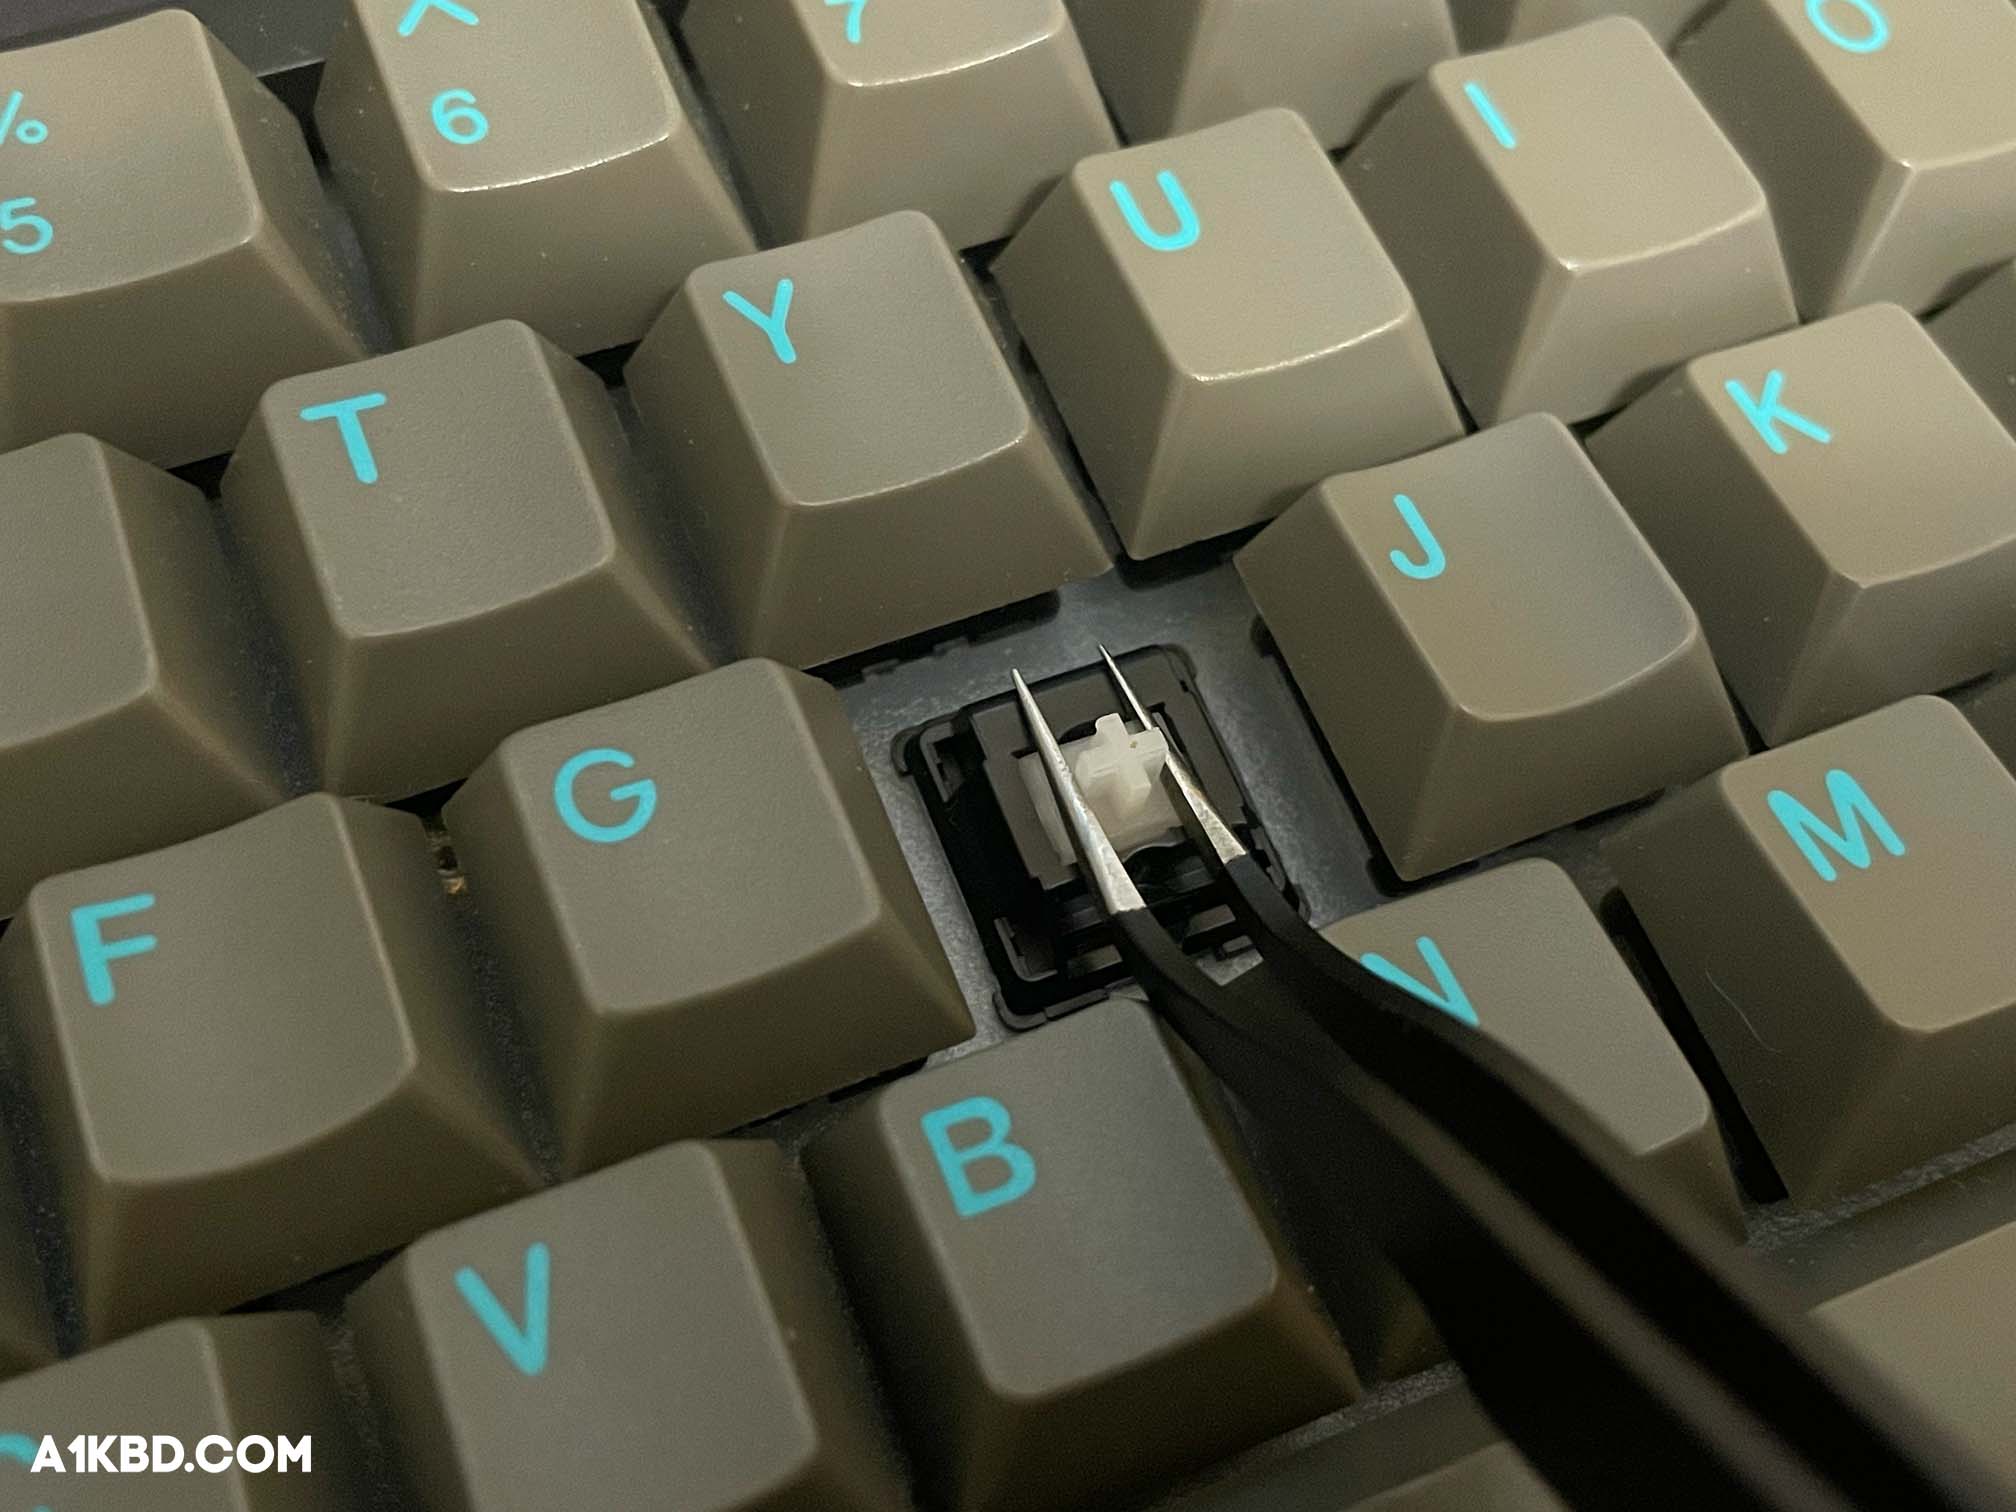
If you bought your switches separately, skip this step. However, if you still have switches attached to your keyboard, follow along. First, If you have not removed the keycaps, use a keycap puller. We recommend Divinikey’s metal keycap puller shown here. Second, It’s easy to remove switches if you have a hot-swappable keyboard. To pull them out, simply use a switch puller. We recommend the high-quality RAMA XO switch puller. Use a switch opener similar to how you would use tweezers. Latch onto the switch with the inward hook-like metal ends and pull with moderate force. If your switches are soldered to the PCB, use a desoldering gun to remove them.
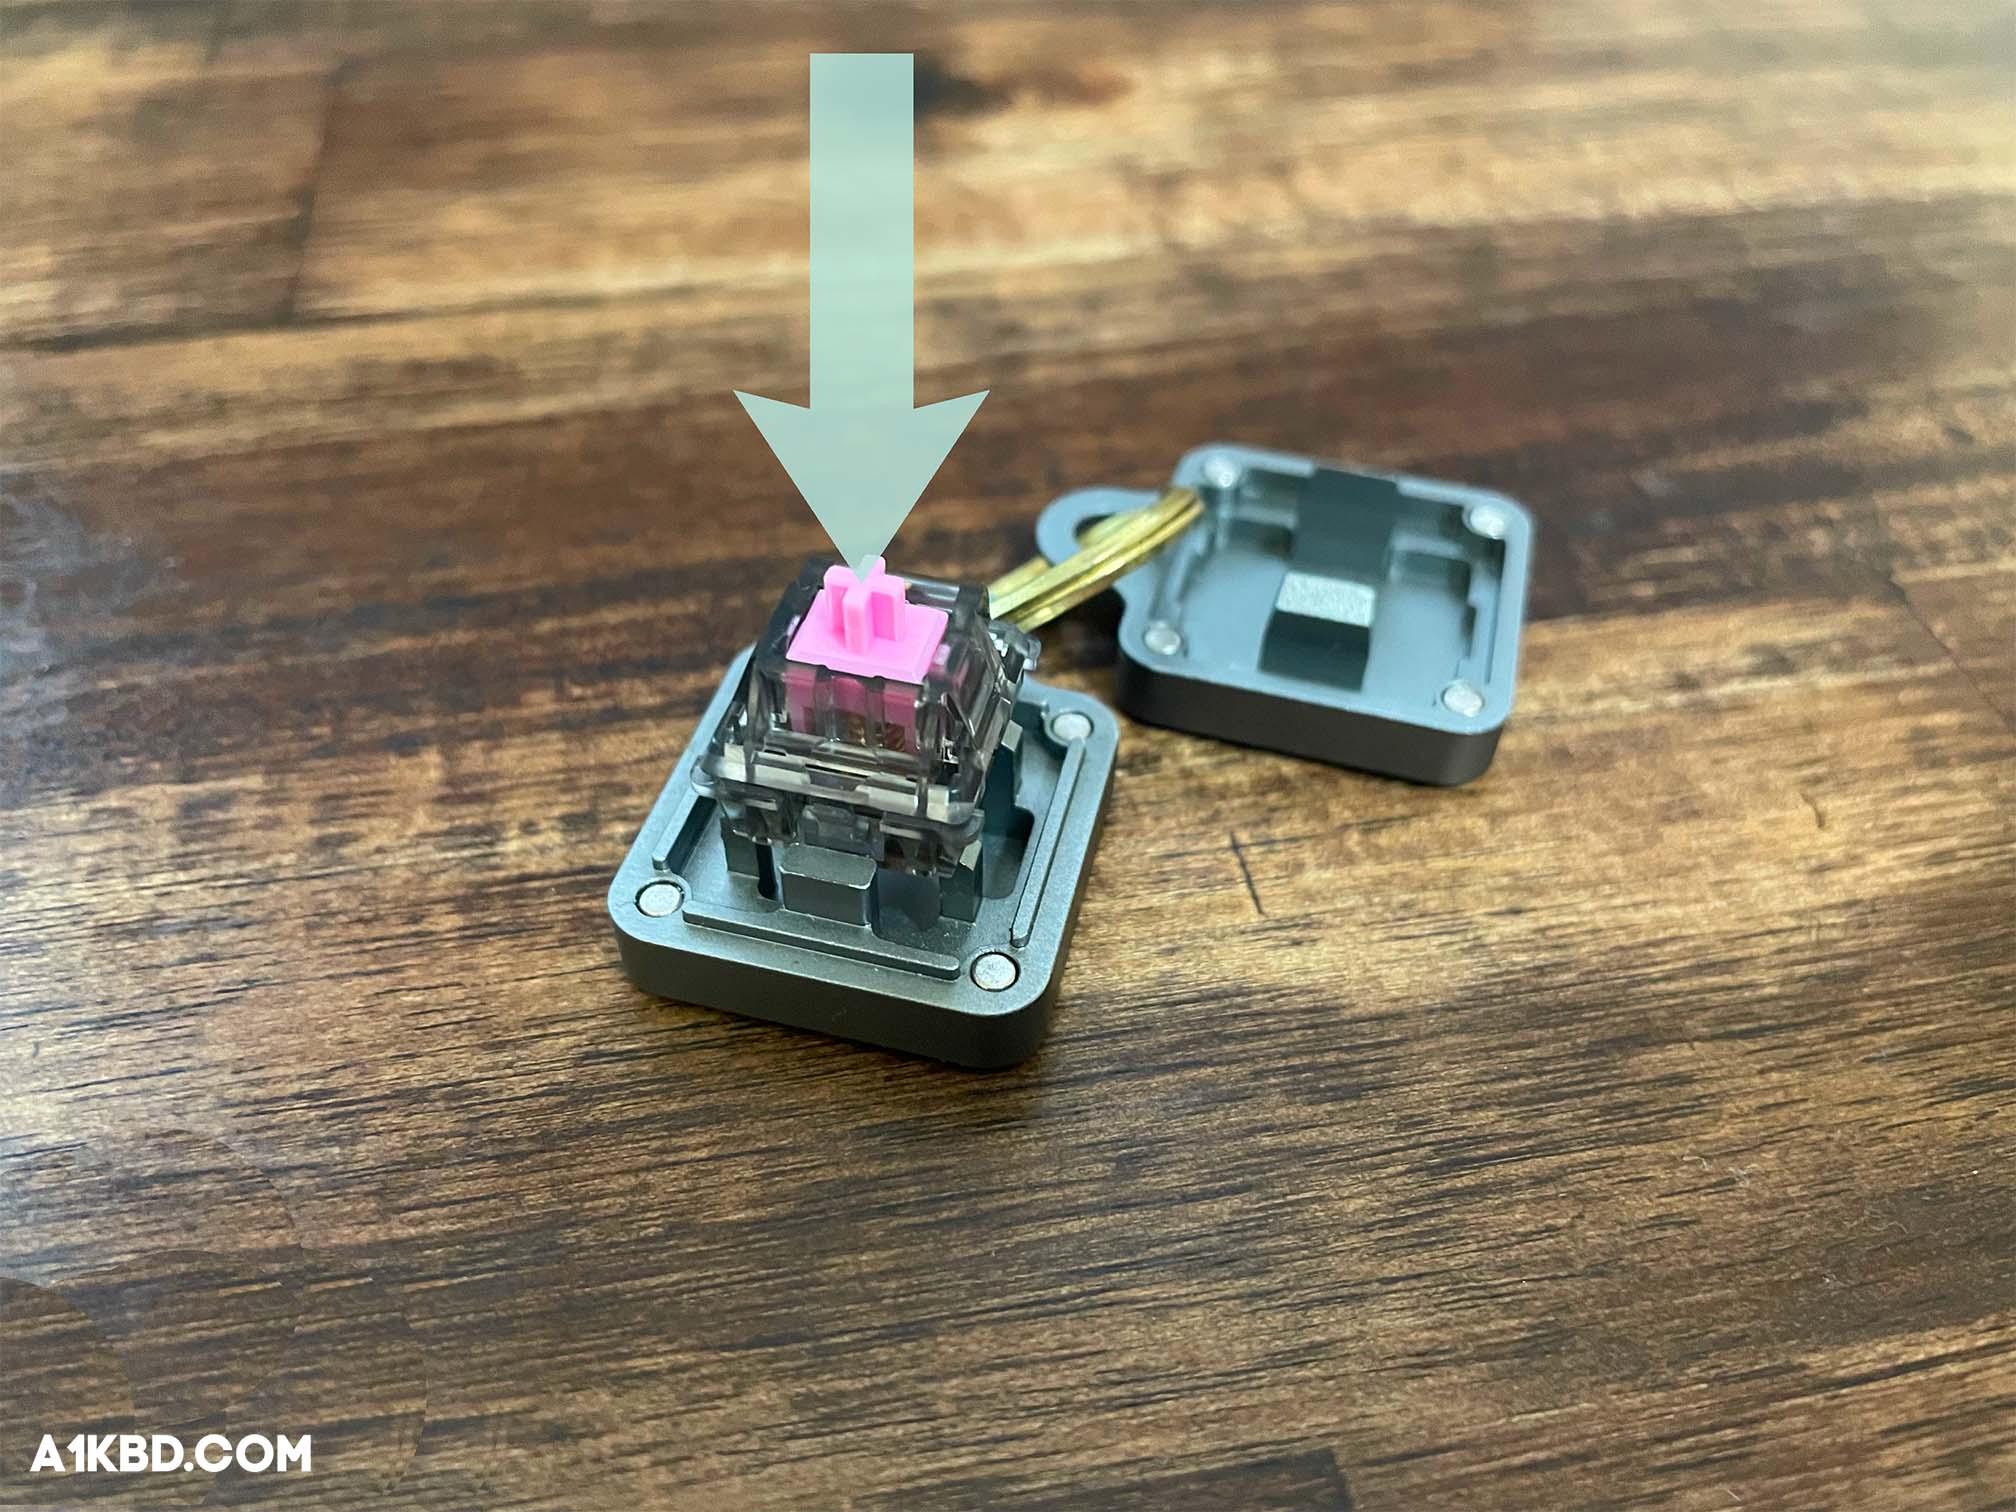
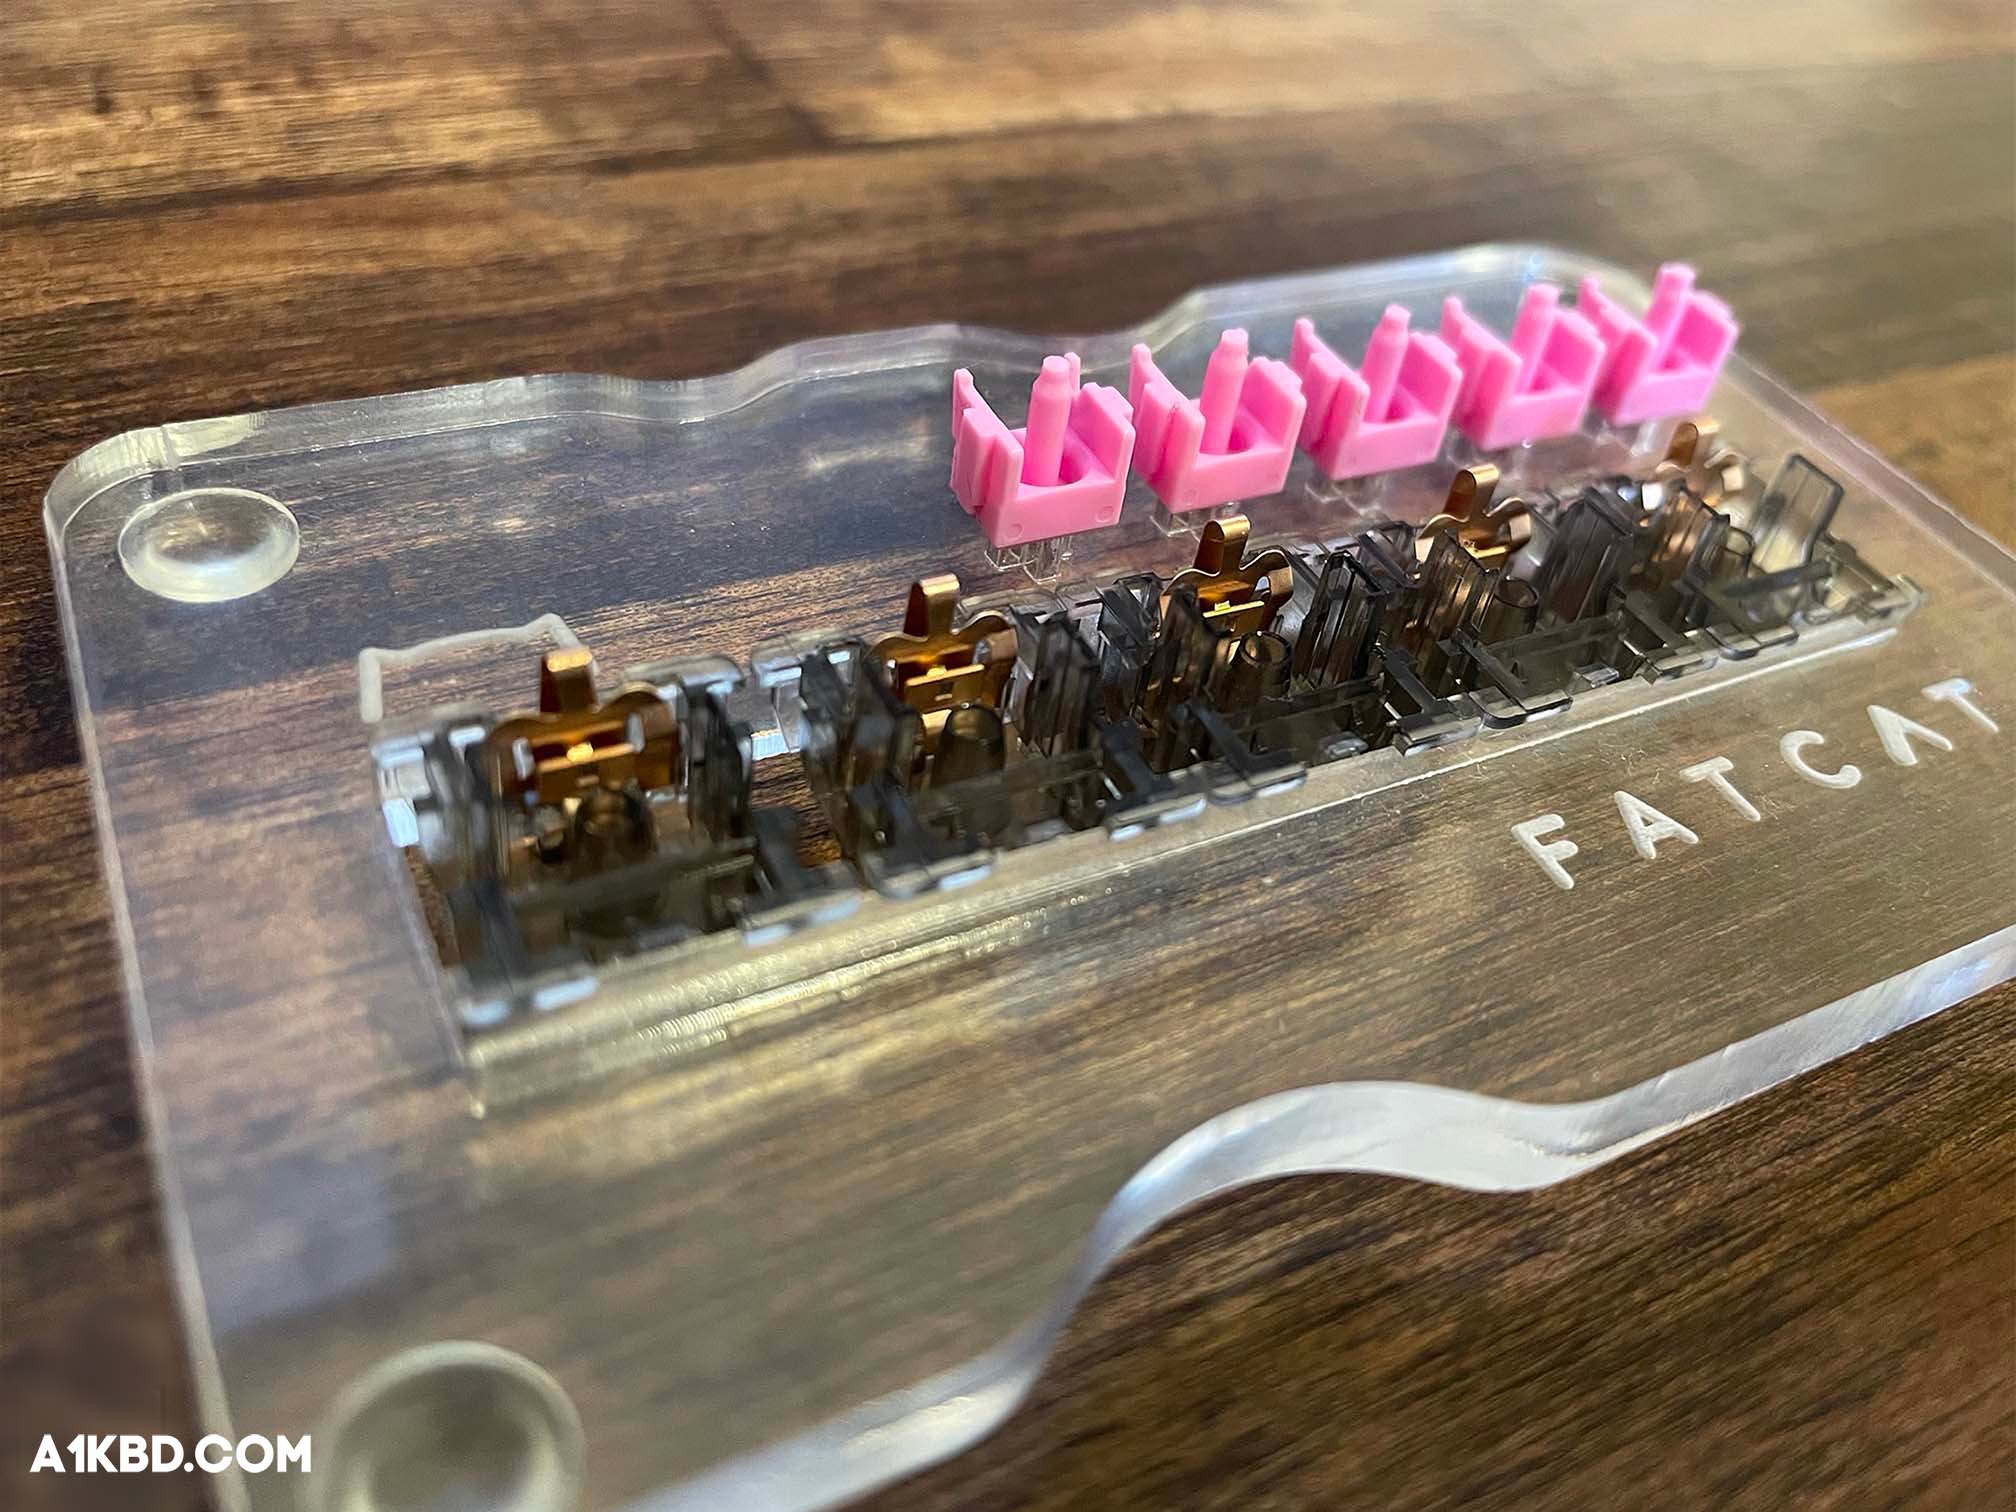
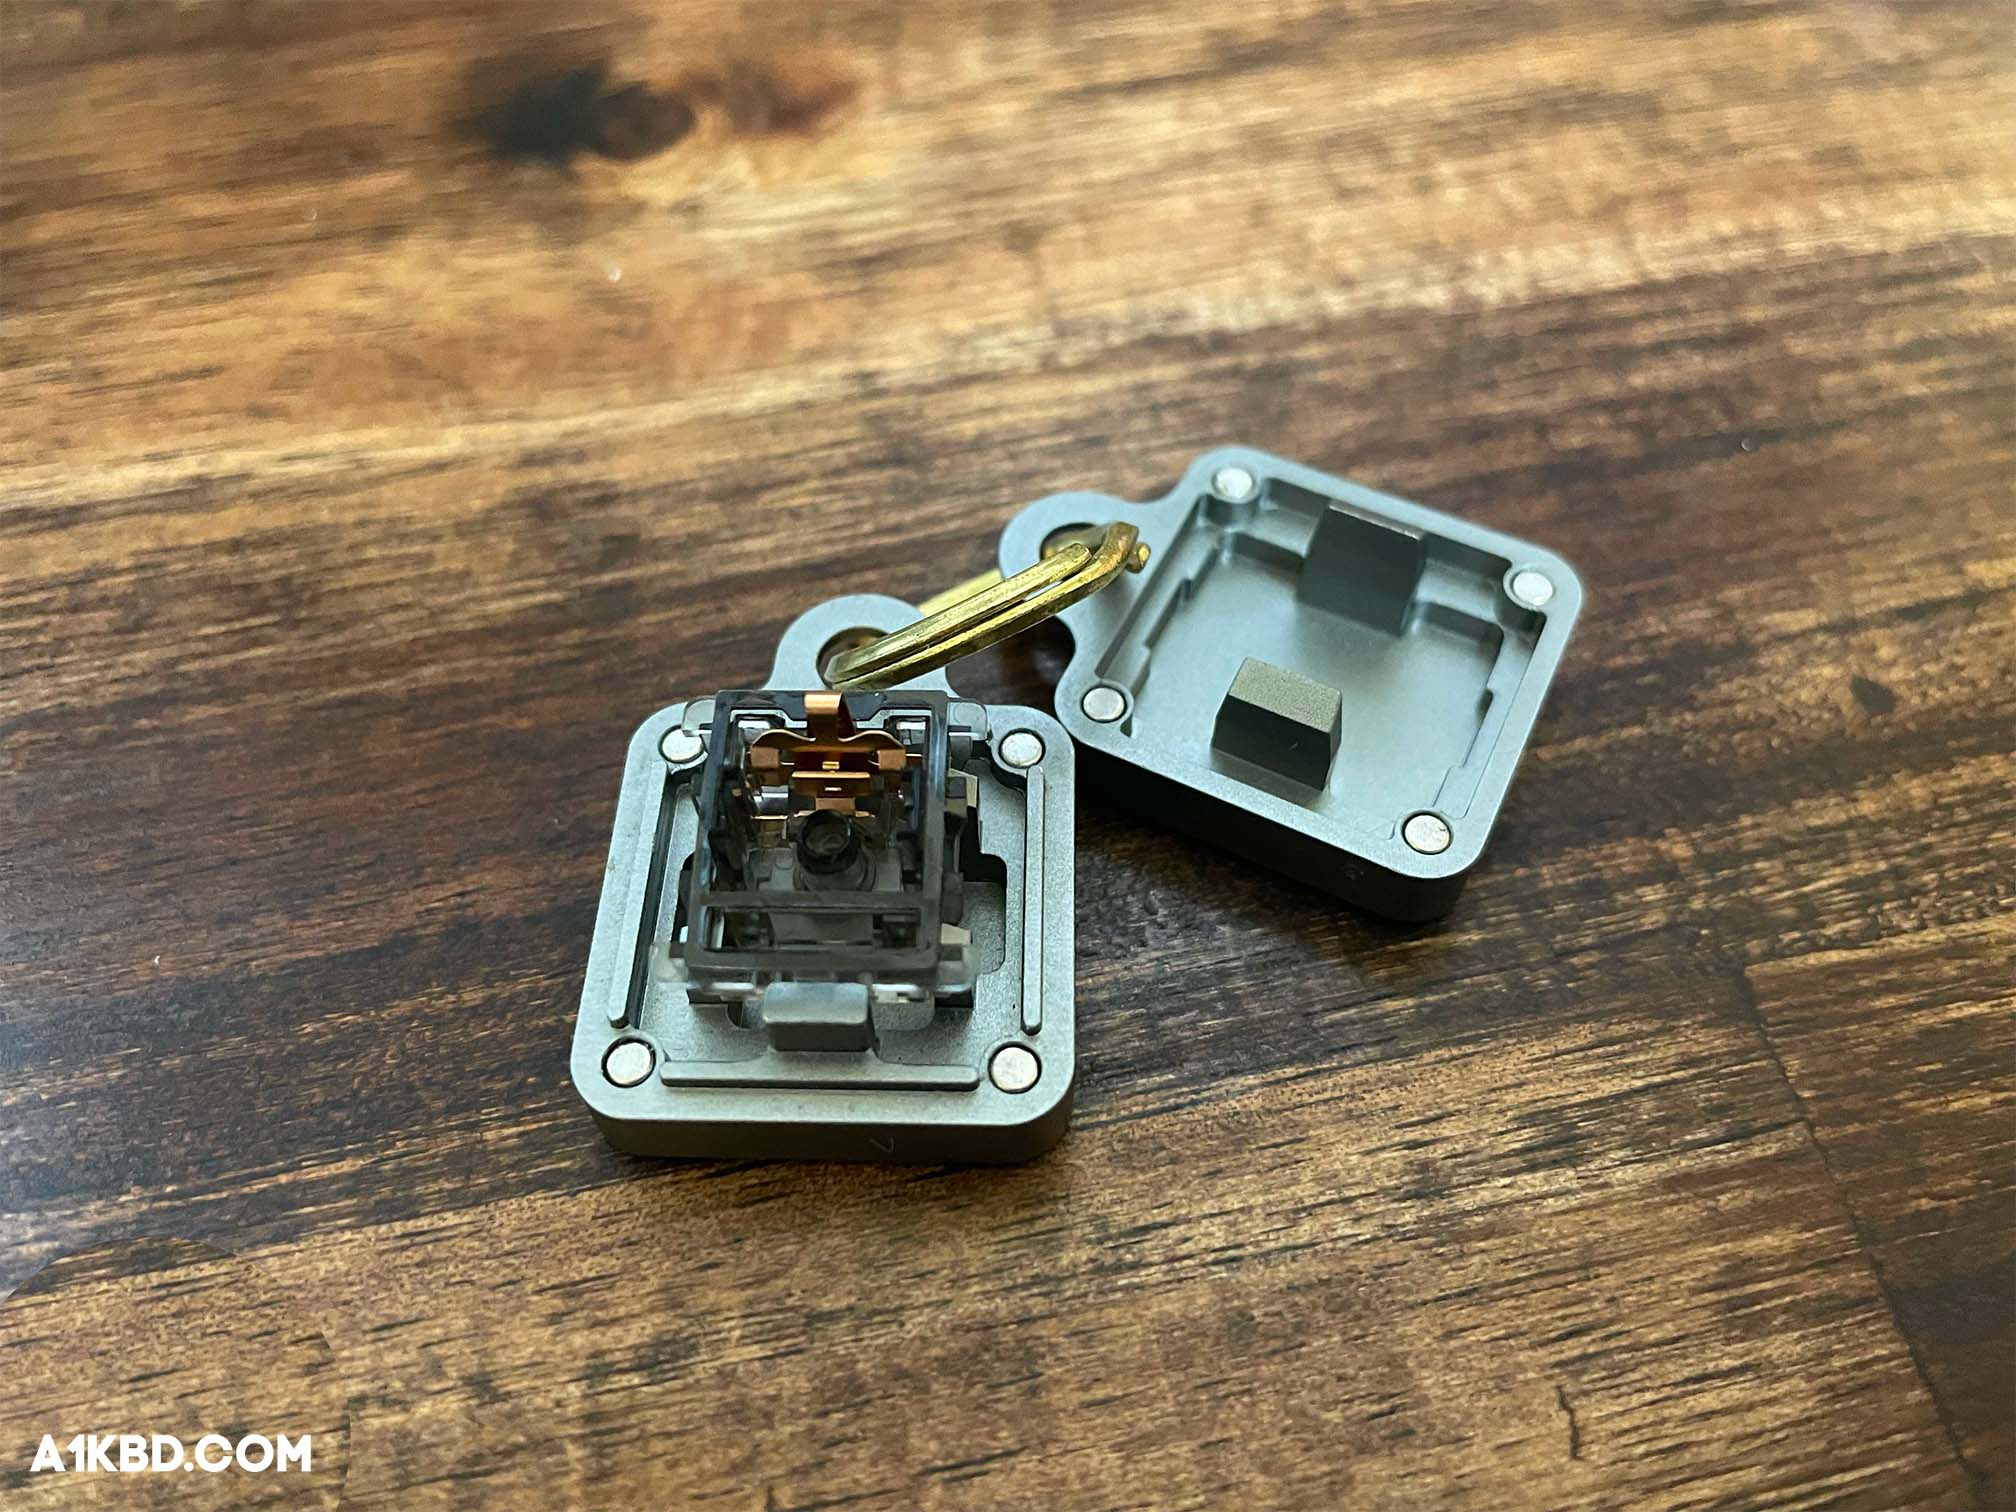
2. Take the Switches Apart
Required tools: Switch opener, four bowls (optional)
Note the two tabs on each side of the switch. Align the tabs with the corresponding bars on the switch opener. Push down on the switch’s stem until a *click* is heard. The tabs are pushed up by the bars forcing the switch to open. To prevent breaking your switch, don’t use too much force. We recommend sorting the dismantled switches into four different colored bowls to better differentiate them better. One bowl for the bottom housing, a second bowl for the spring, a third bowl for the stem, and a fourth bowl for the top housing. A lube station would also work very well because it has an organized and designated spot for each switch component. We recommend the Fat Cat Lube Station. Either way, it’s essential to keep your switch elements organized while filming switches.
3. Lube the Switch (Optional)
Required tools: Lubing equipment (optional)
If you decide to opt-in and lube your switches, this is the best point in the filming process to do so. Lubing your switches is the best approach to increase the overall switch sound quality since it reduces scratchiness while increasing smoothness. If these benefits interest you, it’s critical to not wait until later to lube your switches for two main reasons. One, because pairing lubing with filming is the most logical and efficient decision at this point in the filming process. And two, because opening up your switches once more at a later point is a less desirable time-consuming, tedious task. While the extra lube step may add a few hours to the filming process, it is very practical and highly recommended for the best high-quality switch experience. To better understand the lubing process, check out our comprehensive switch lubing guide shown here.
4. Place the Film onto the Switch
Required tools: Switch film and tweezers
Placing the film down is surprisingly one of the easiest steps of the filming process. Start by acquiring your film with the pair of tweezers mentioned earlier. Films usually are adhered to the sheet, so simply peel it off. Grab the edge of the film and start aligning it with the switch’s bottom housing. You’ll see a small tab on your film; position it so that the tab lines up with the cut-out just above the leaf. The film should be able to wrap around the rails without causing any obstructions. Failure to properly wrap the film around the rails will result in janky key presses and inevitable damage to the switch. It is crucial to make sure the film is seated properly to ensure the most desirable results.
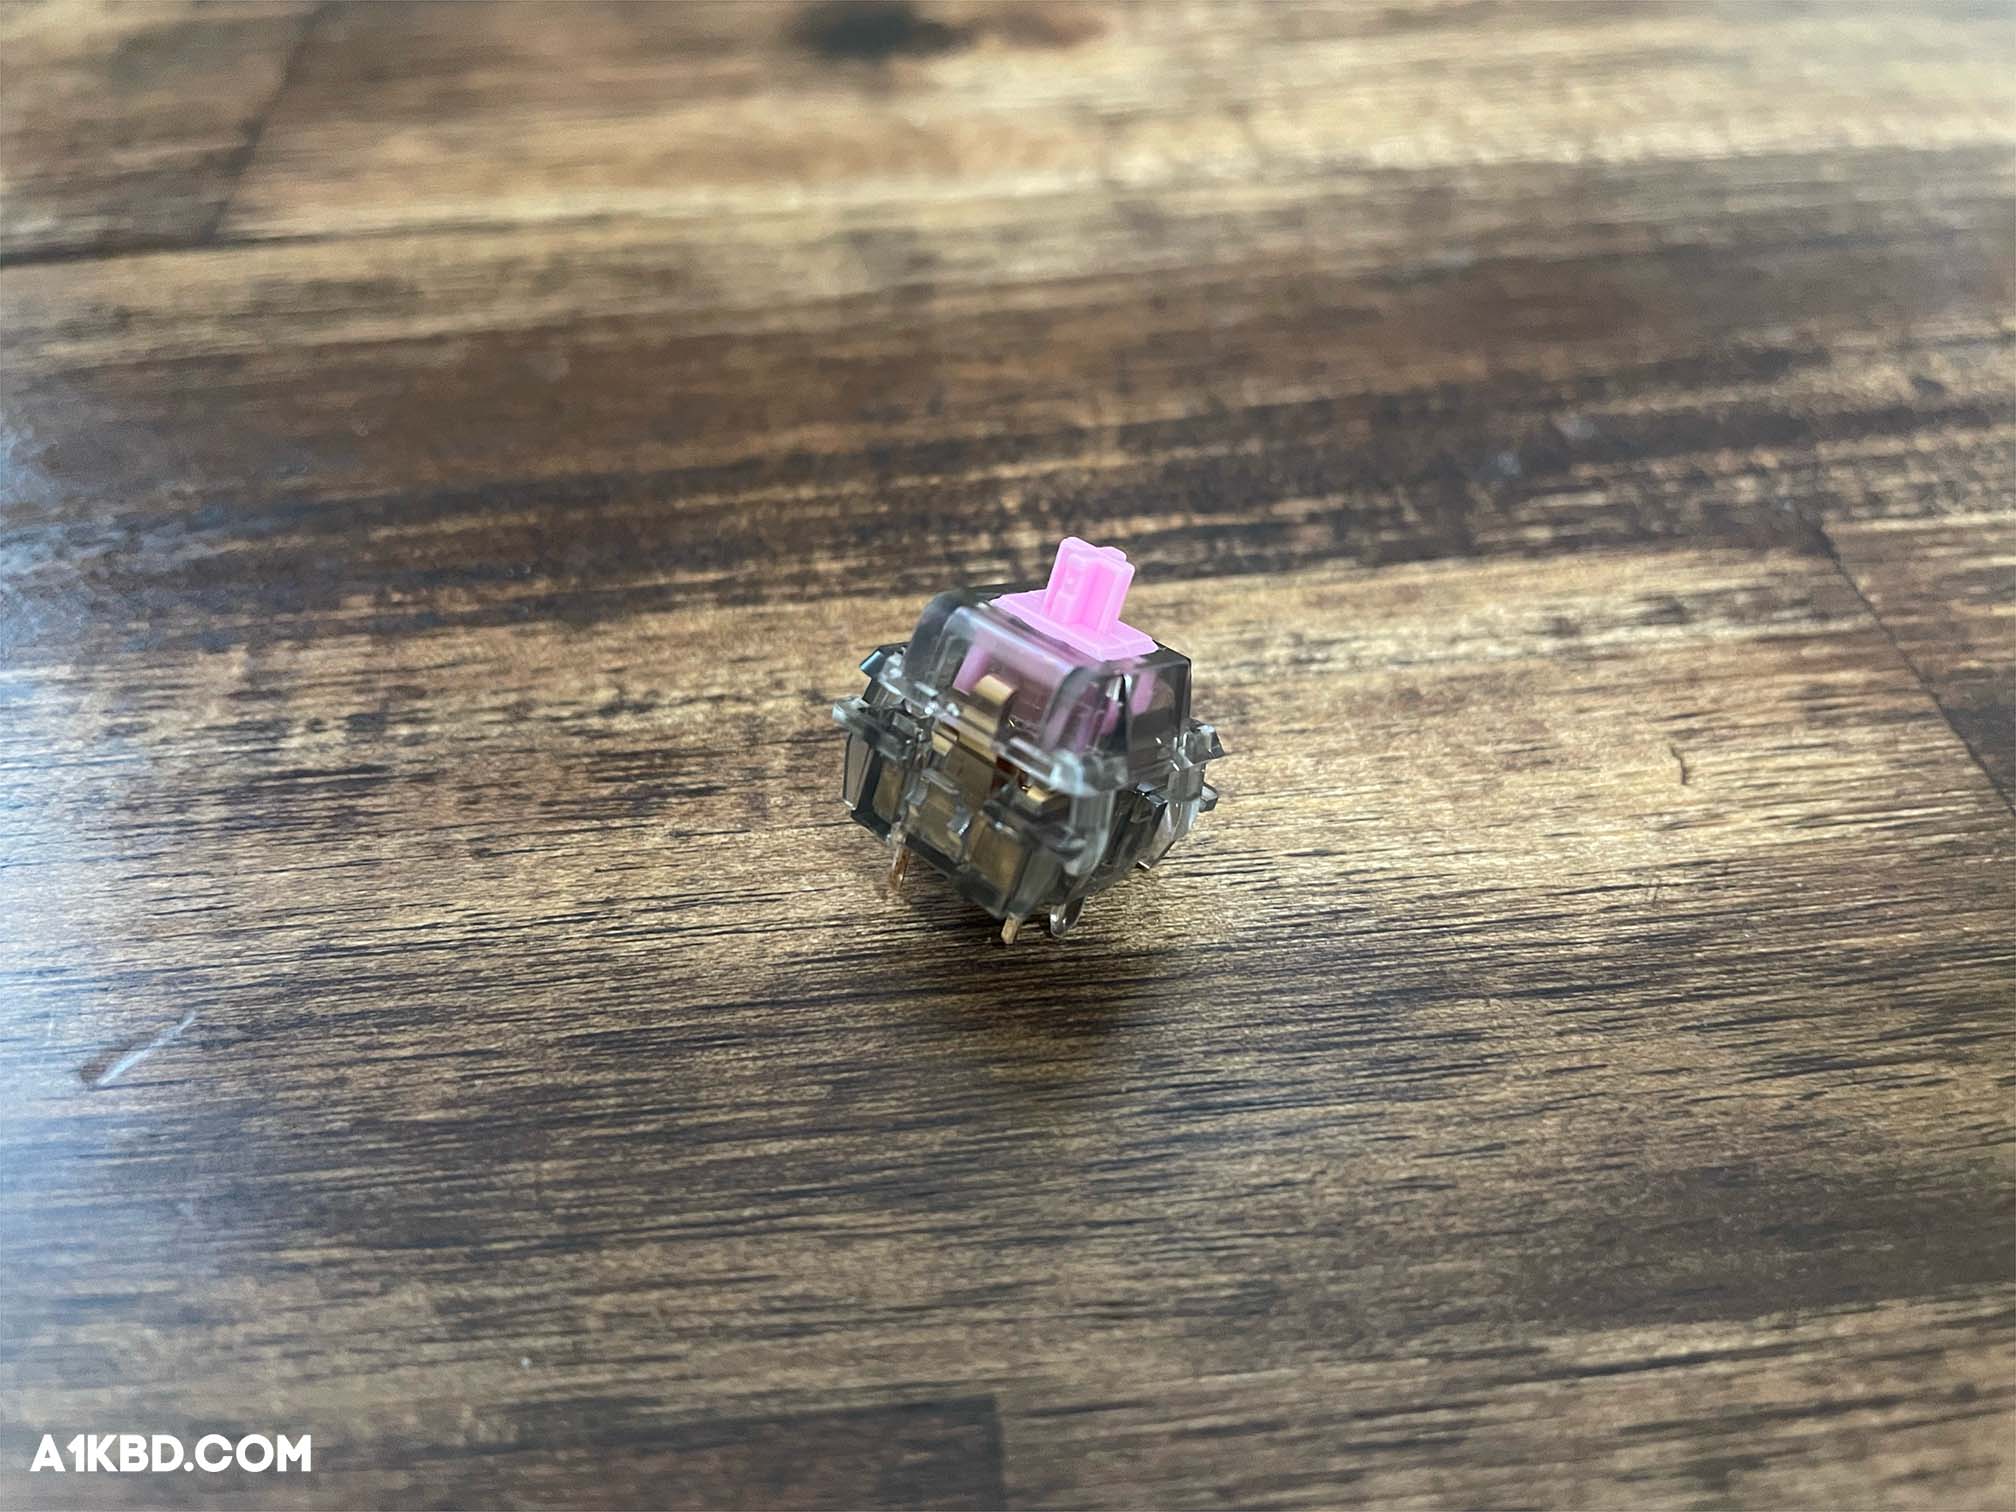
5. Reassemble the Switch
Required tools: Filmed switches and functional fingers
After filming (and possibly lubing) the switch, now is the point where you put it back together. Start by placing the spring into the center mast of the bottom housing. After that, grab your stem and place it so it faces the switch’s leaf. The final step to reassembling a switch is to clip the top housing on. The LED hole on the side of the top housing must face away from the leaf for the switch to work properly. Arrange the top housing atop the stem. Then press down on it until the legs clip together. Next, double-check to make sure all four legs are securely fastened. Apply mild pressure to any side that has legs that aren’t clipped. After that, check to see if the switch actuates properly before placing it on your keyboard.
6. Install and Test the Switches
Required tools: A keyboard filled with switches, tweezers (if any pins are bent)
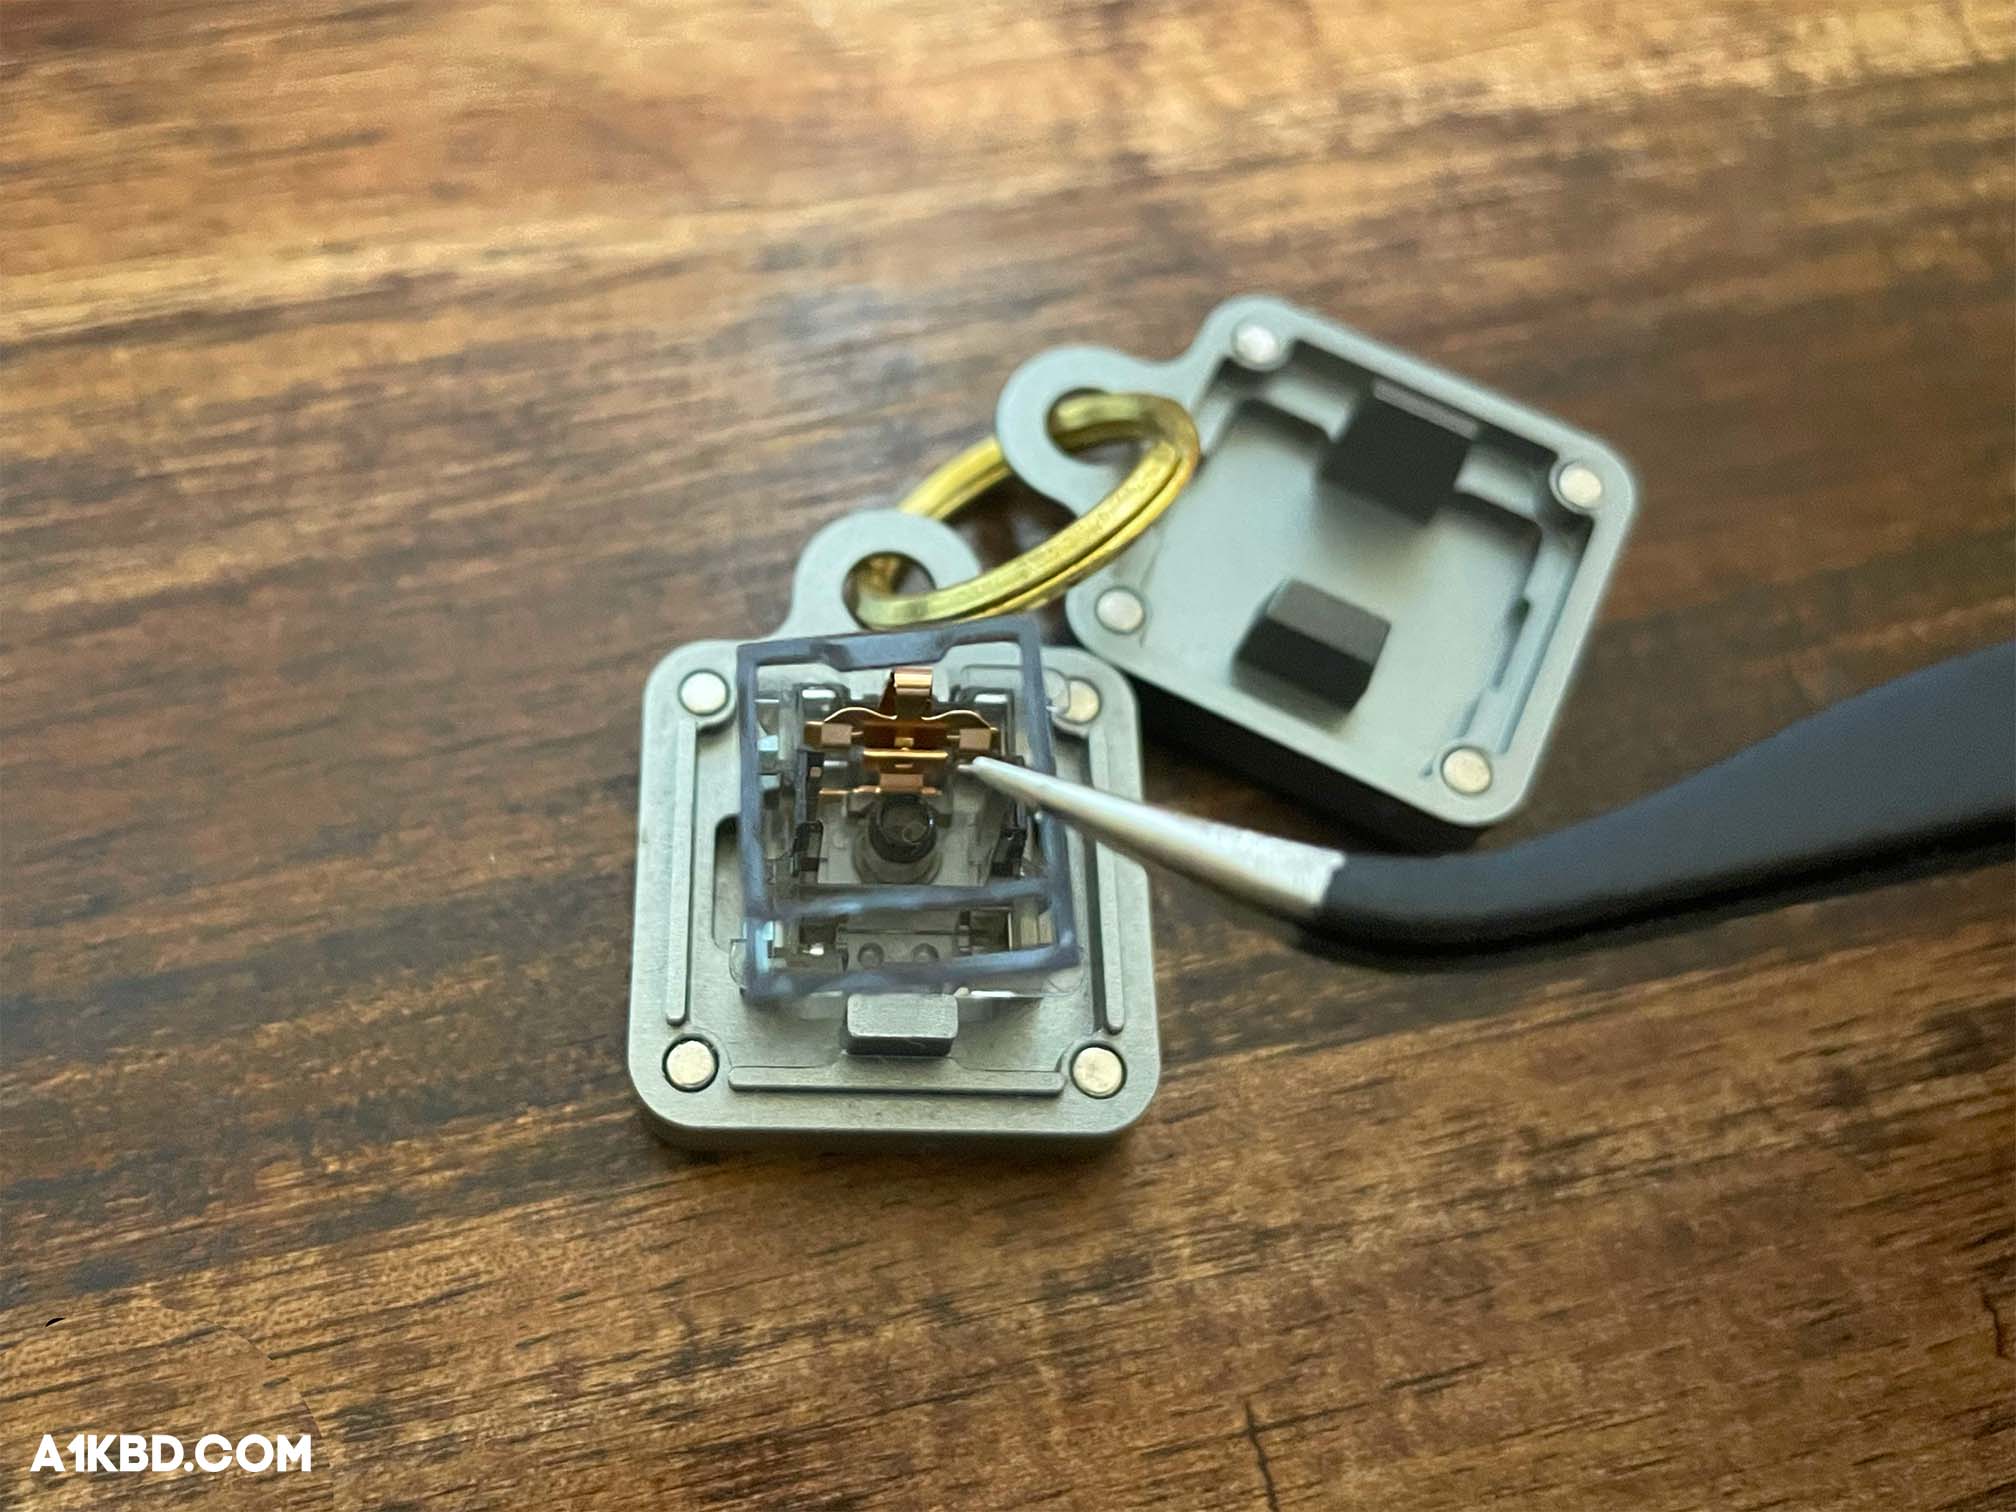
At this stage, place the properly filmed switches into your keyboard. It’s best practice to double-check that all your switches are in working order before continuing. There’s a good chance some pins may have been bent during the movement of your switches. We recommend the Keyboard Tester to confirm all your switches are operational. You can also use VIA‘s built-in key tester.
If any switches are not working, don’t worry; most of the time a bent pin is to blame. Switches, fortunately, are simple to repair and place back into working order. Pull the switch out of the socket, and search for the bent pins on the bottom housing’s underside. Grab the flat parts of the pin(s) with precision tweezers, and bend it back into place with ease.
Different Types of Switch Wobble
Switch wobble can be divided into 3 main categories; stem wobble, top housing wobble, and bottom housing wobble. These different types of wobble can affect a switch in many different ways which we will describe below.
Stem Wobble
Stem wobble is most prevalent in switches. It can be lessened though not completely fixed. Some switches have less stem wobble than others. The less a stem wobbles, the better your switch will perform. Stem wobble occurs when a switch’s top housing doesn’t wrap around the stem as tight as it should.
Top Housing Wobble
Top housing wobble is not desirable because it affects the switch’s acoustics. Various switches have different levels of top housing wobble, nonetheless, the wobble should be kept to a minimum. Filming switches is crucial because filmed switches eliminate top housing wobble.
Bottom Housing Wobble
Bottom housing wobble occurs when the bottom housing of a switch wobbles when the top housing is wiggled. The wobble will vary depending on the switch and usually correlates with top housing wobble. If you have top housing wobble, you will likely have bottom housing wobble and vice versa. Fortunately, the addition of switch film solves the issue.
What Switches Need to be Filmed?
Almost every switch benefits from filming, however, there is a small percentage of switches that do not require films. For example, the Durock POM Linear switch housing is already so tight that filming can harm the switch. Refer to our complete review of the Durock POM Linear switch here. Apart from the select few switches that are manufactured with tight housings, we highly recommend filming most switches because filming gives switches a much higher acoustic performance and excellent stability. Additionally, filming switches is a low cost modification and a relatively simple task to complete.
Do my Switches Require Filming?
Determining if your switch needs film or not is surprisingly simple. All you need is a pair of tweezers and your switch of choice. Reference the steps below to check if your switches require film or not. Keep in mind, some switches such as the Durock POM Linear will not require filming.
Step #1. Secure the Switch
Place the switch into your keyboard and make sure it’s secure (either by hot-swap or soldering).
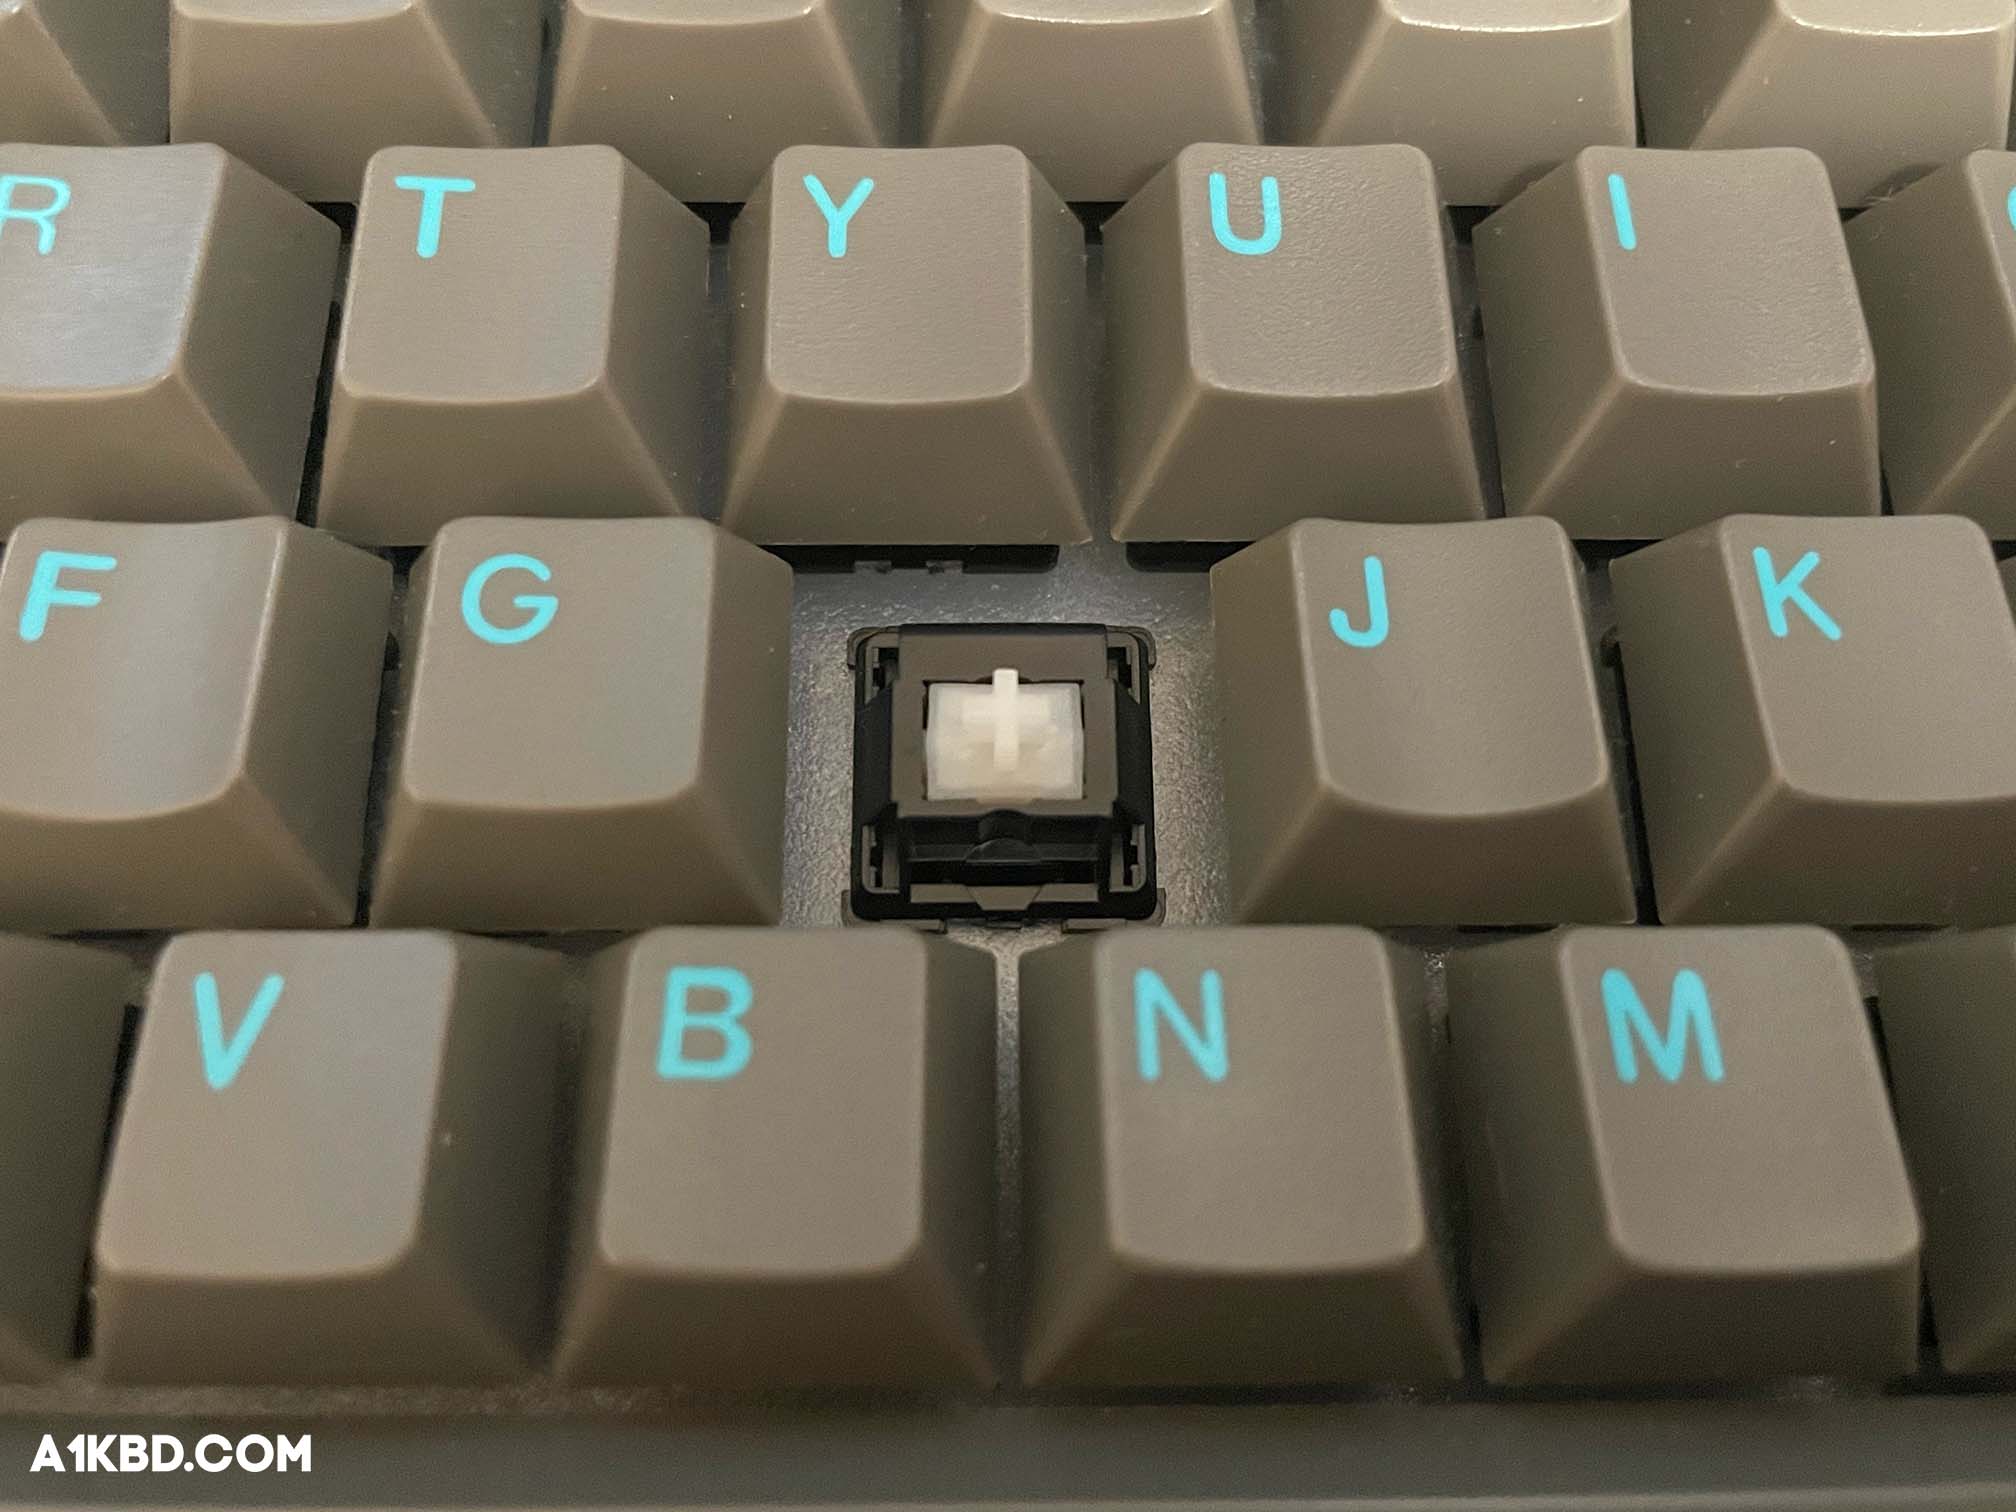
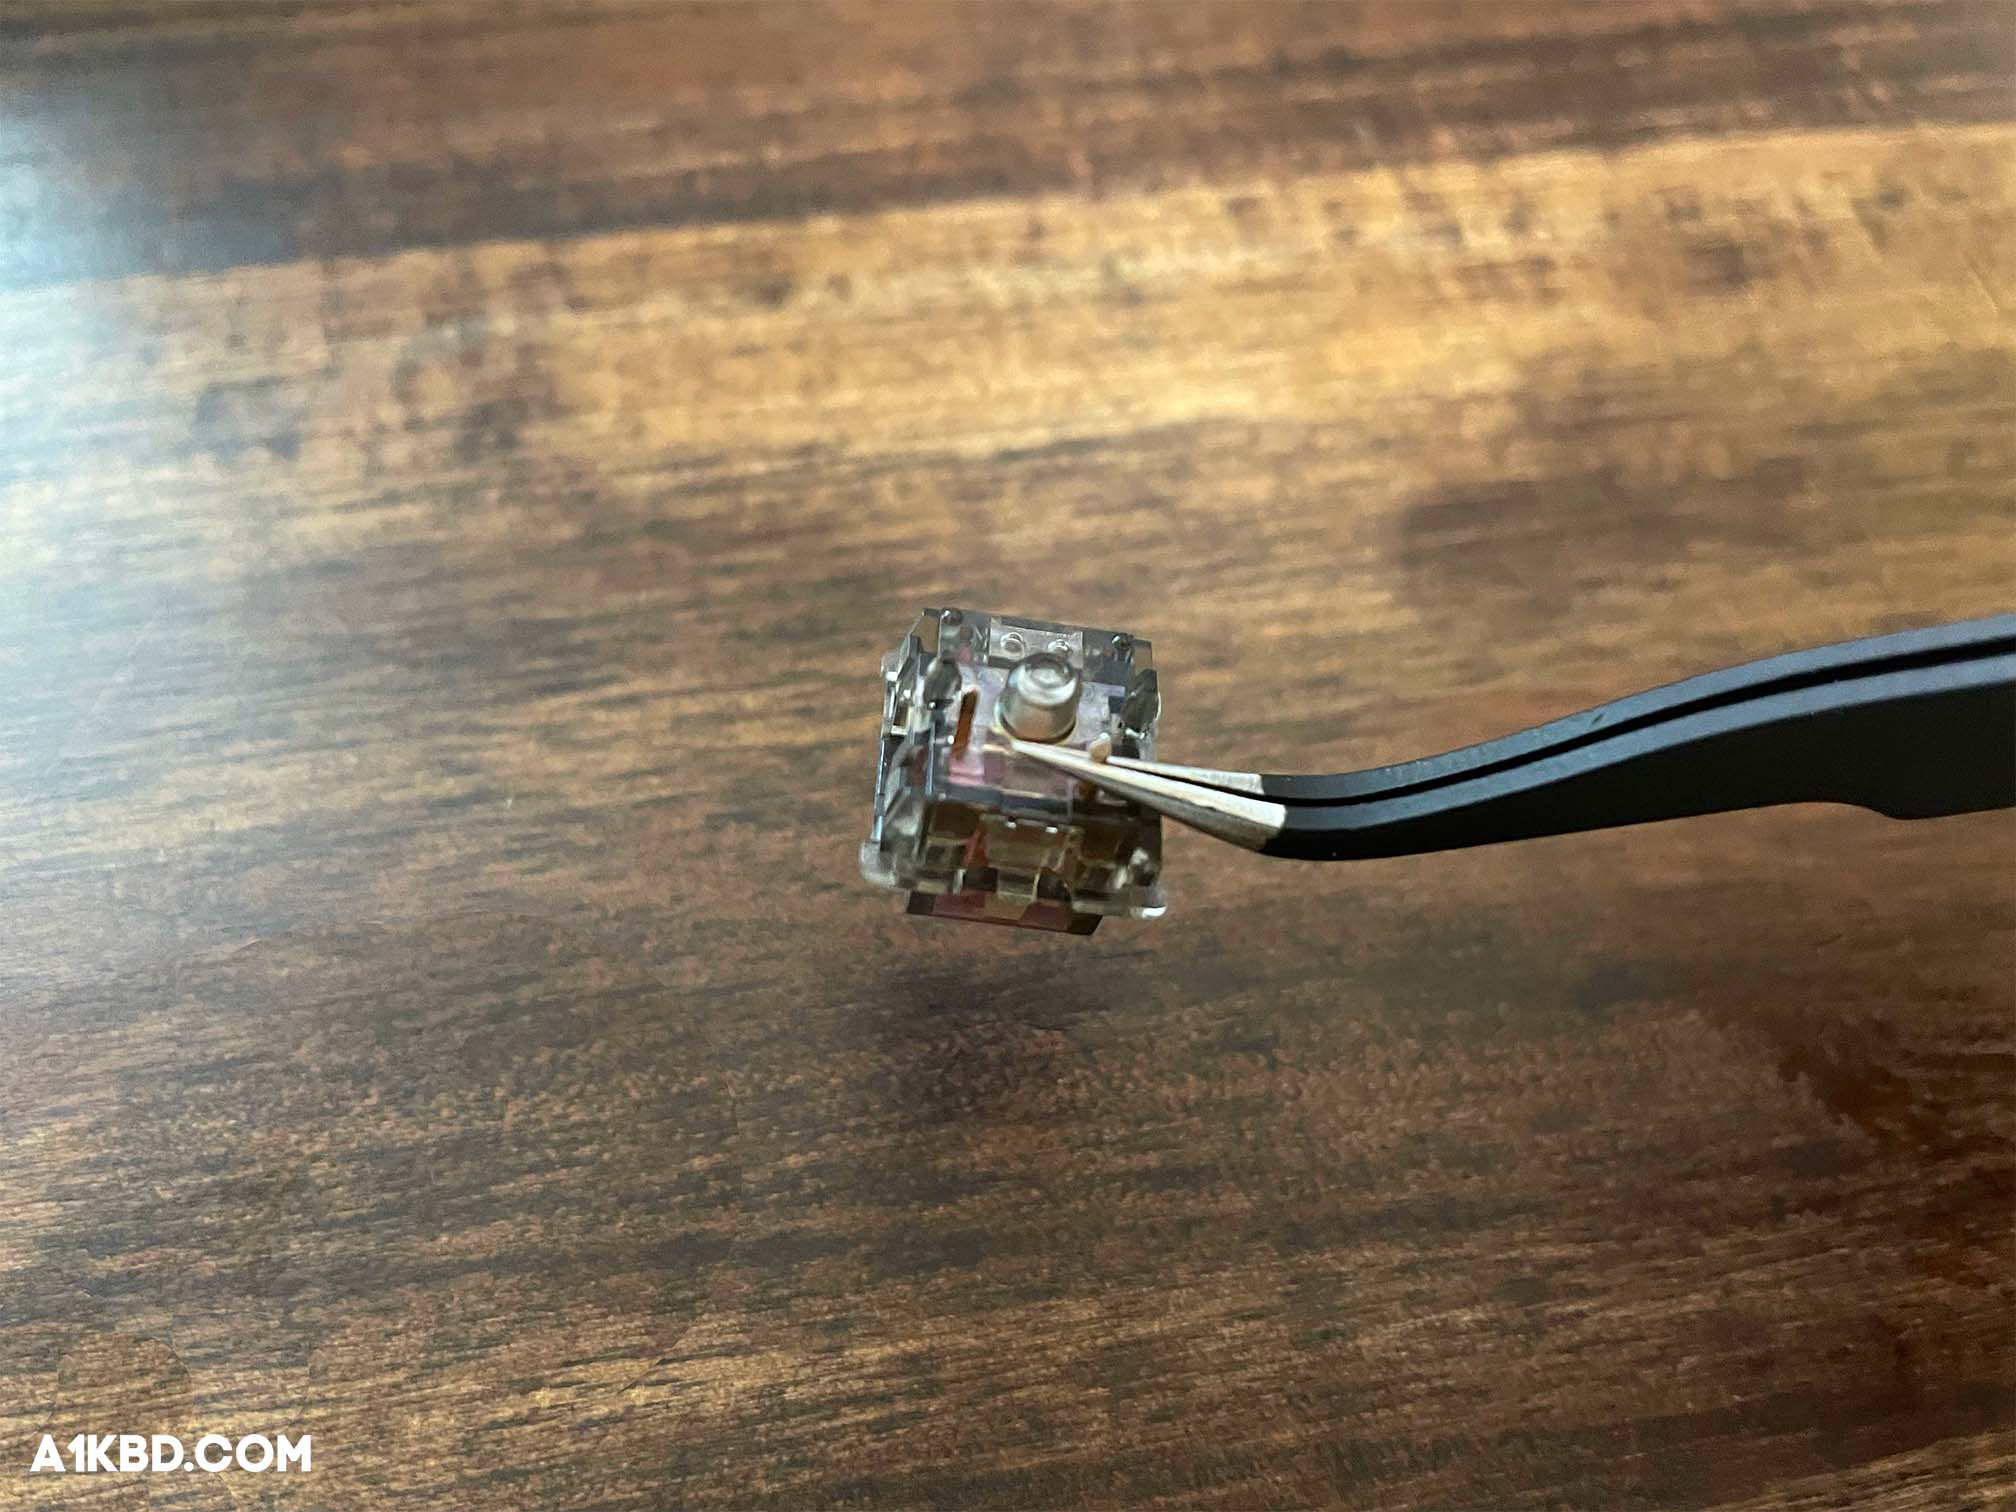
2. Wiggle the Switch Around
Grab both sides of the switch’s stem with the tweezers. Wiggle the stem side to side, and closely inspect the bottom and top housing.
3. Decide if the Switch Needs Film
A switch stem is different compared to a switch housing. Stem wobble in a switch is completely normal. But if the stem and housings wobble, your switch needs filming.
Do you Have to Re-Film Switches?
Unlike switch lube, switch films do not need replacement unless the film is damaged. In contrast to filmed switches, lubed switches degrade over time with increased use. While higher quality lube will last longer, the lube will still need replacement. Note that when you replace the lube in a switch that is also filmed, you may need to replace the film if it becomes frayed or damaged from maneuvering around the inside of your switch.
Do Switch Films cause Interference with Lighting?
A common concern is that switch filming may cause interference with lighting. This is not true. Switch films are very thin, and our testing reveals they will not cause any type of differentiated lighting condition. The RGB will shine directly through the switch no matter the film color. Clear films are more desirable especially for clear switches because most people do not wish to have their films visible.
Should I Lube or Film my Switches First?
We’ve mentioned lubing and filming earlier, and we believe it’s necessary to provide more information to better understand the process. The first step is to open up the switch and lube the bottom housing. While the bottom housing is out, place the film onto your bottom housing. Both modifications occur consecutively. If you’re thinking of making both modifications, it’s important to do it now rather than waiting until later. Opening and closing switches to perform one modification and then later making a second modification is time consuming, and it can create potential damage to the film, stem or switch. If you’ve already completed and finished lubing or filming, and you want to perform the second modification, it can be completed without causing any damage if you perform the second modification with patience and precision.
Is Filming Switches Worth it?
Given our comprehensive switch filming and lubing information, it’s a personal preference if filming and lubing your switches is worthwhile. The question to ask yourself is: “Do I want my switches to have higher quality acoustics and feel?” If yes, then we strongly recommend lubing and filming switches together. In our opinion, the extra time it takes to lube and film your switches is negligible and very worthwhile. The more you add these modifications, the better you perform. Your switches will definitely benefit from the combination of these modifications.
Conclusion
Despite the fact that filming switches takes patience and precision, the process is fulfilling, and the enhanced switch quality results will astound you. Switch films are inexpensive, and they’re one of the best and easiest ways to improve your mechanical keyboard experience. The combination of lubed and filmed switches is truly outstanding.
We hope this article was helpful and provided you with enough information to improve your switch’s quality to the highest level. Our switch filming guide will be updated on a regular basis to provide the finest and most accurate information.
Thank you for taking the time to read our switch filming guide.